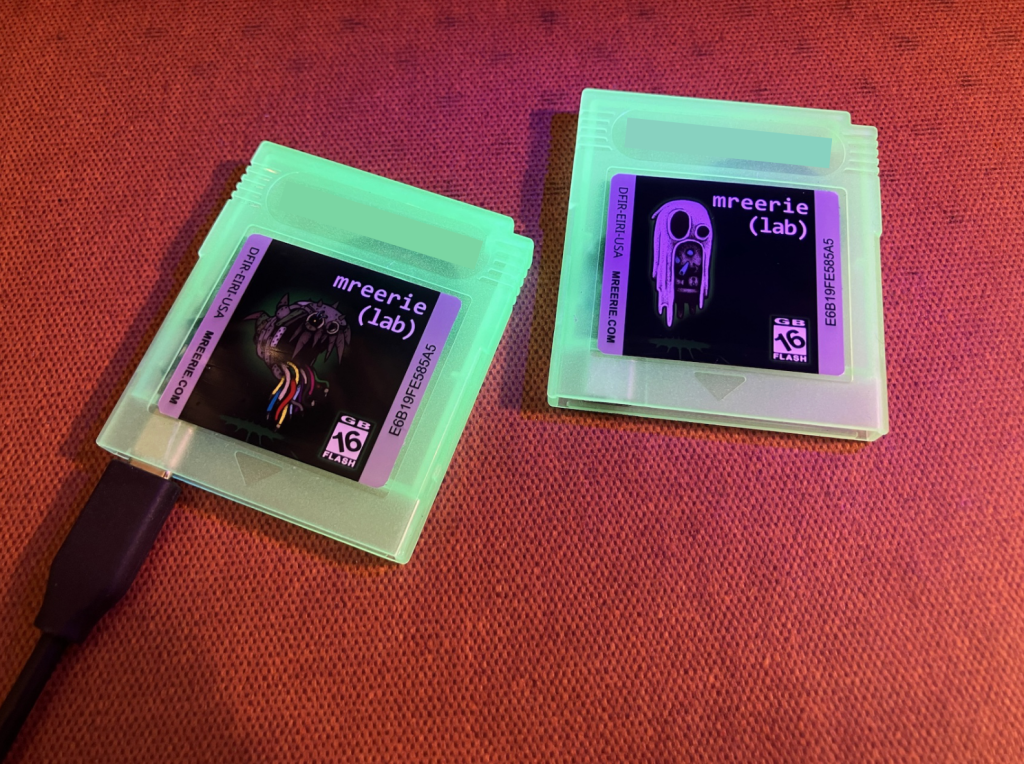
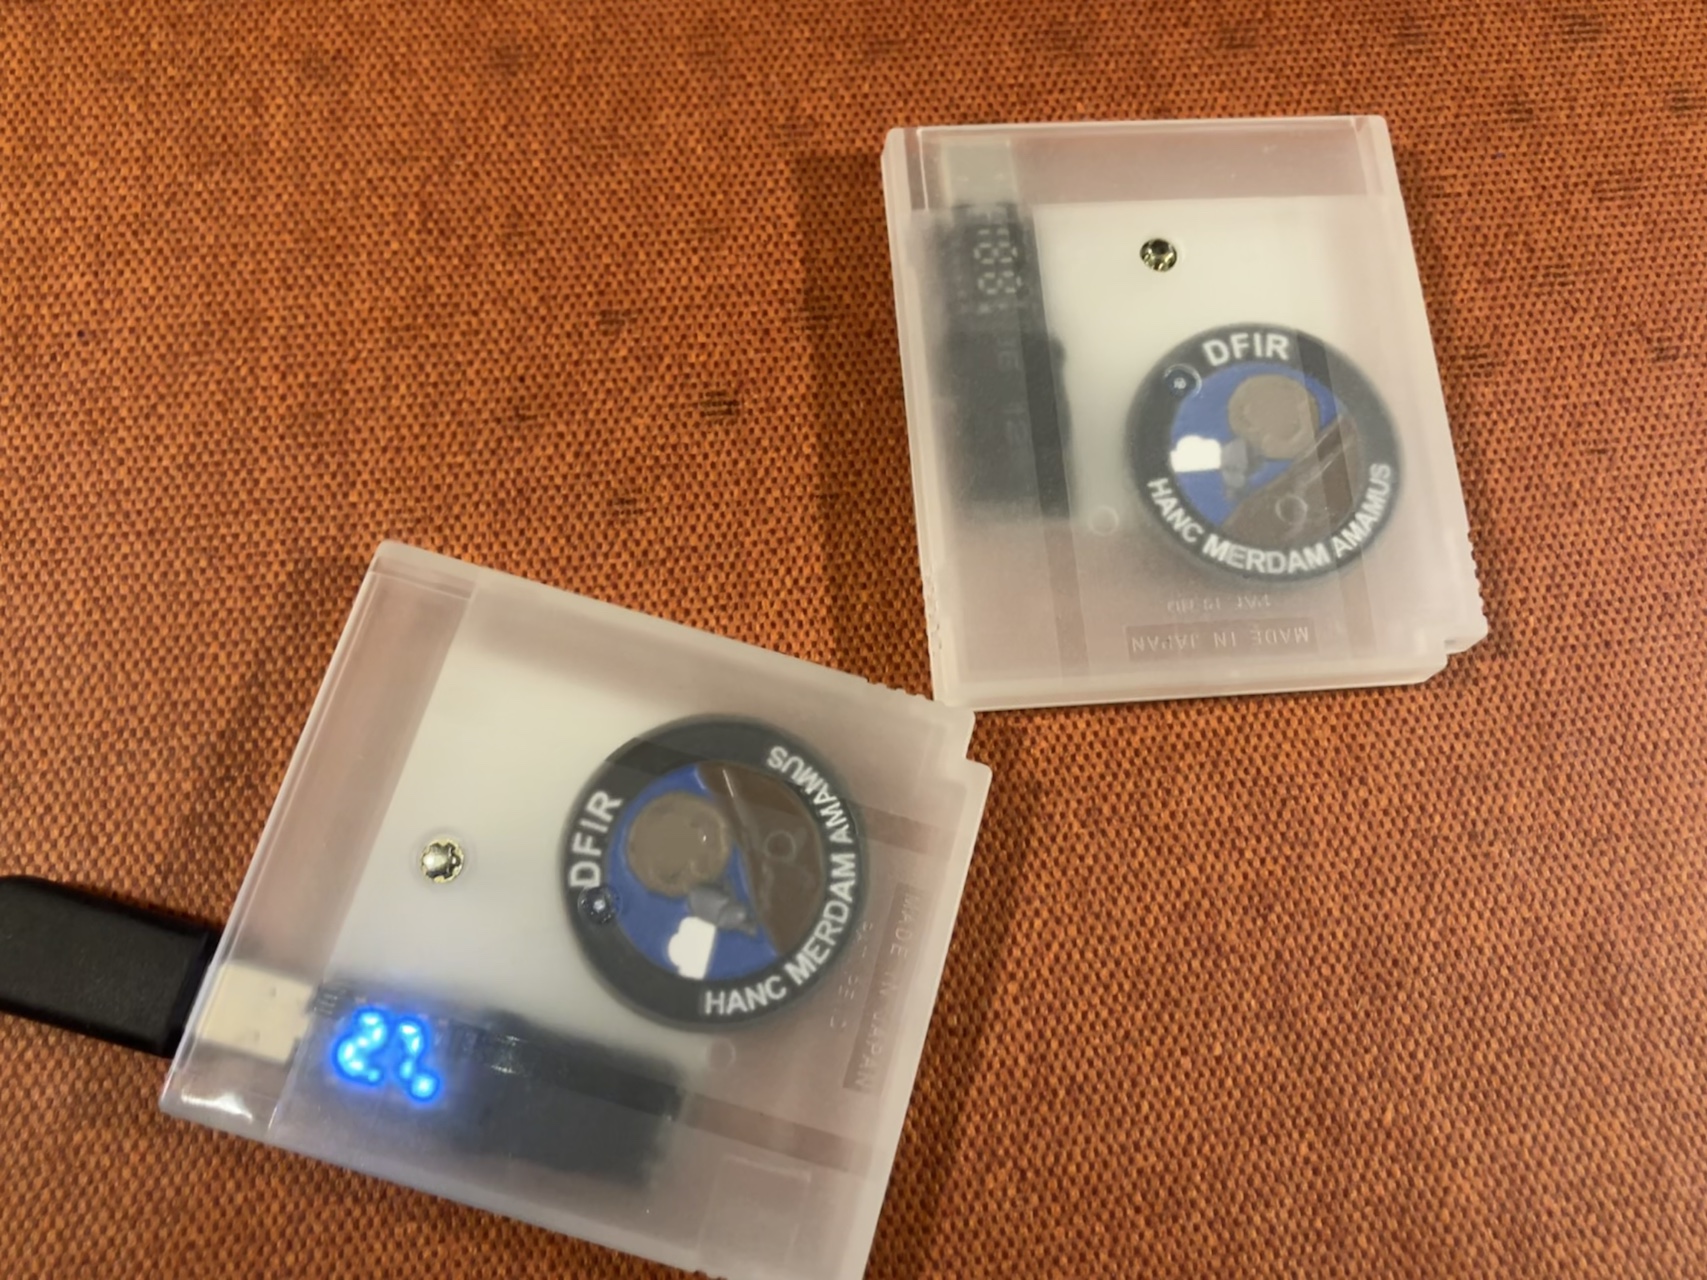
Earlier this year, I was inspired by Andrea Lazzarotto to create a real-life Fuji cartridge. I did this by fitting a USB flash drive inside a modified plastic housing so it could cosplay as a ROM cartridge for a dot-matrix handheld gaming system released in 1989.
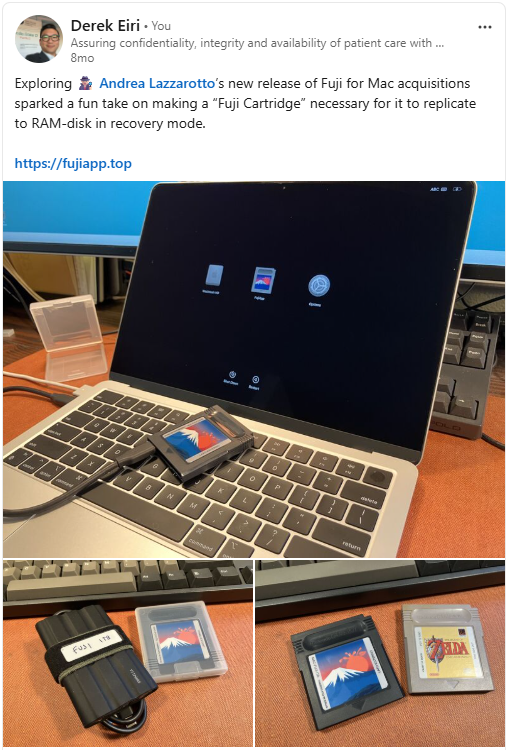
Fuji is an open-source tool for forensically acquiring data from macOS devices. I wrote about it in an earlier post.
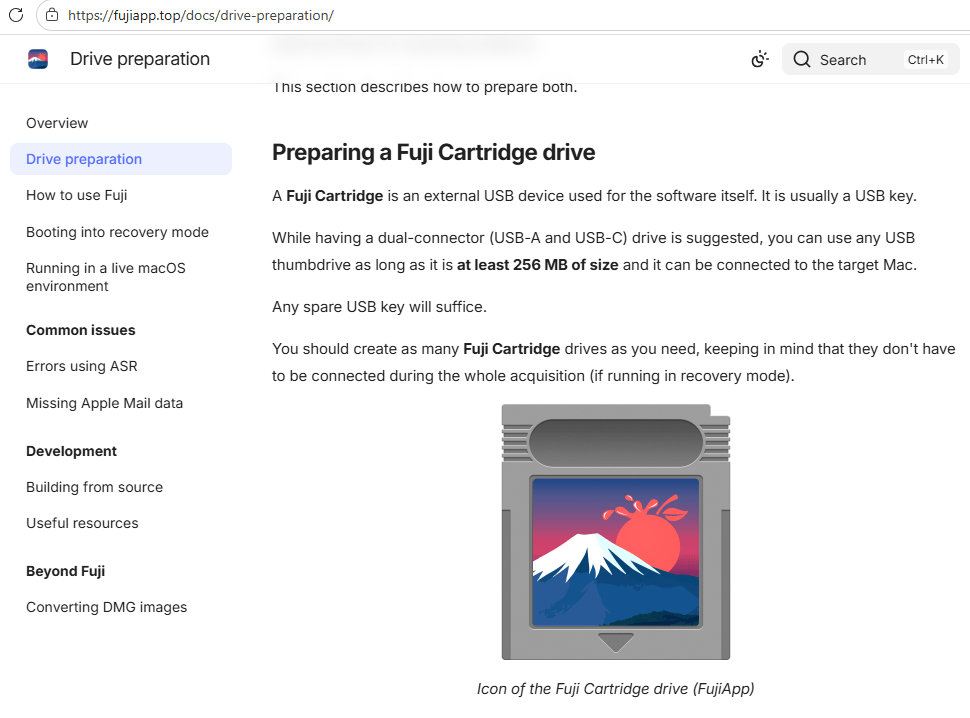
A major update added the ability to run Fuji in Recovery Mode from a cartridge. Lazzarotto calls this version a “cartridge” because the hardware has to act as a dongle, or physical key. With a space requirement of a mere 256 MB, it already had a bit of a vintage feel, so he created art to complement it!
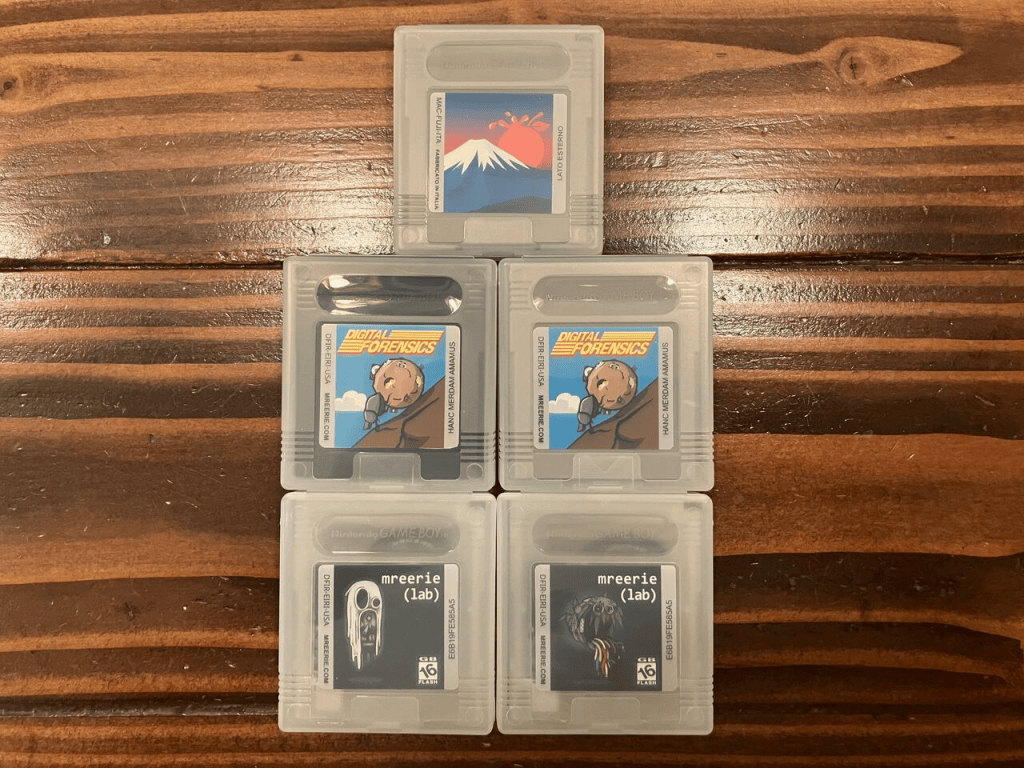
I’ve made several to give away at presentations and conferences, but I have no intention of selling them. The next best thing I can do is offer a brief description of how I made them.
Build Overview

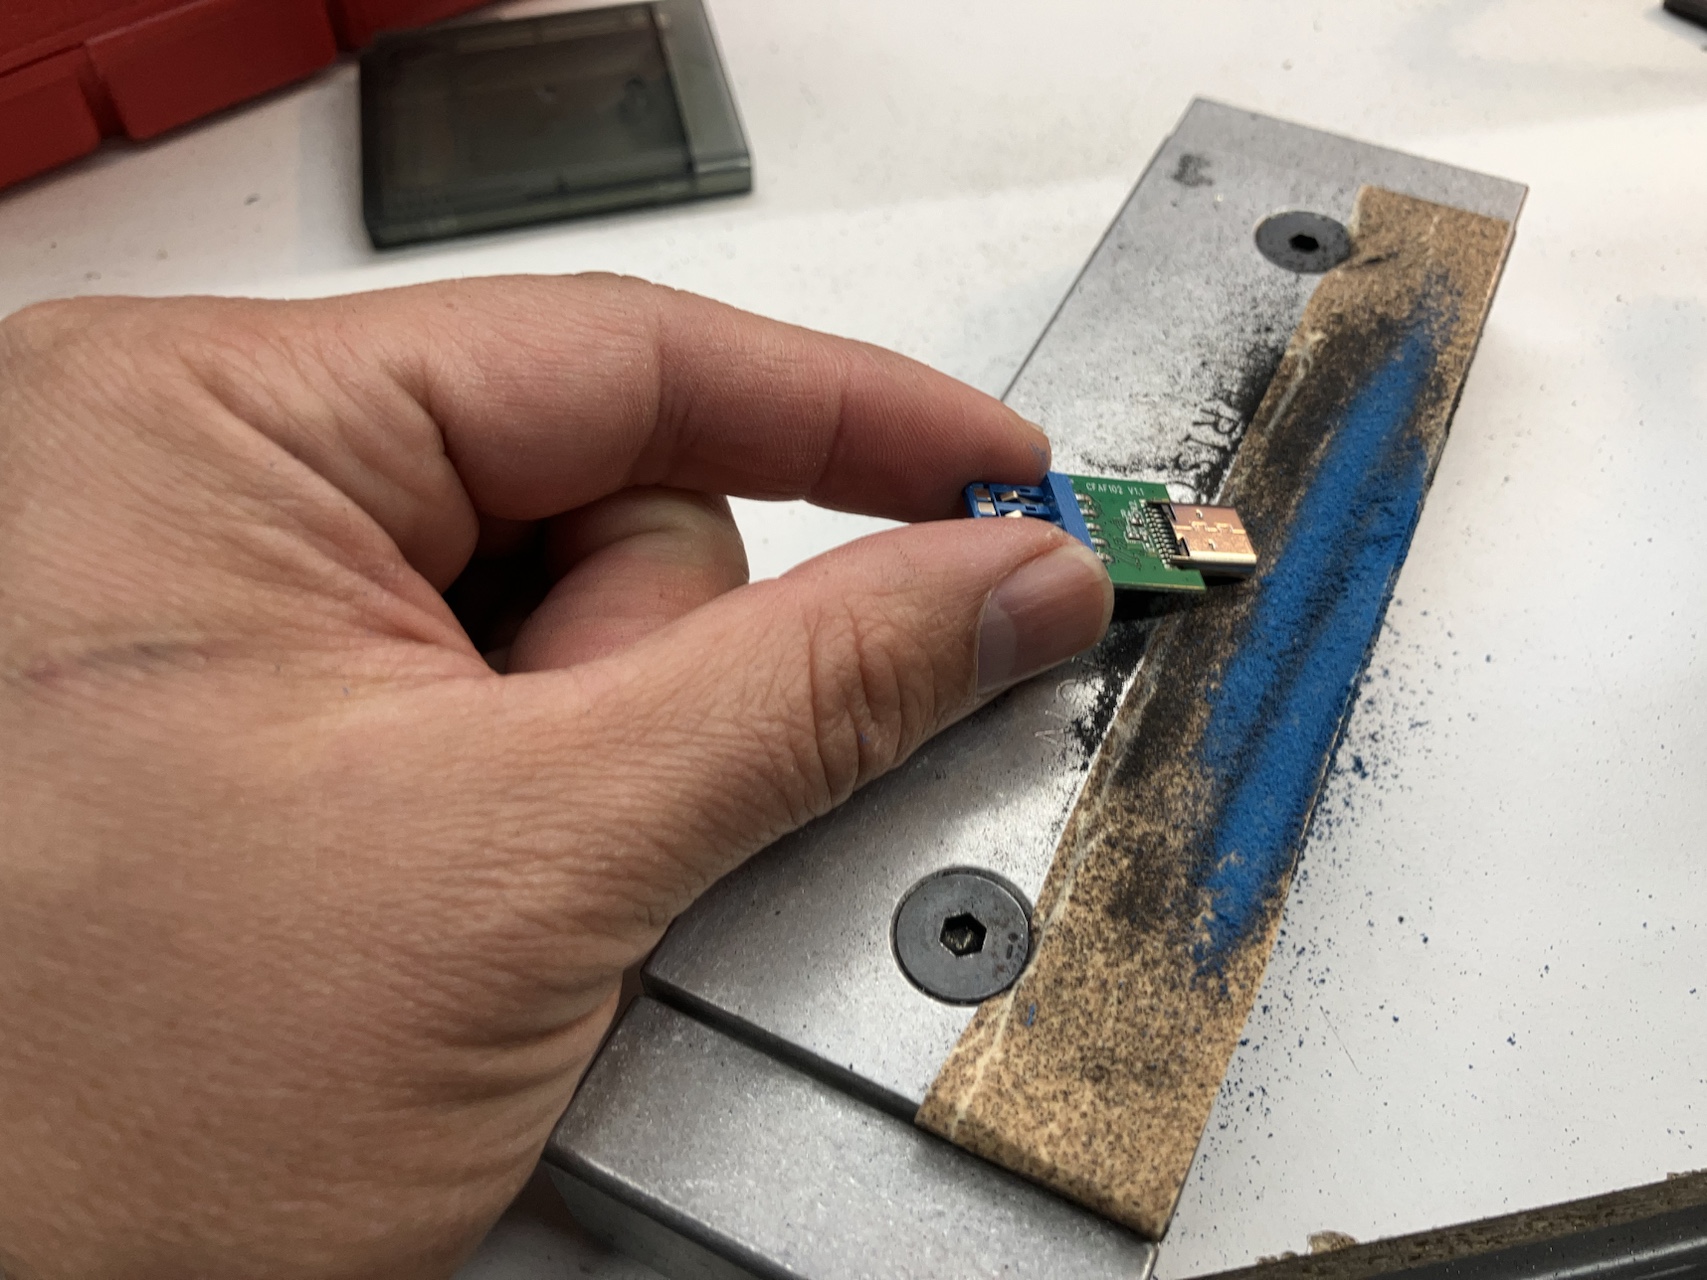
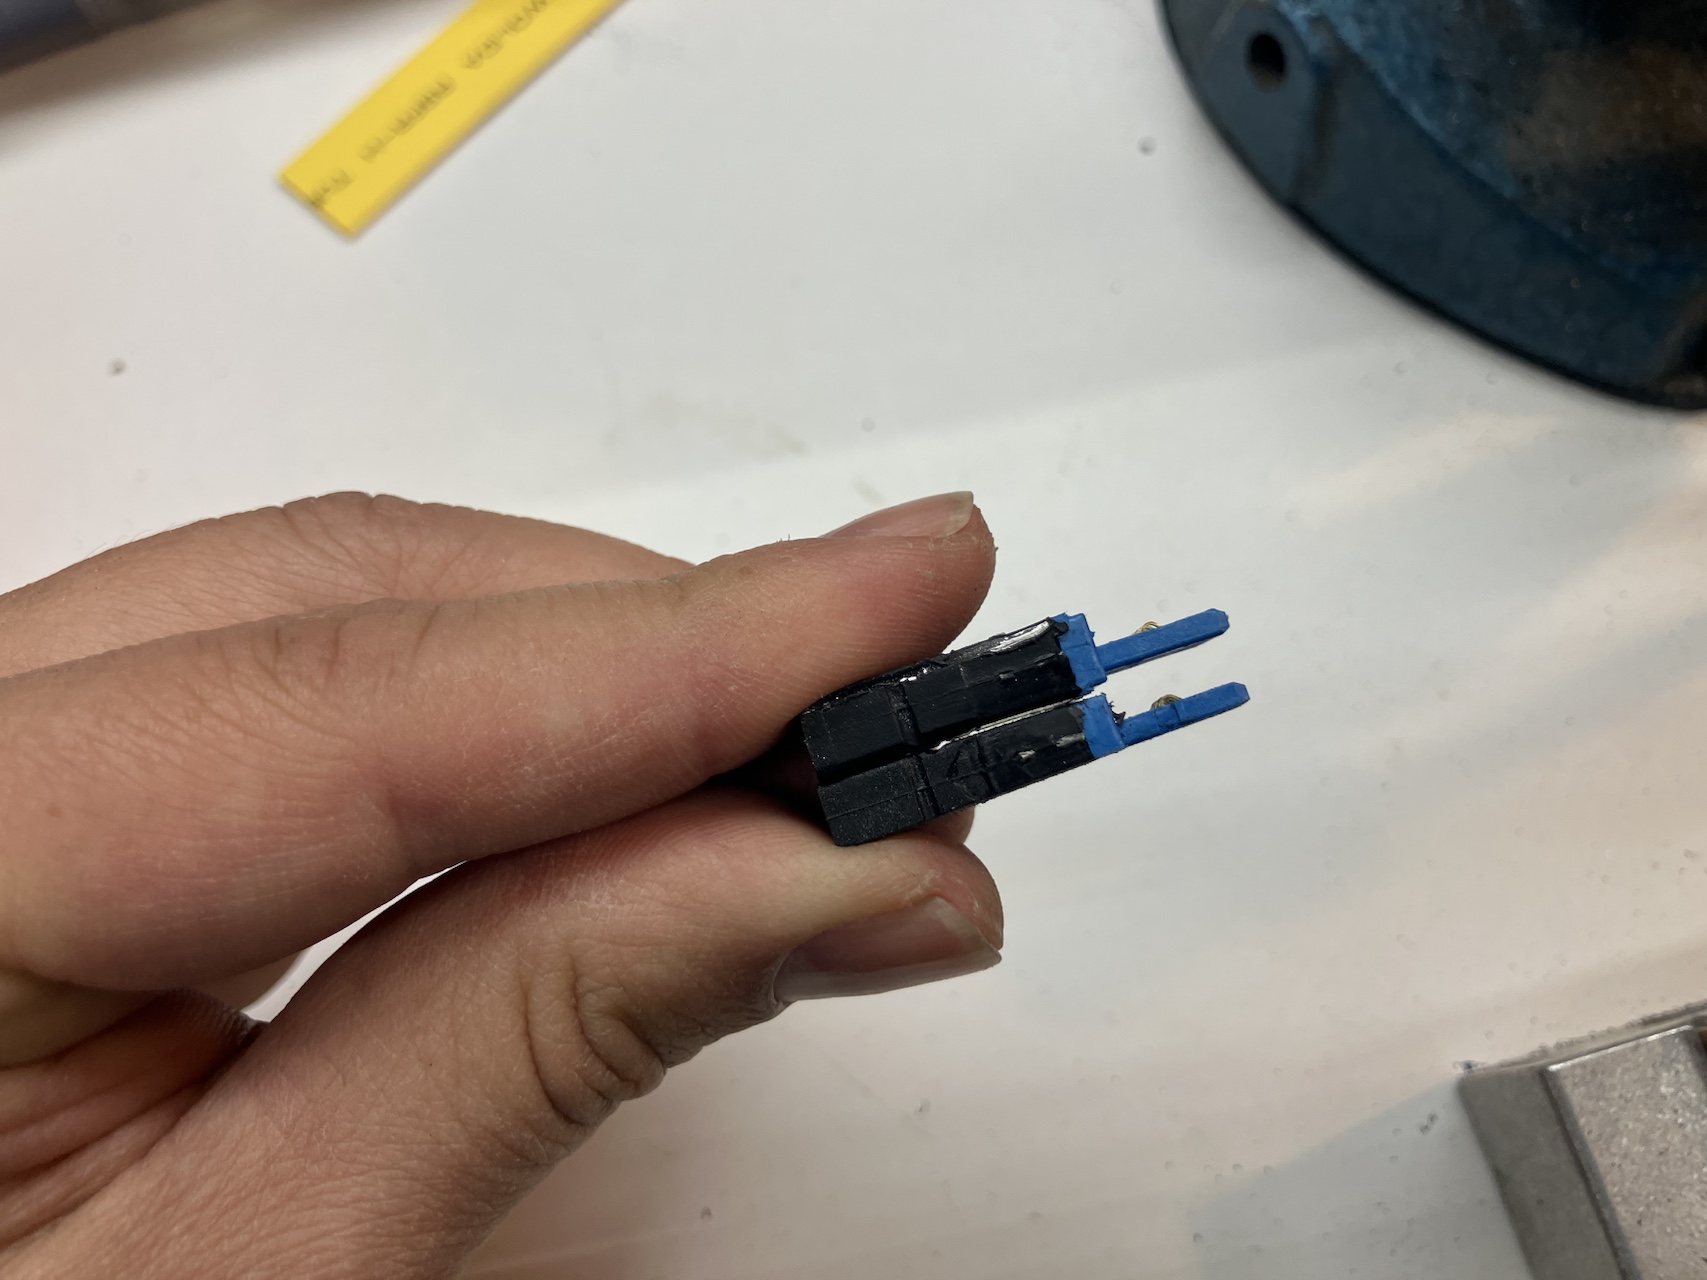
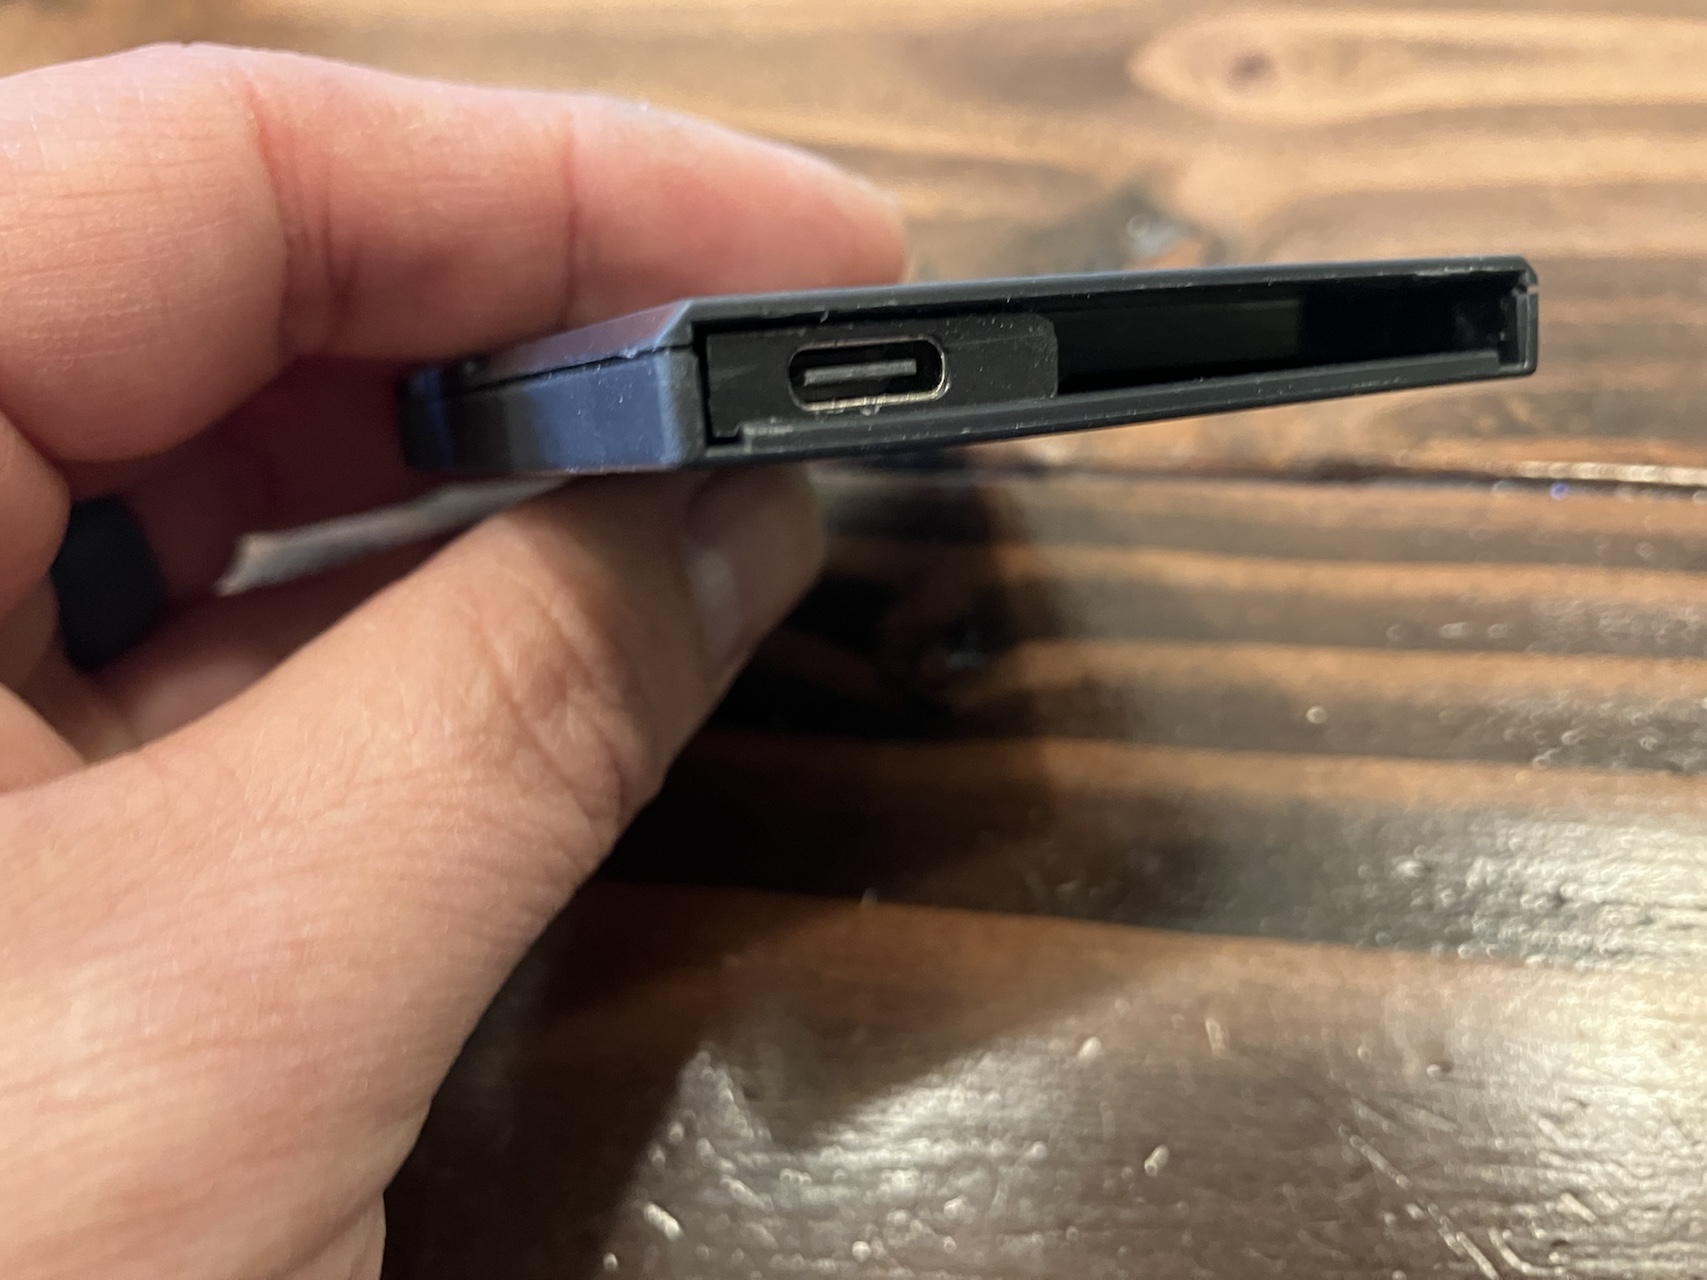
Fitting a USB flash drive into a cartridge requires physically modifying a plastic cartridge and shucking both the flash drive and a USB-A female to USB-C female adapter from their housings. The USB adapter also needs to be filed or sanded to size. Once both are prepared, secure the flash drive to the USB adapter with heat shrink tubing. After a successful test confirms an operating system detects the combined assembly, glue it to the cartridge and close it up.
The USB-A female to USB-C female adapter is included intentionally, for a few reasons:
- The USB-C receptacle (female) preserves the cartridge’s original appearance, which I prefer to a USB-A plug sticking out of the cartridge.
- Flash drives only come with a USB plug (a male connector), since plugging a flash drive directly into a machine is what normal people want.
- The USB-C receptacle pairs well with the cables that come with Samsung T7s.
Tools and Materials
Here are the materials you’ll need:
| Part | Description |
|---|---|
| Replacement plastic cartridge | Commonly used for refurbishing old games or making your own |
| USB flash drive | Must be suitable for shucking to expose an MUDP (Micro USB Disk in Package) with a USB-A connector, as opposed to a PCBA flash drive |
| USB-A female to USB-C female adapter | Must be suitable for shucking |
| Heat shrink tube | I used Ø10mm |
| INKONSJOY sticker photo paper | Label stock for the Canon SELPHY |
| Cartridge case | Optional, but +1 cool factor |
Here are the tools you’ll need:
| – Hobby knives |
| – Snips or pliers |
| – Files, sandpaper, or a rotary tool with a sanding bit/drum and cutting wheel |
| – Heat source for the heat shrink tube, e.g., a heat gun |
| – Hot glue gun and glue sticks |
| – Gamebit screwdriver (3.8mm) |
| – Canon SELPHY printer |
Build Details
Photos are included for every step, from shucking the USB flash drive to printing the label. The materials vary from photo to photo, but they should give you a good general idea of what’s involved.
Choosing and Shucking the Flash Drive and USB Adapter
The flash drives I used are 16GB MUDPs (Micro USB Disk in Package), found in products like the Verbatim Store ‘n’ Stay, SanDisk Ultra Fit, and Samsung FIT. If you try a drive with a PCBA flash drive inside, like the SanDisk Cruzer, it won’t fit inside the cartridge alongside the USB adapter.
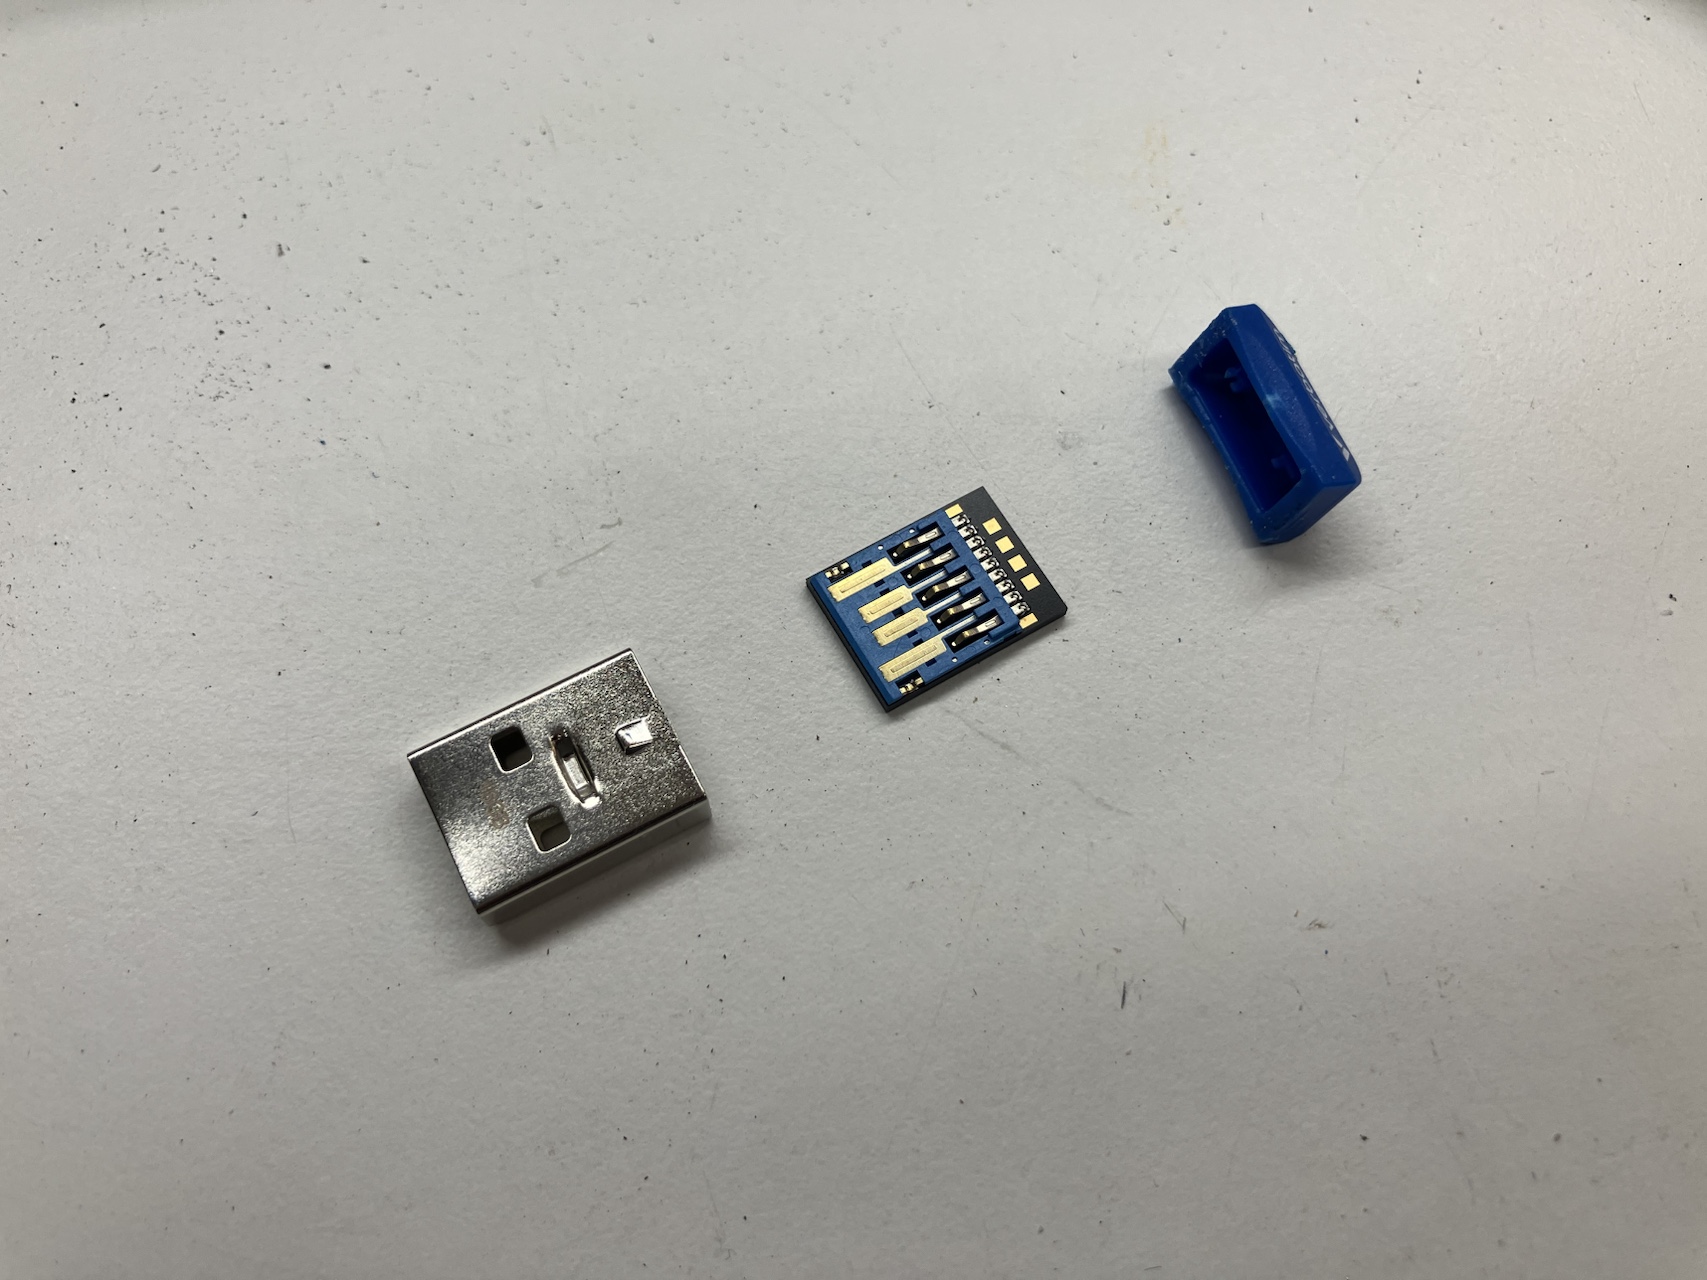
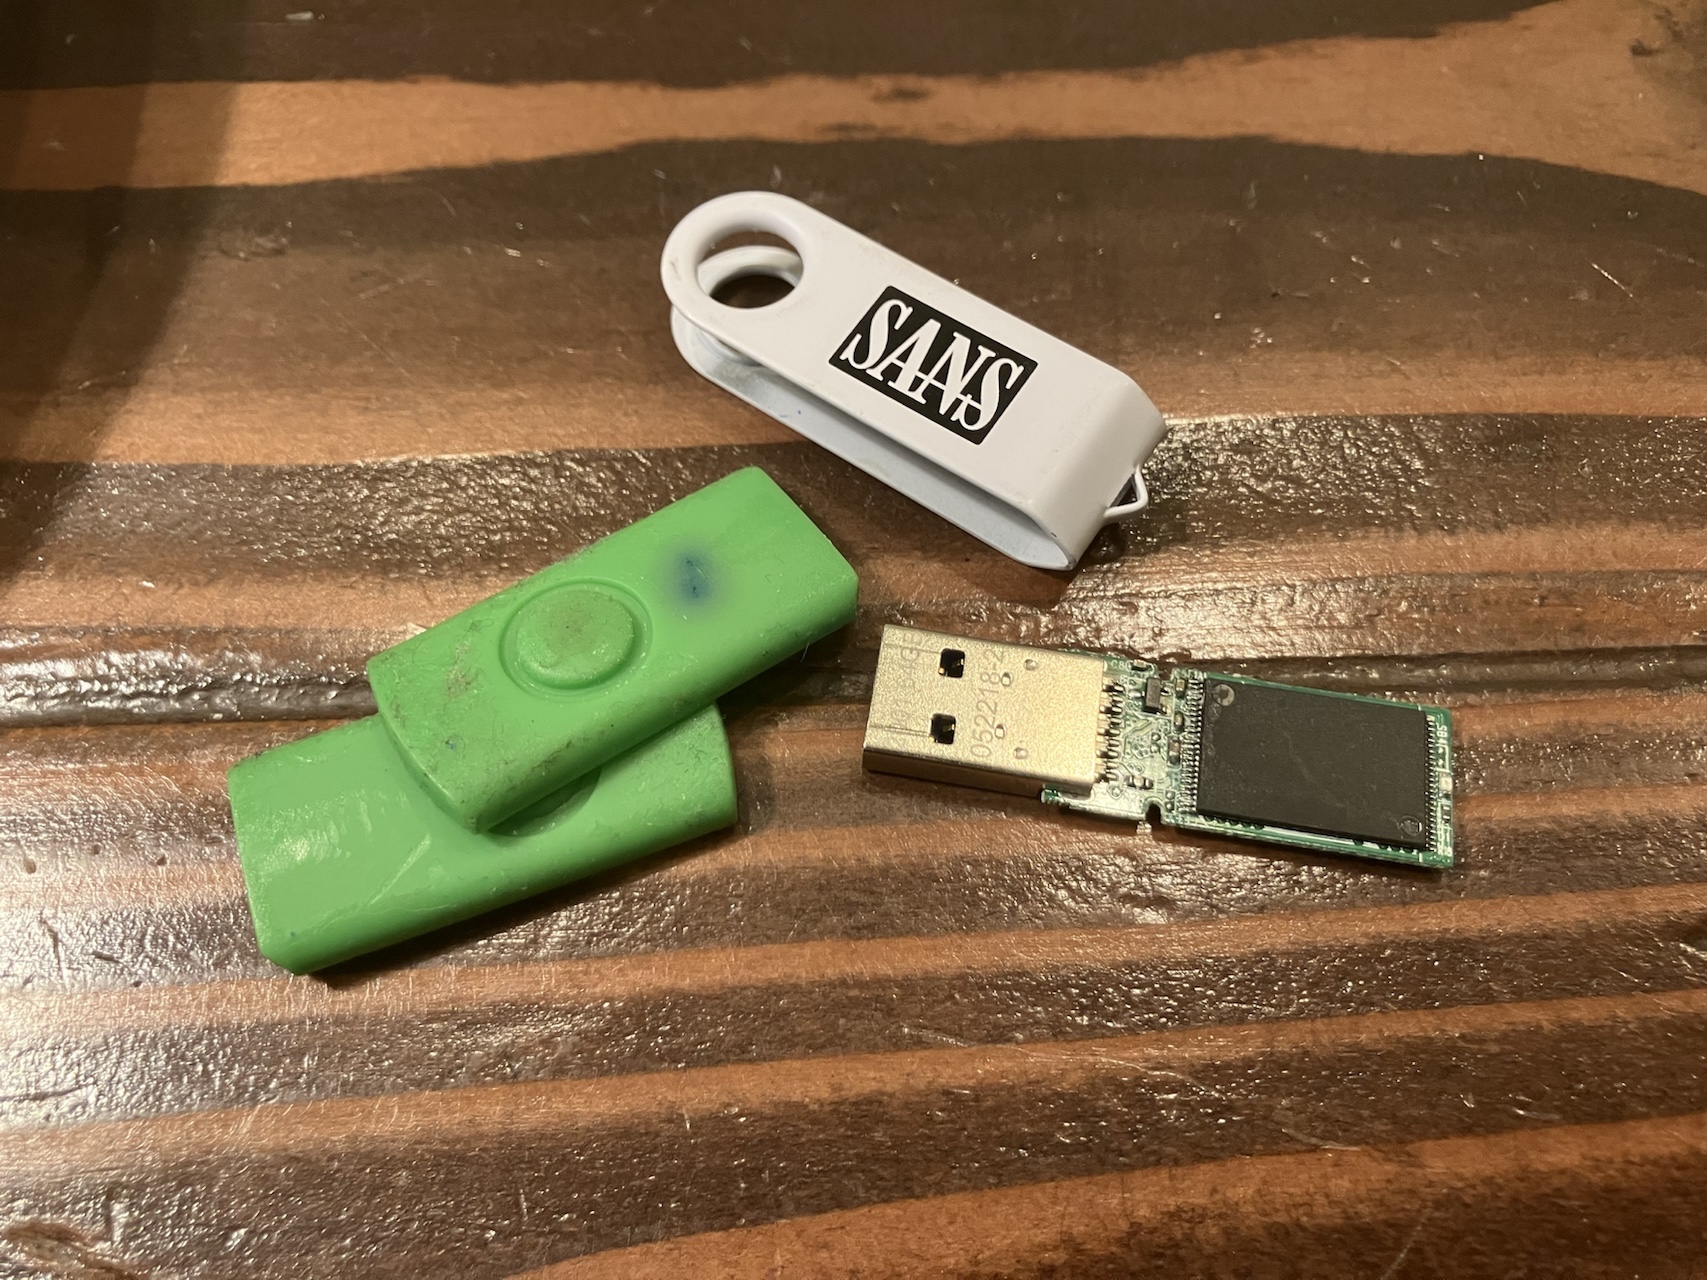
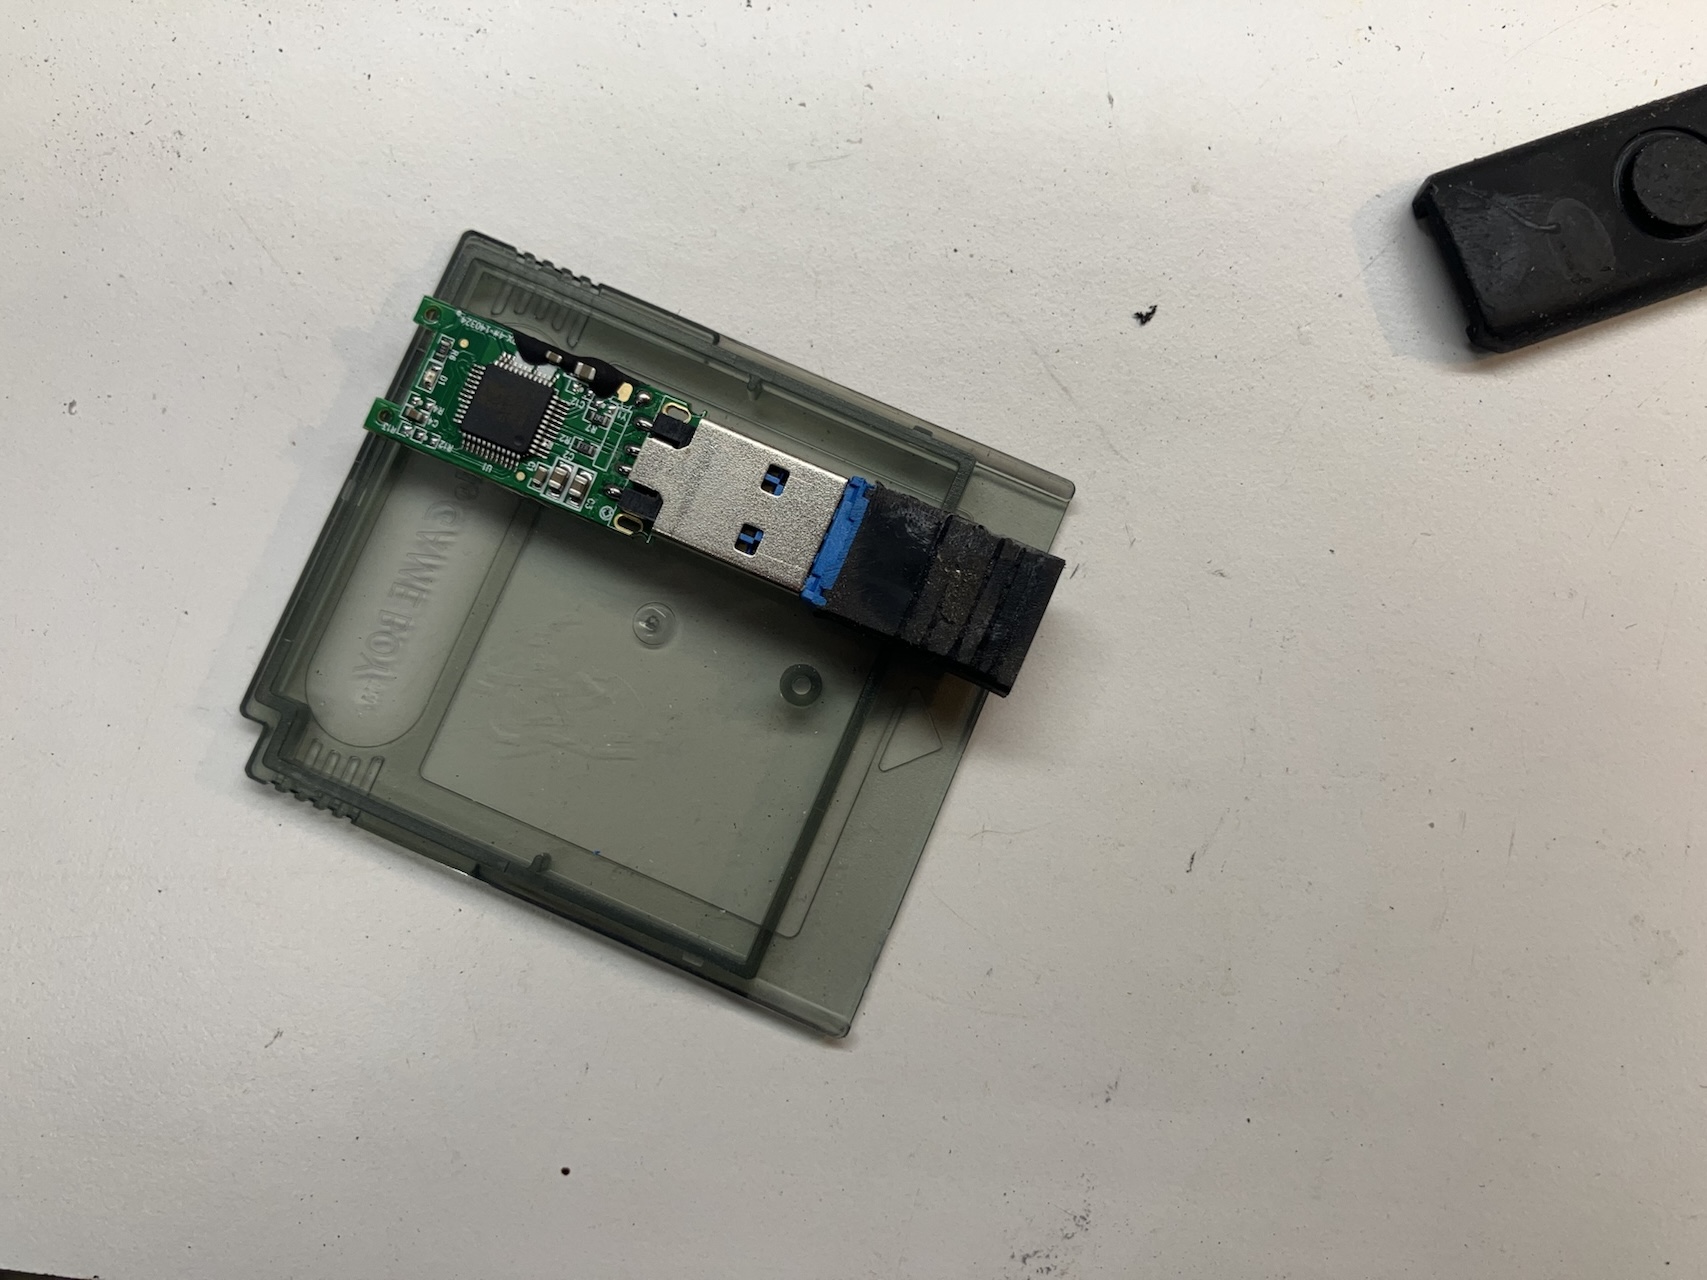
Use snips or pliers to remove the casing. Take care not to destroy the chip; it’s not 2025 anymore.
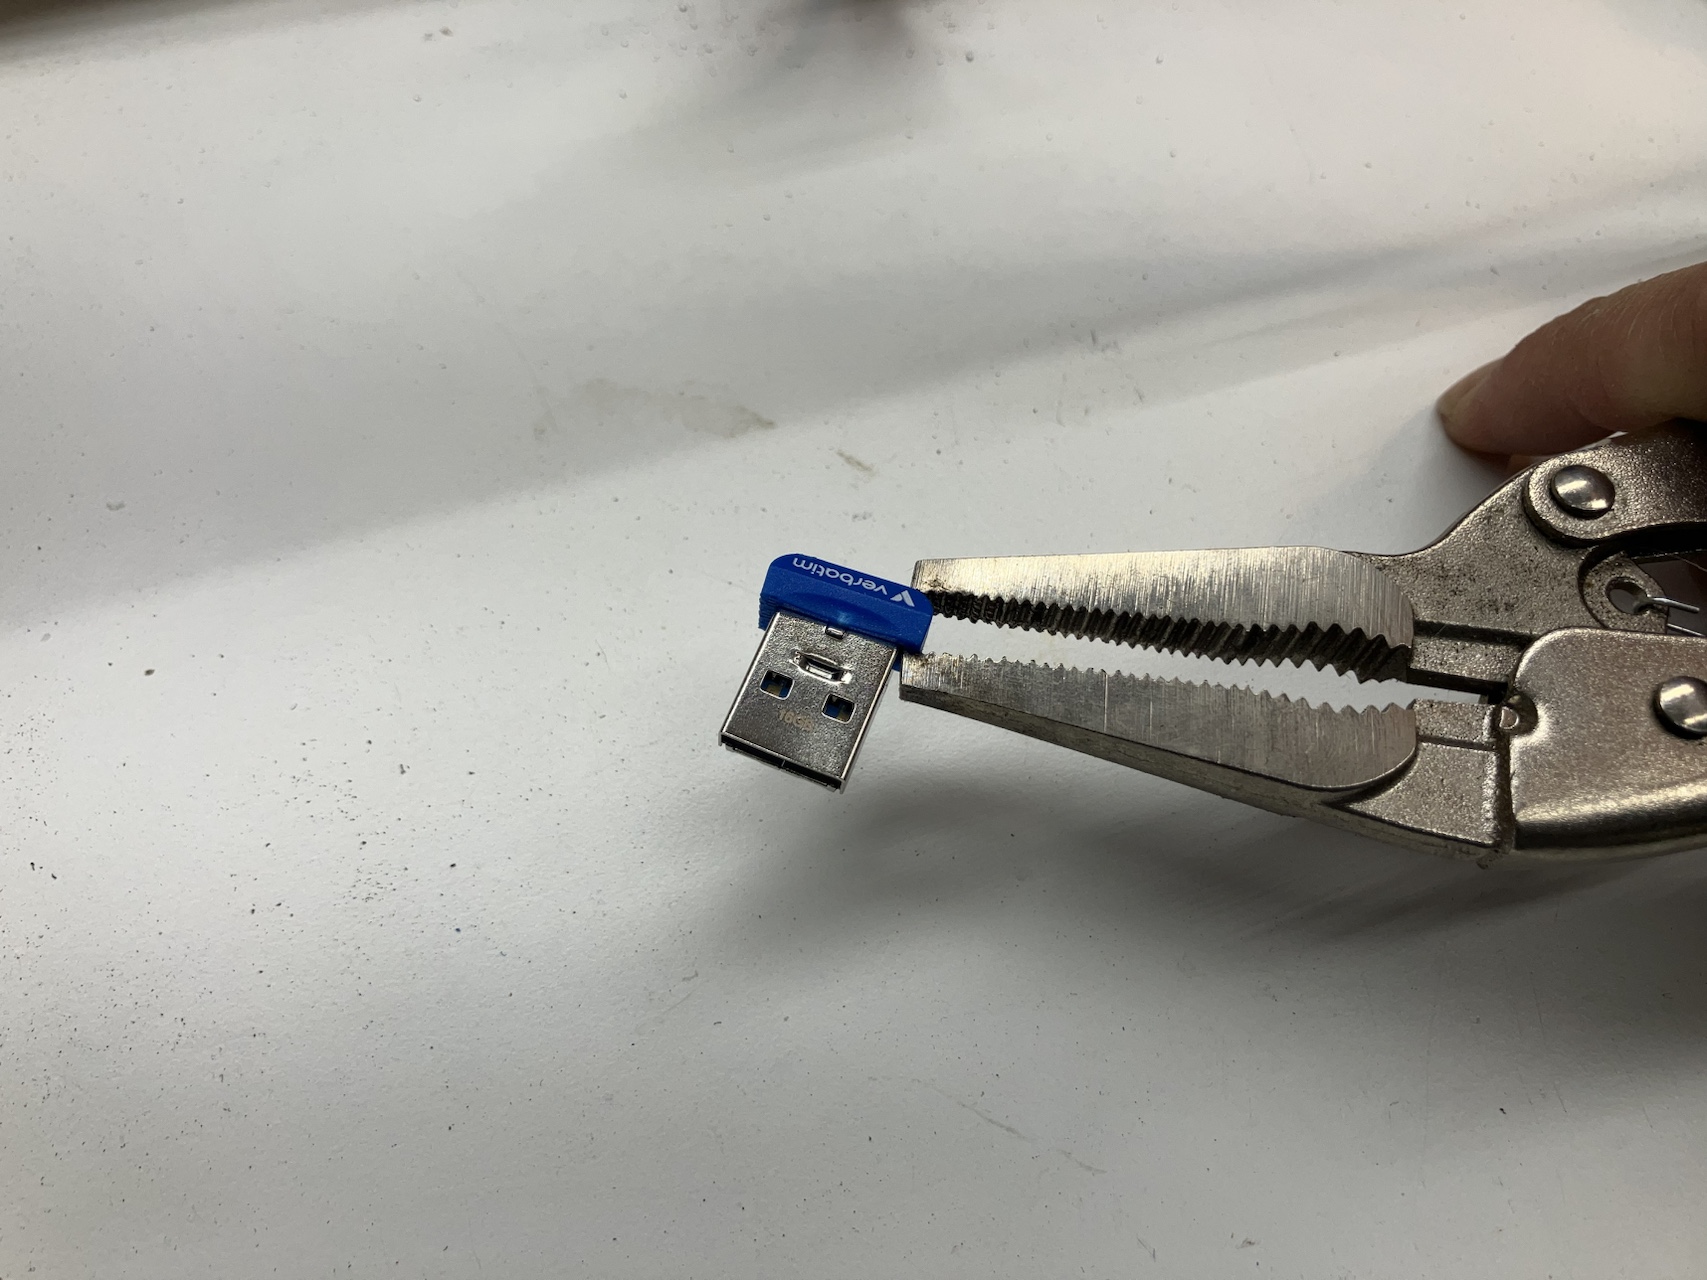
I’ve come across three variations of the USB-A female to USB-C female adapter, each suited to a different outcome.
| USB-A Female to USB-C Female Adapter Variation | Description |
|---|---|
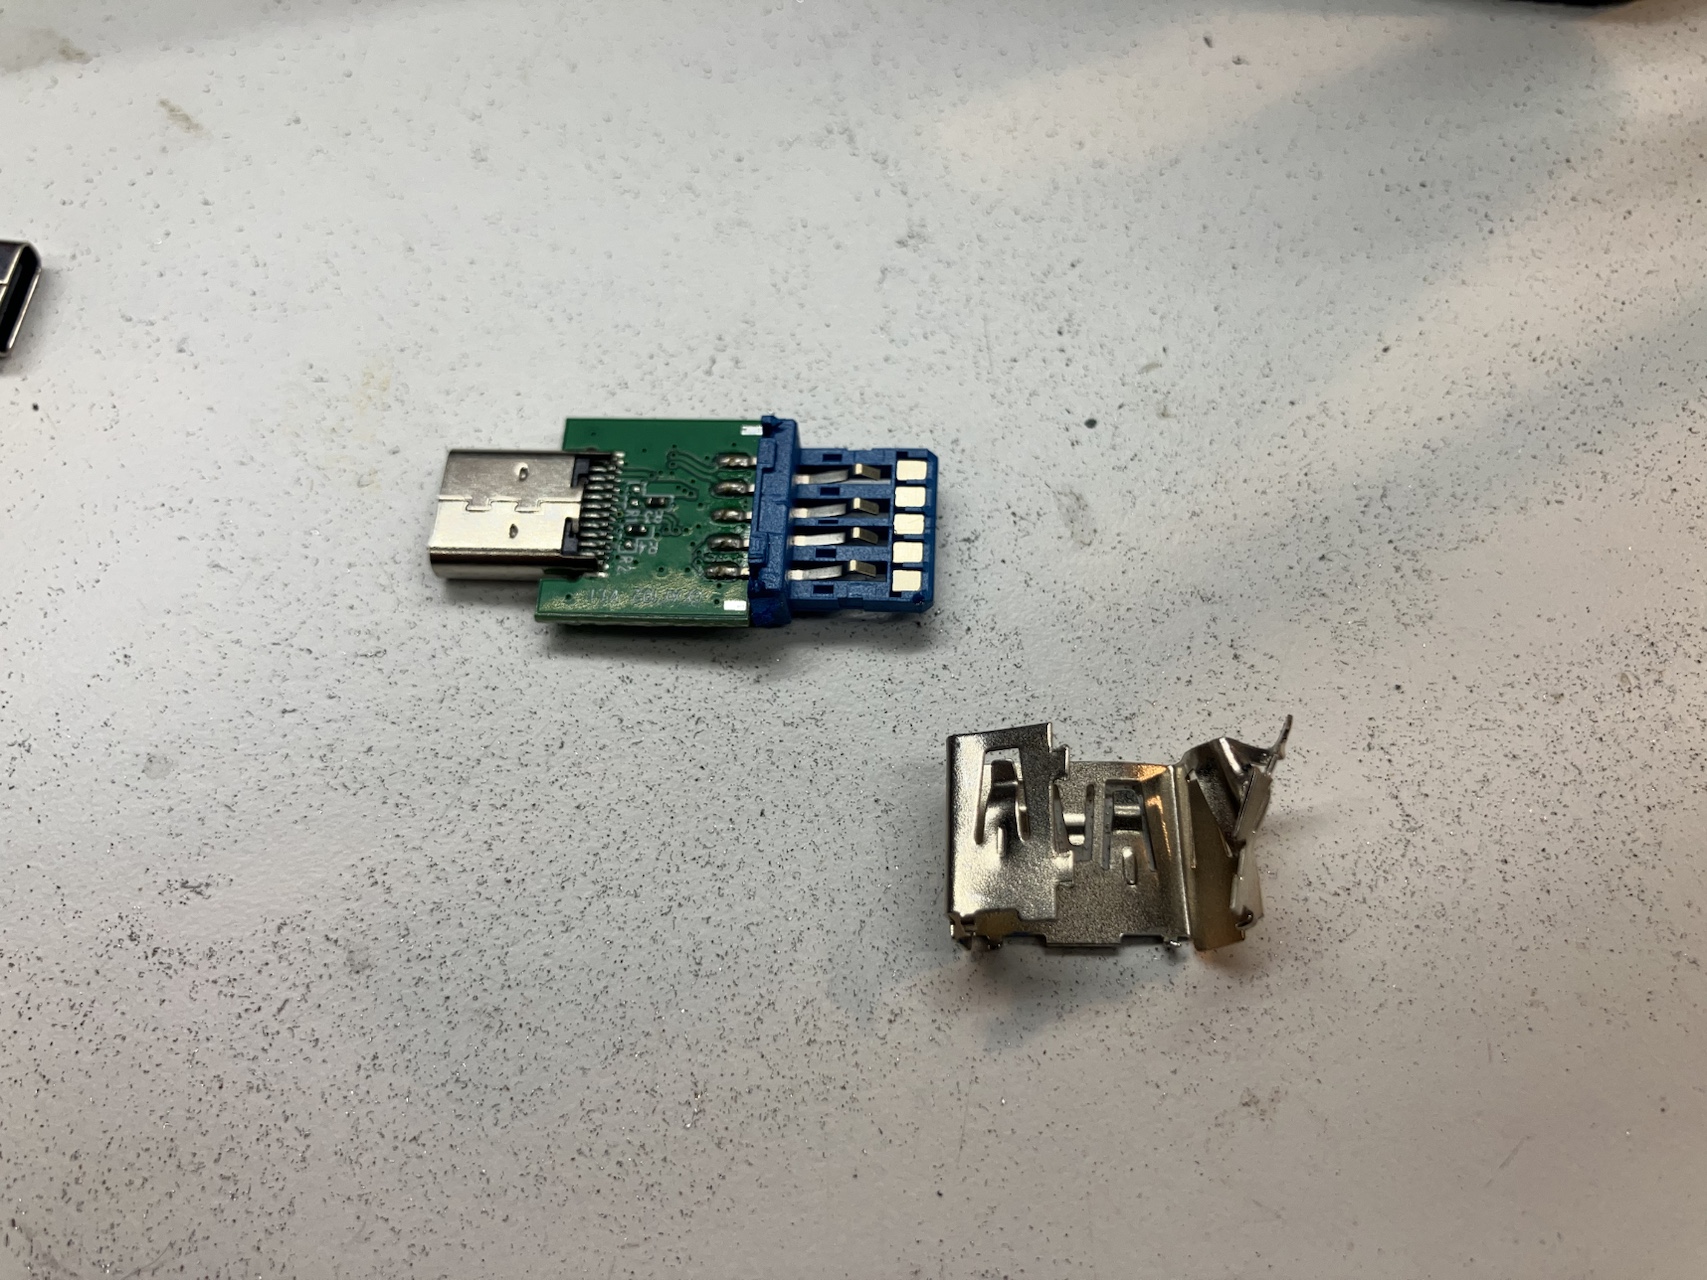
| Poyiccot | Exposed PCB; only the USB-A receptacle needs to be sanded down. Optionally, the receptacle support can be fitted for a finished look. |
| Pastall | Cheaper per unit, but overmolded, so fitting it may take considerable time. The overmold does give a finished look around the USB-C receptacle. |
| Poyiccot with digital display | Exposed PCB with some cosmetic “bling” for translucent cartridges. The USB-A receptacle still needs to be sanded down. |
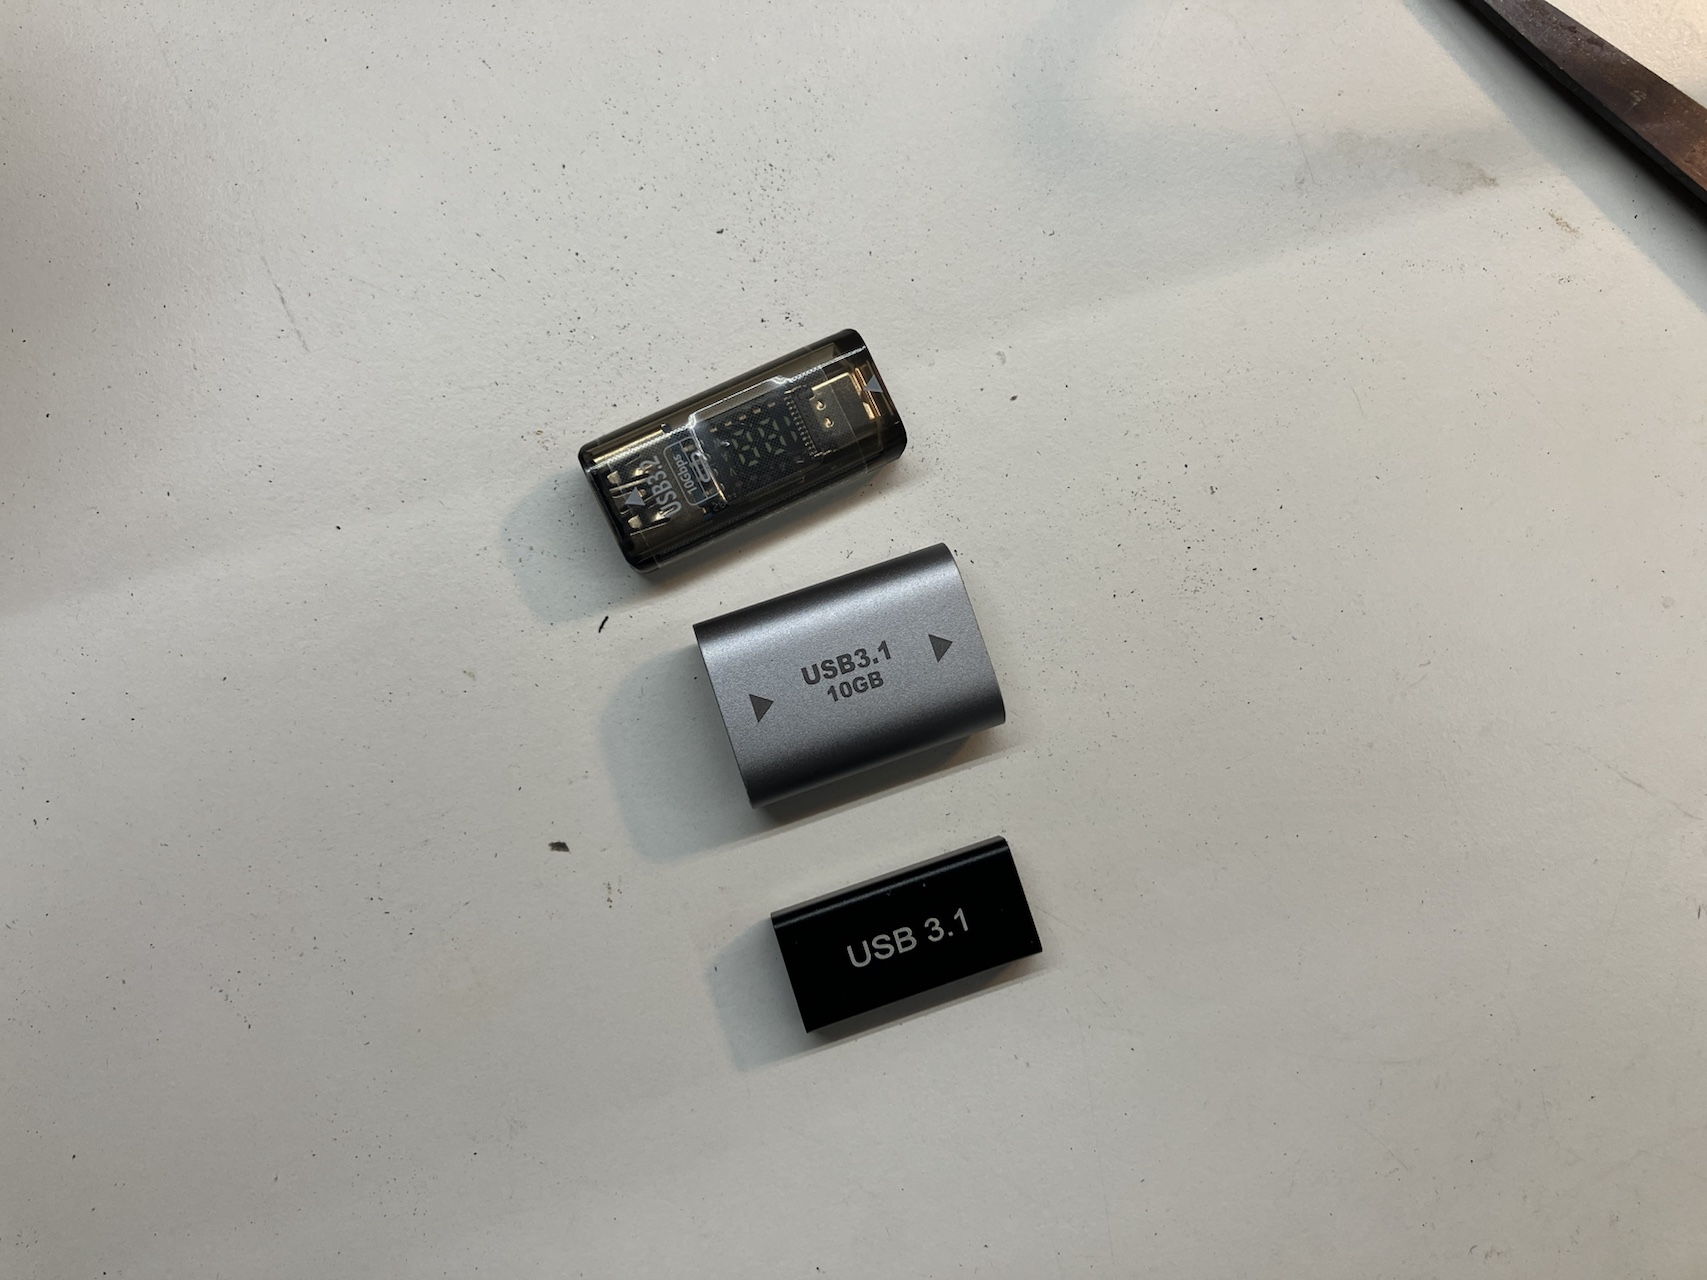
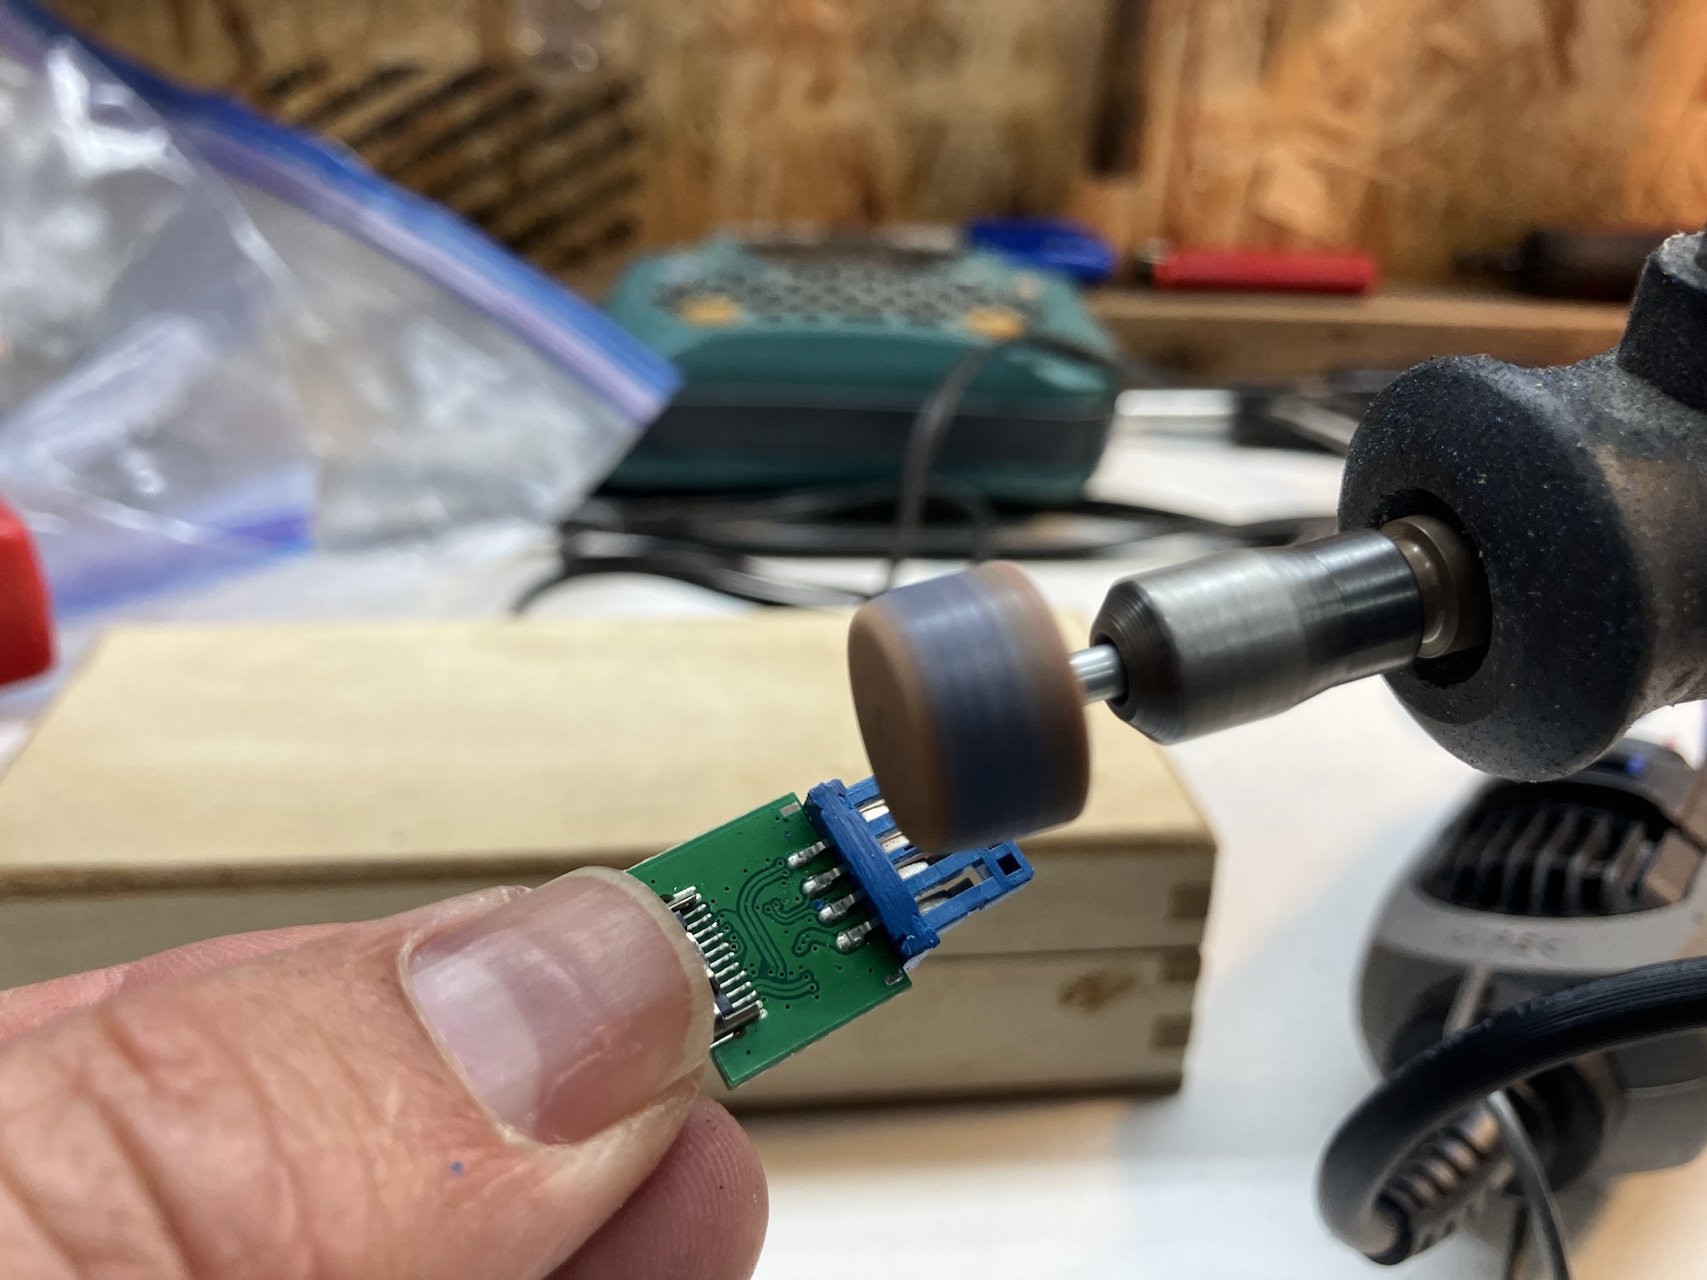
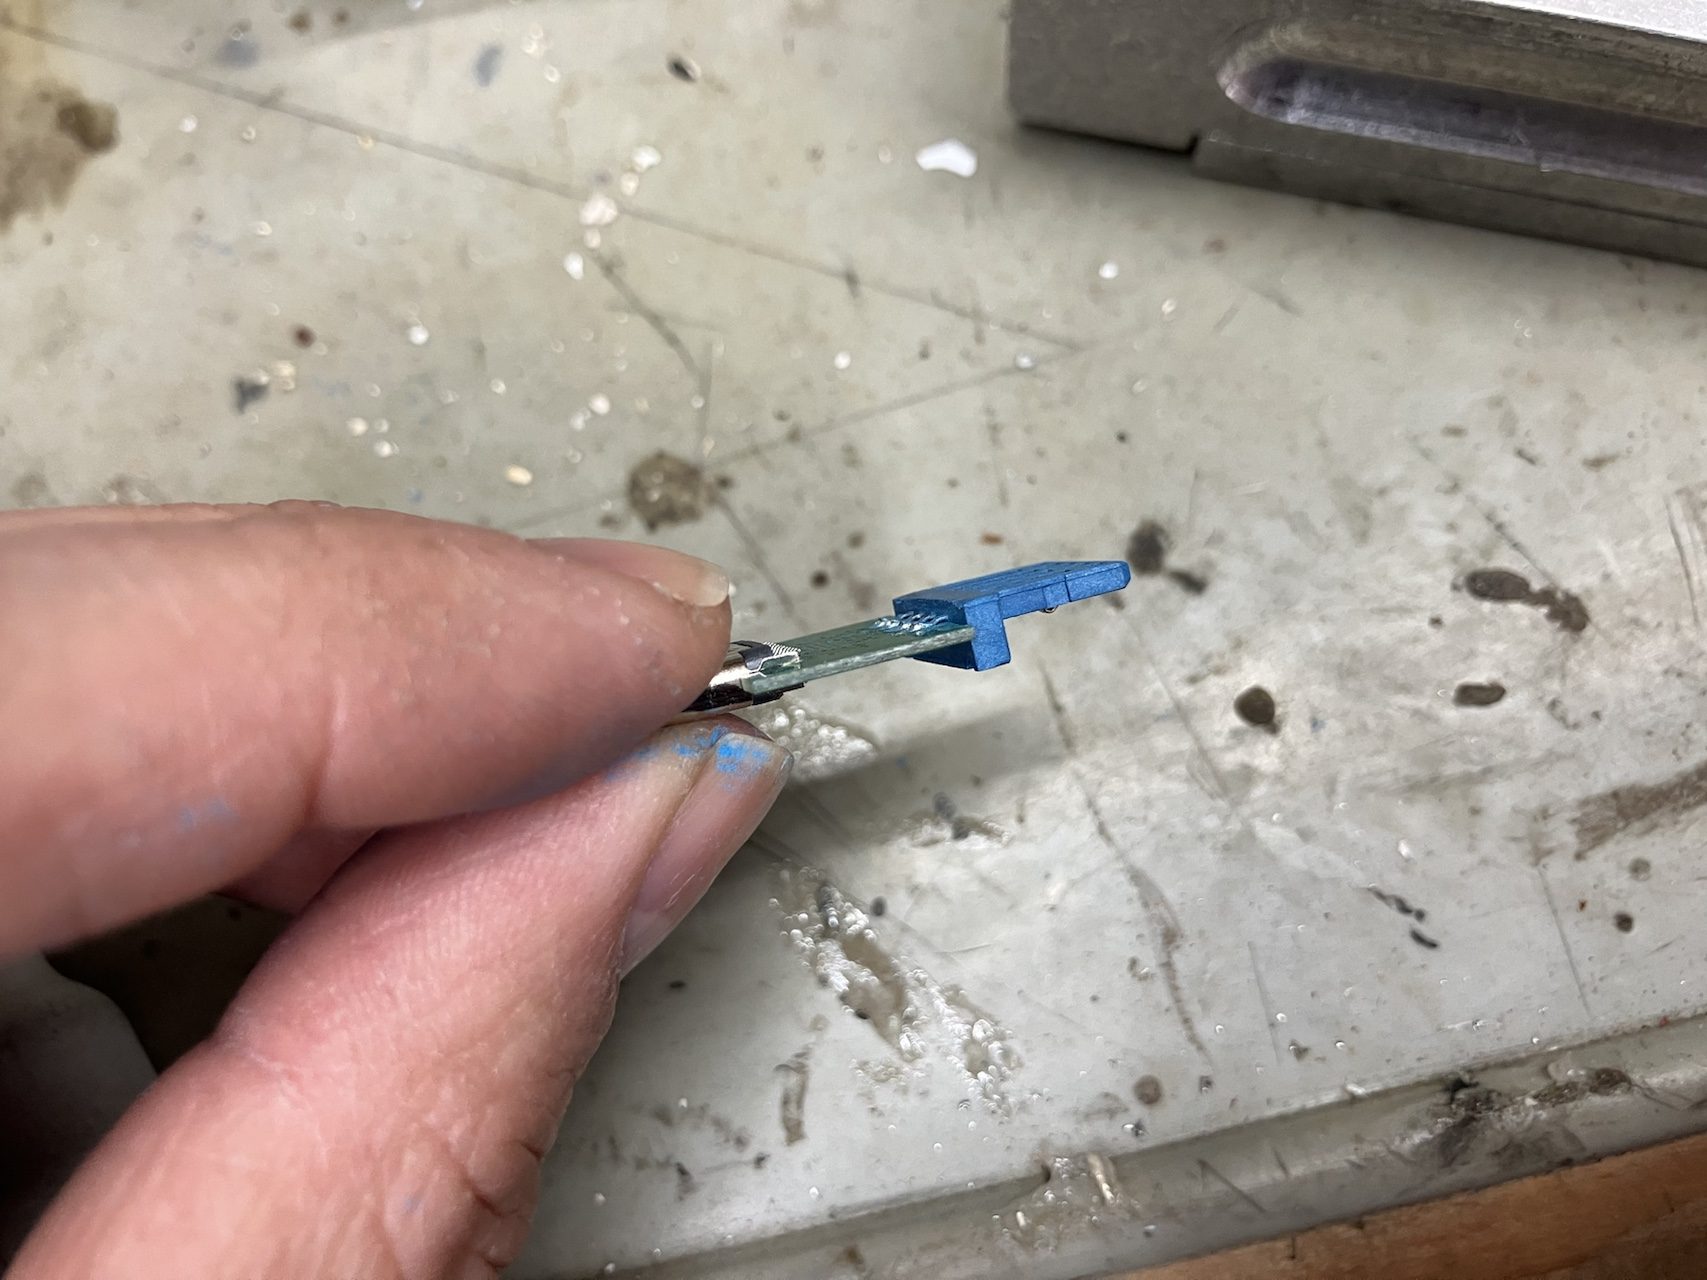
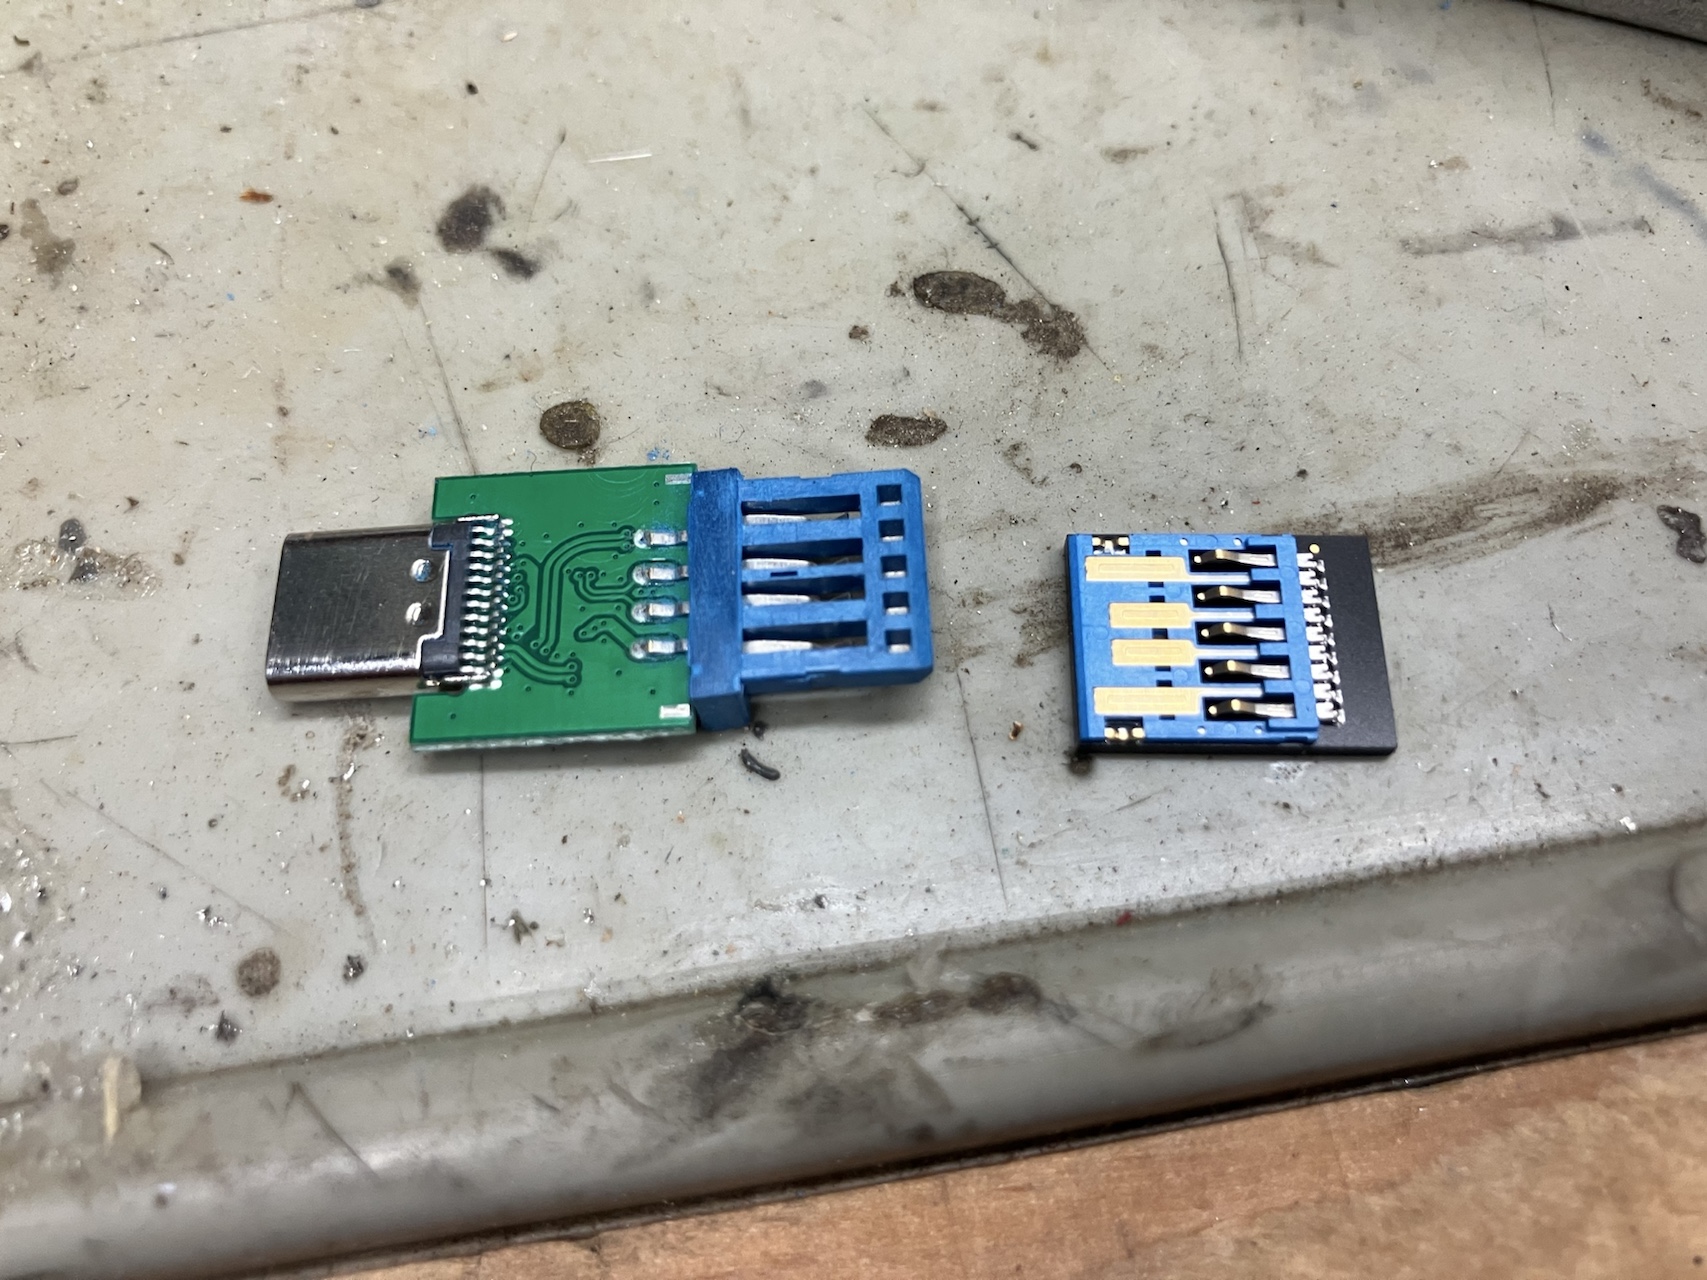
You can separate the housing from the USB adapter with a file, but a rotary tool with a cutting wheel makes quick work of it.
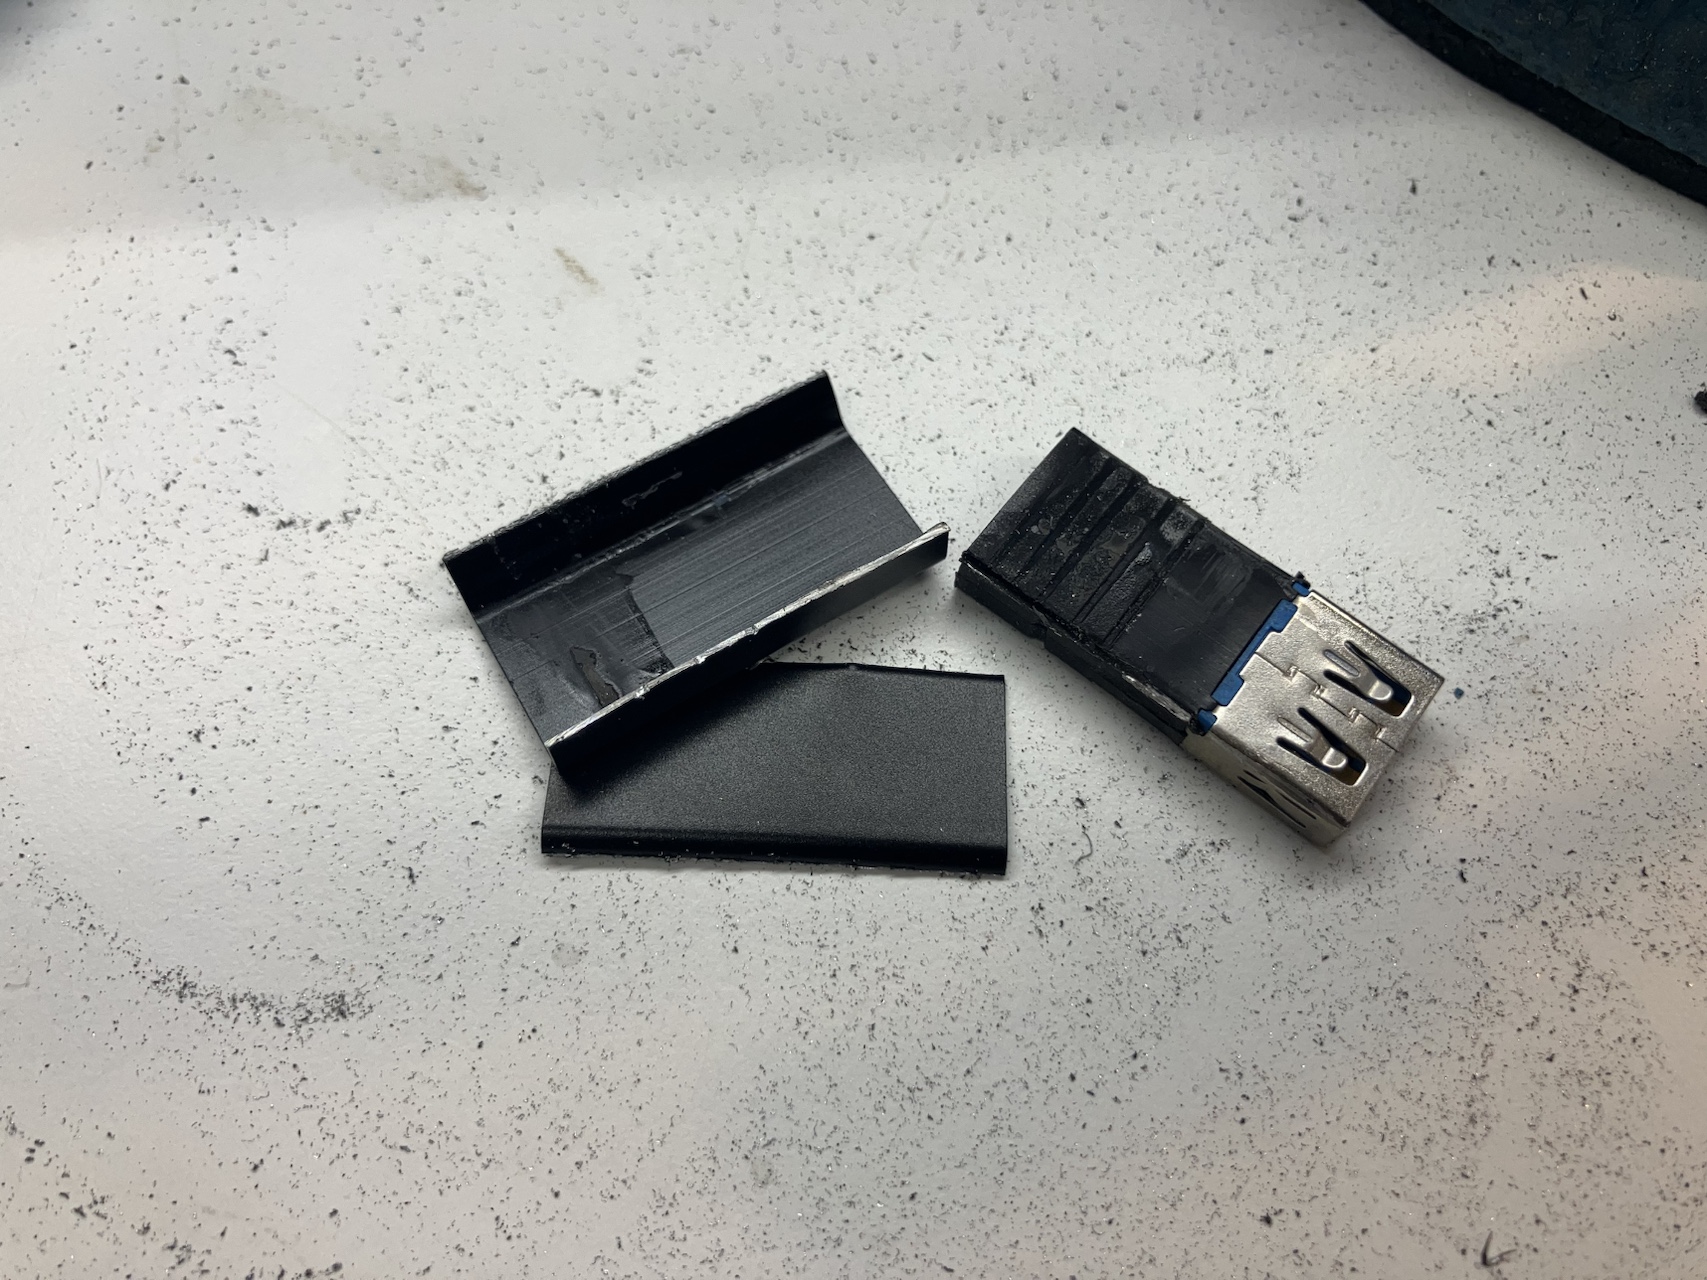
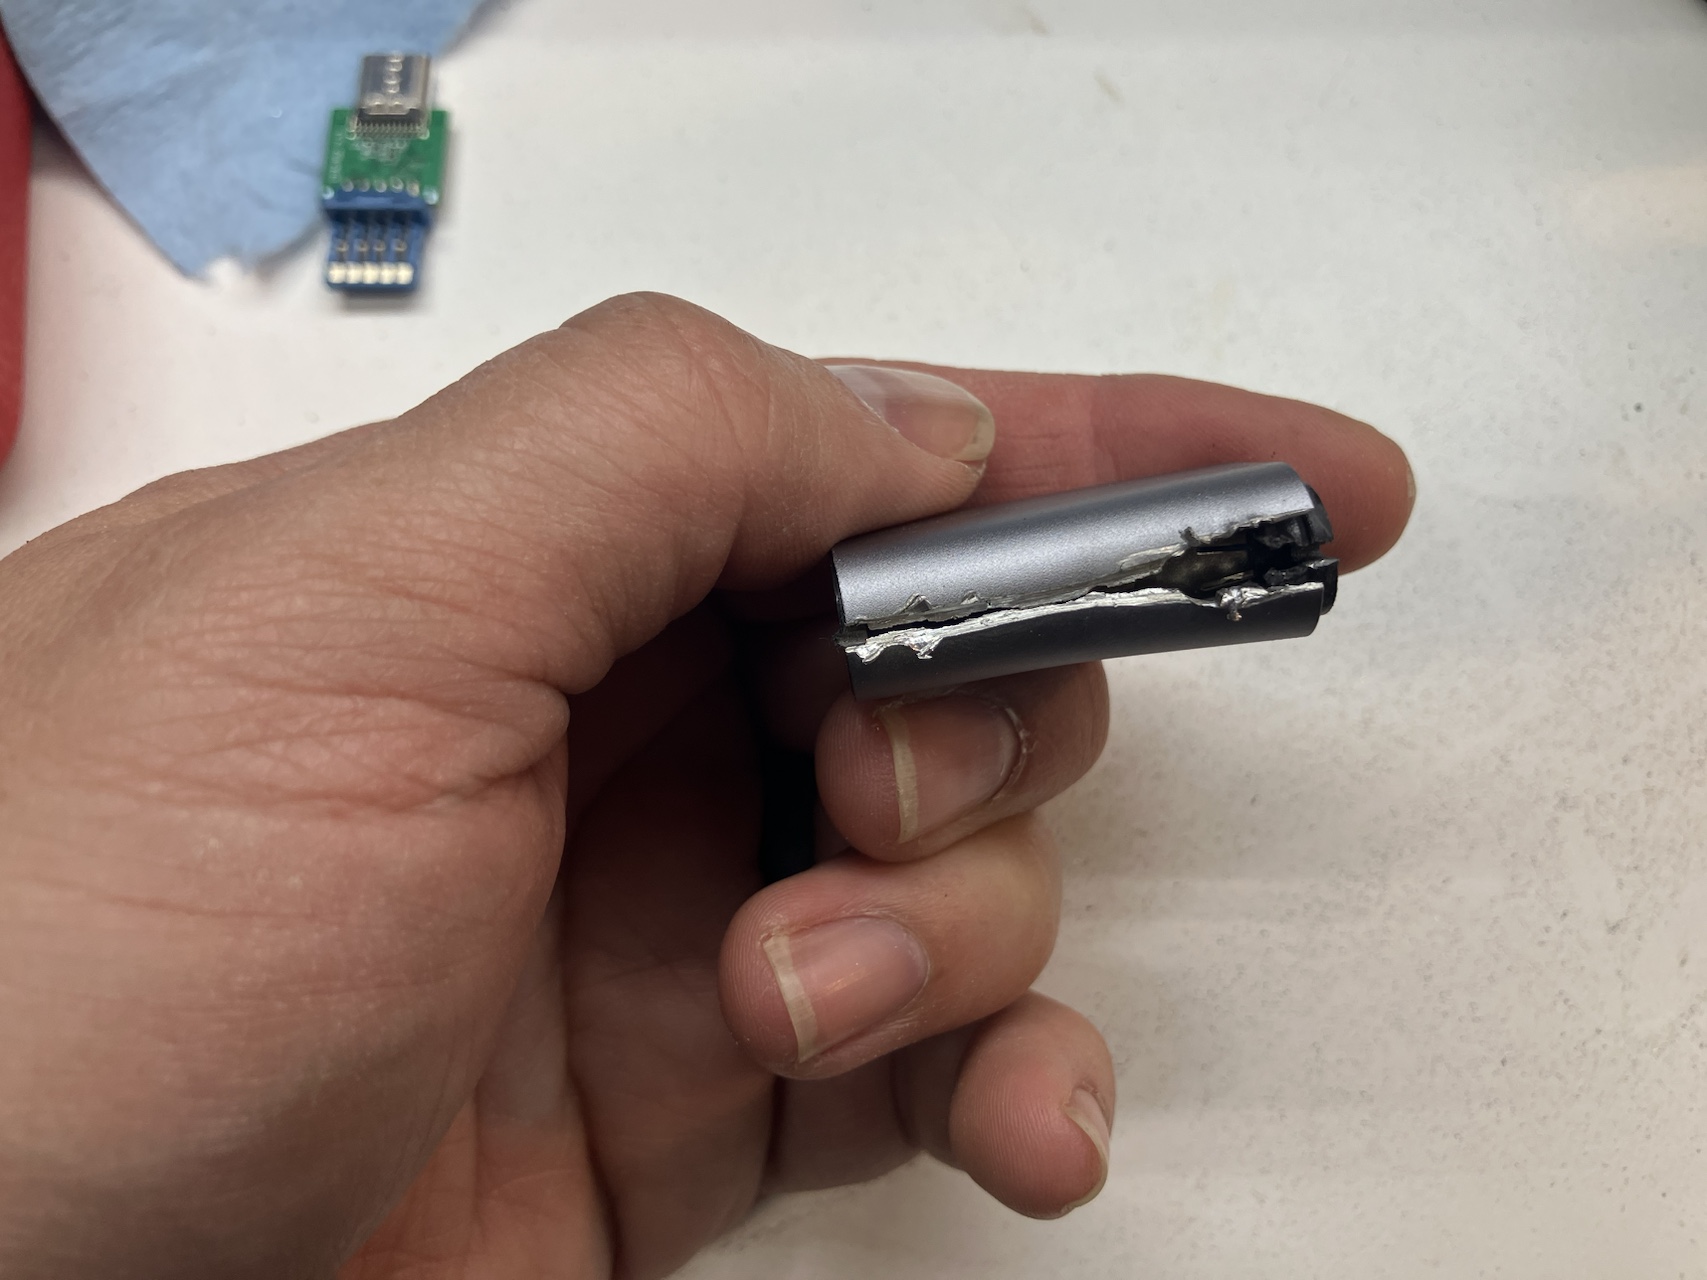
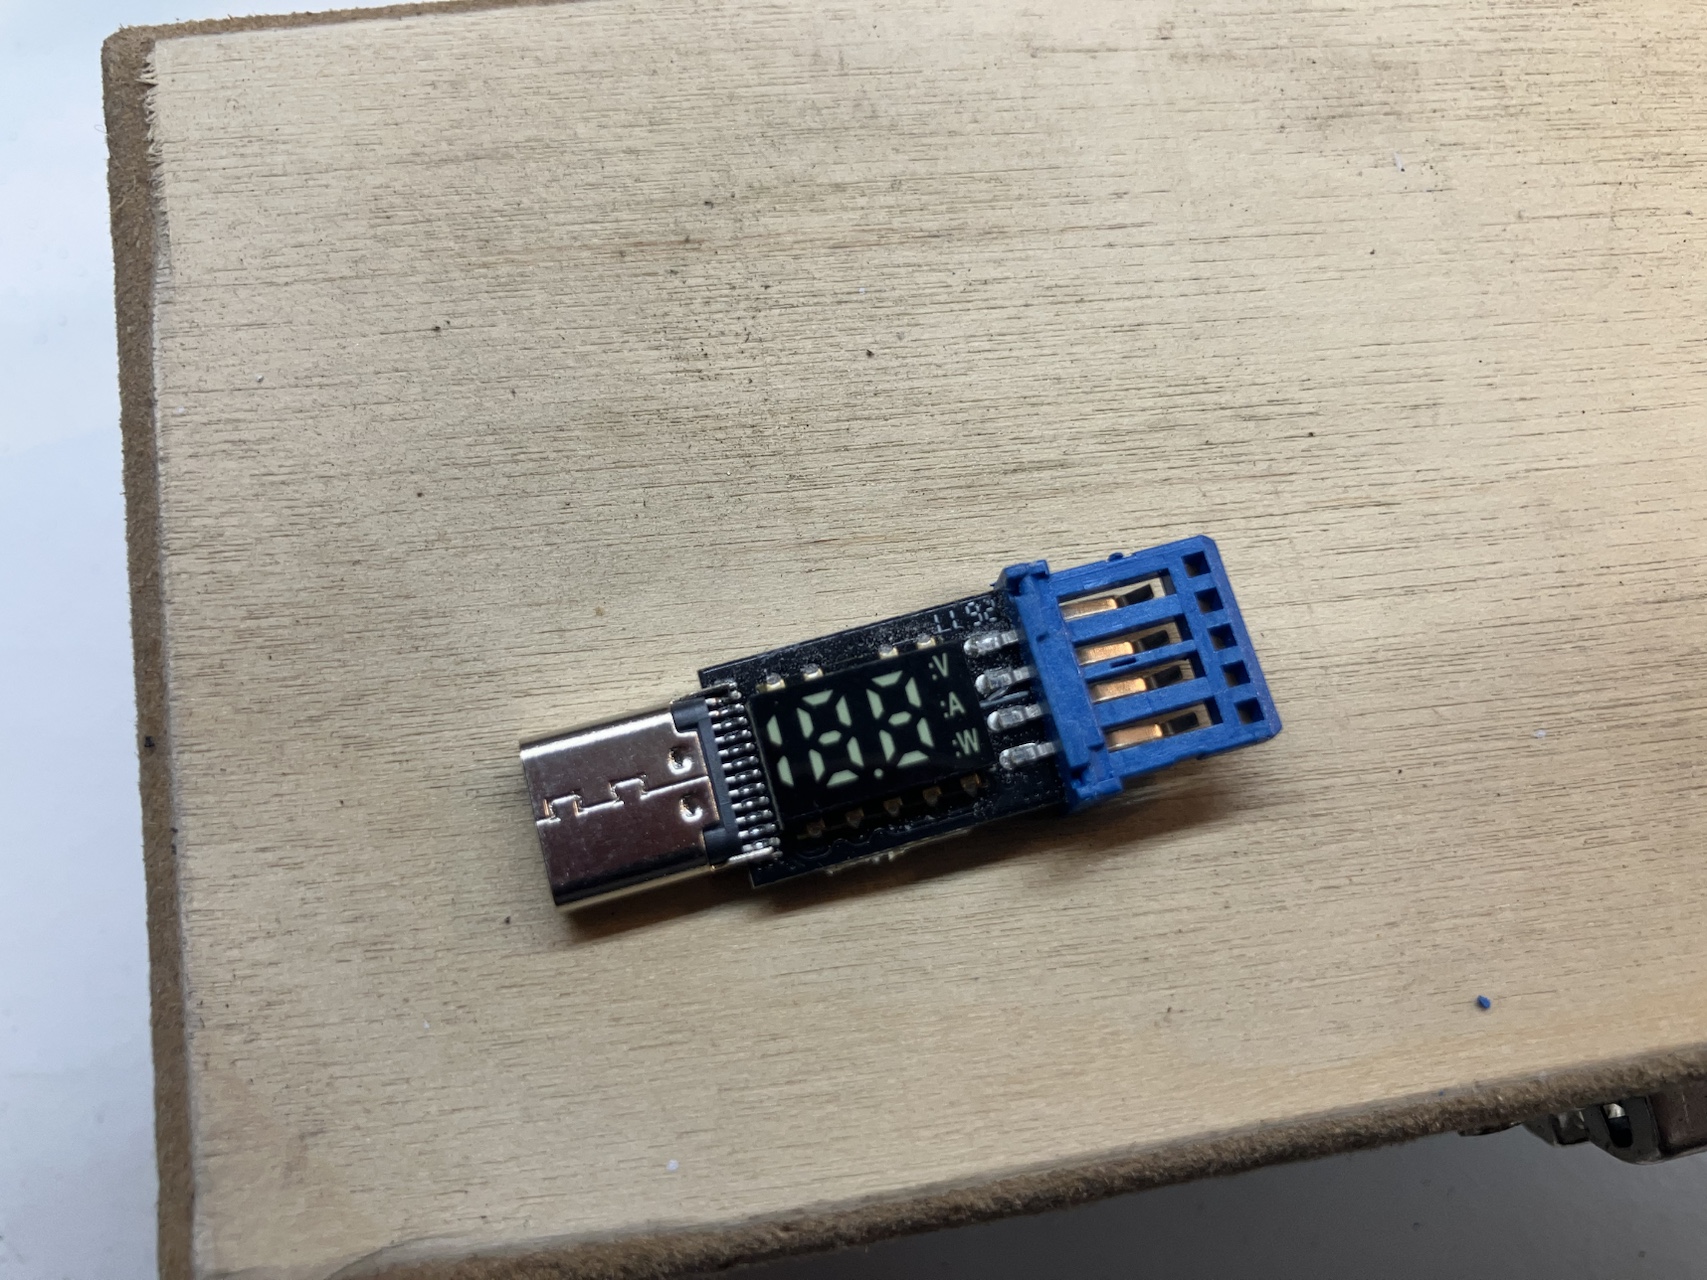
Fitting the USB Adapter to the Cartridge
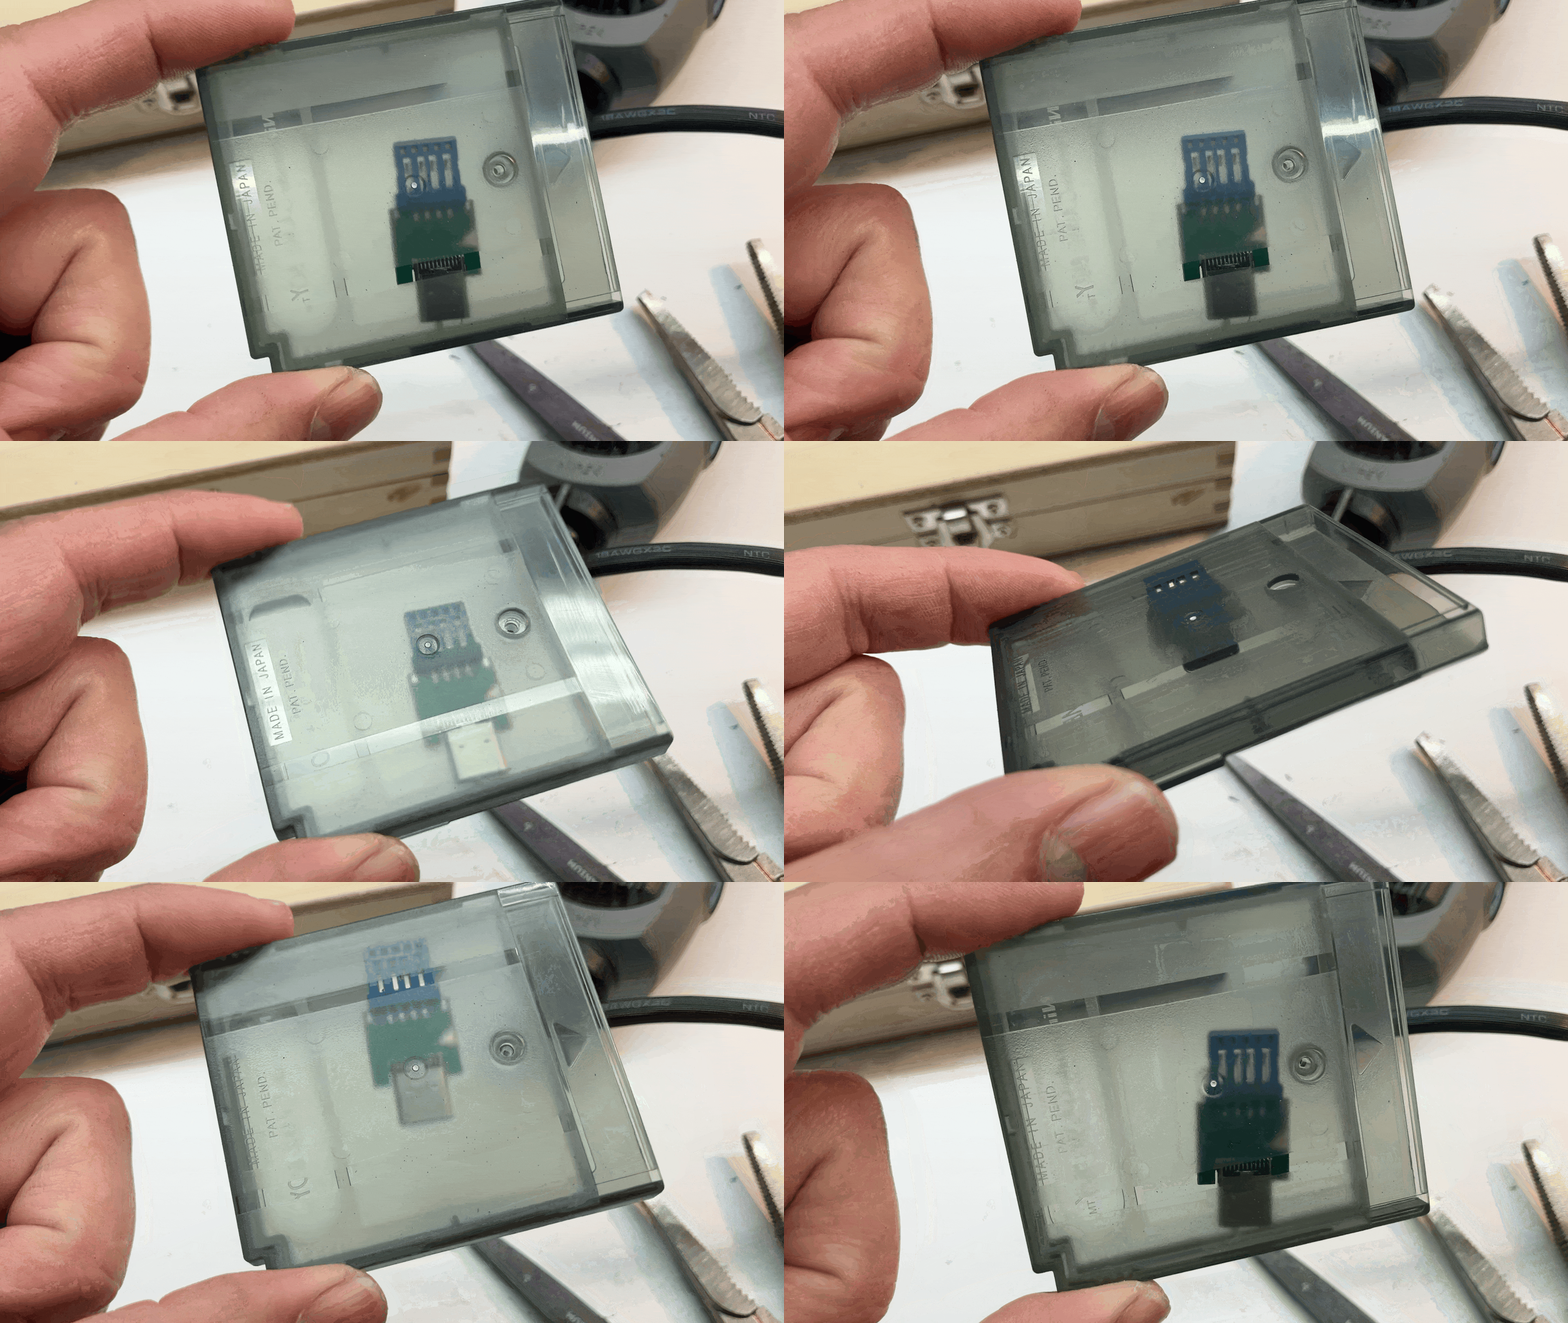
With the housing removed, the USB adapter must be fitted to the cartridge: remove the USB-A receptacle’s metal shell and sand down the insulator (blue for USB 3.0) until it fits inside. Leave enough clearance for the thickness of the heat shrink tube. If the adapter is overmolded, the overmold must be fitted too.
Securing the Flash Drive to the USB Adapter
With the flash drive seated on the adapter’s USB tongue, cut a piece of heat shrink tube long enough to cover the flash drive plus a couple of millimeters of the USB insulator. Use pliers to press the chip against the tongue while you heat the tube, shrinking it to secure the two together.
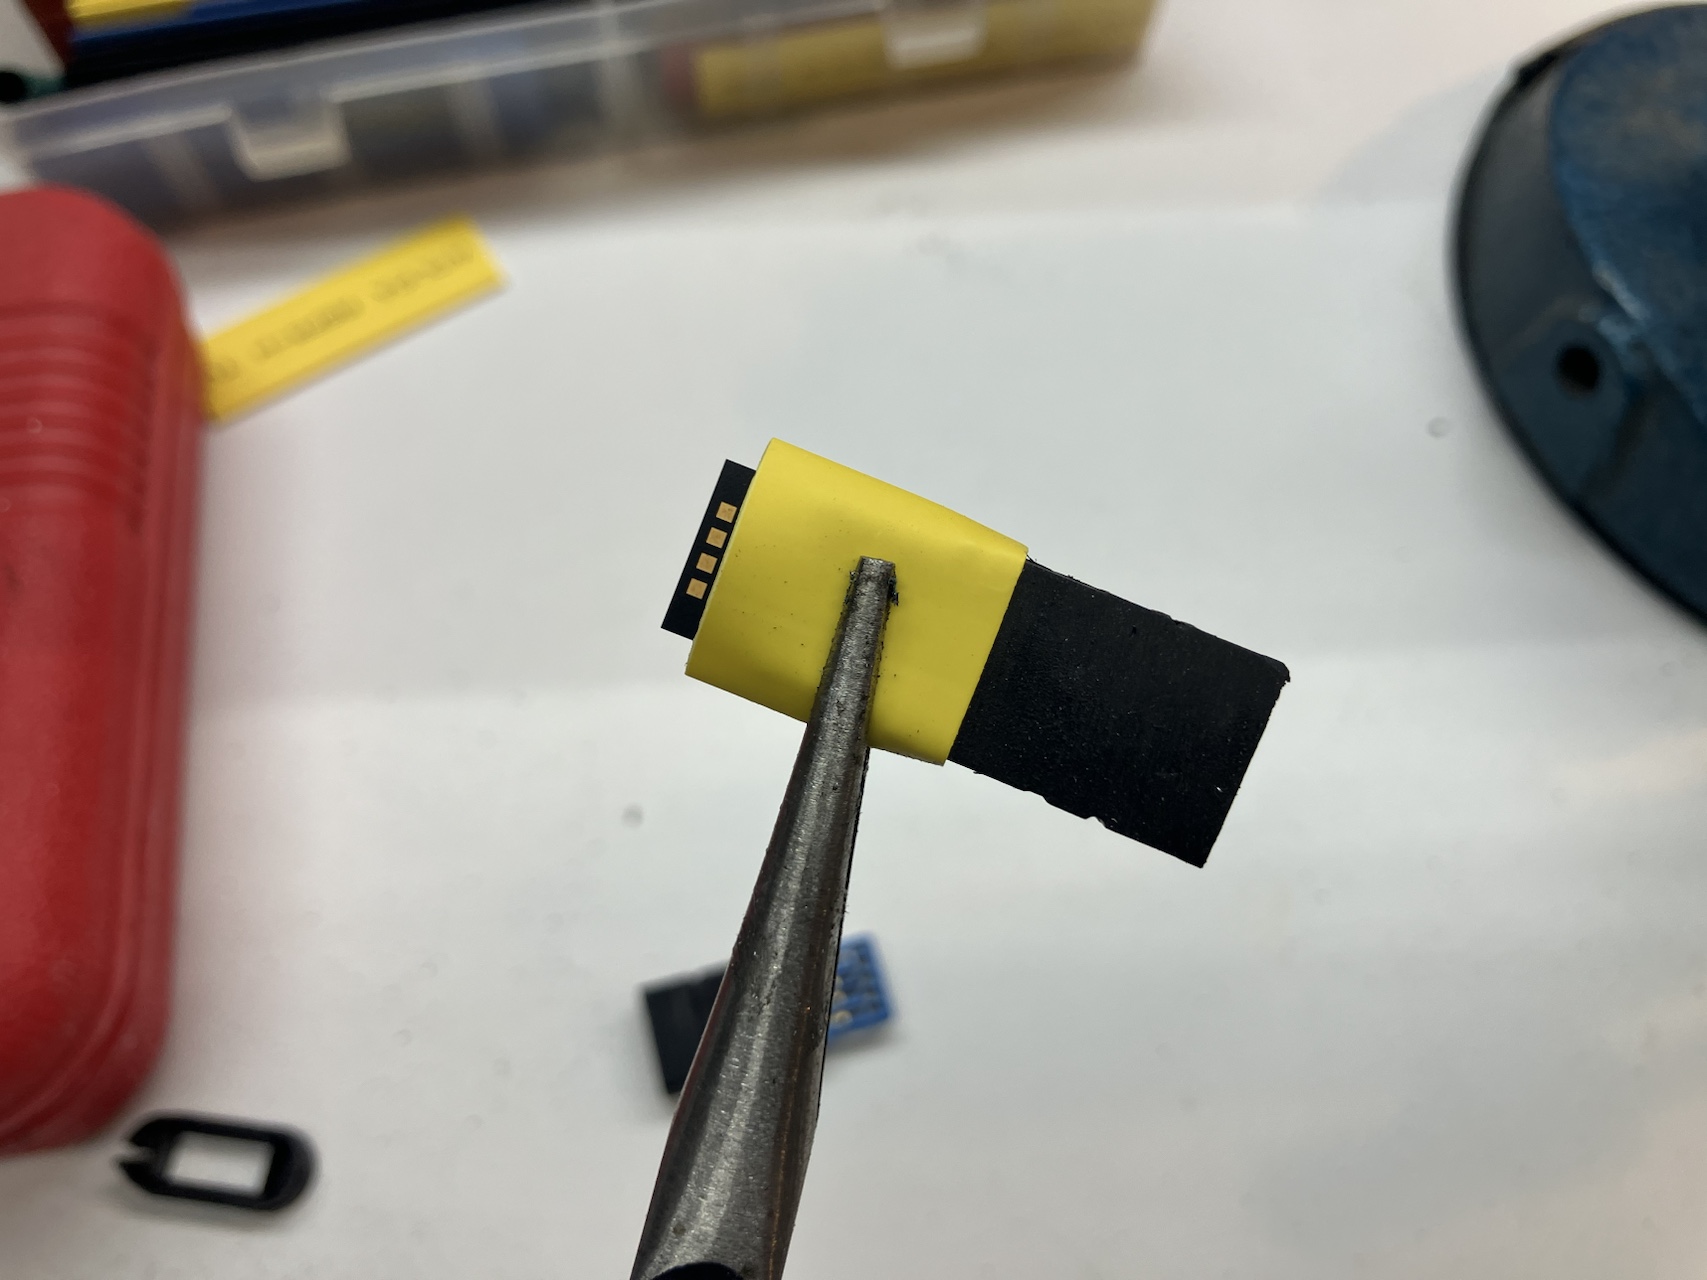
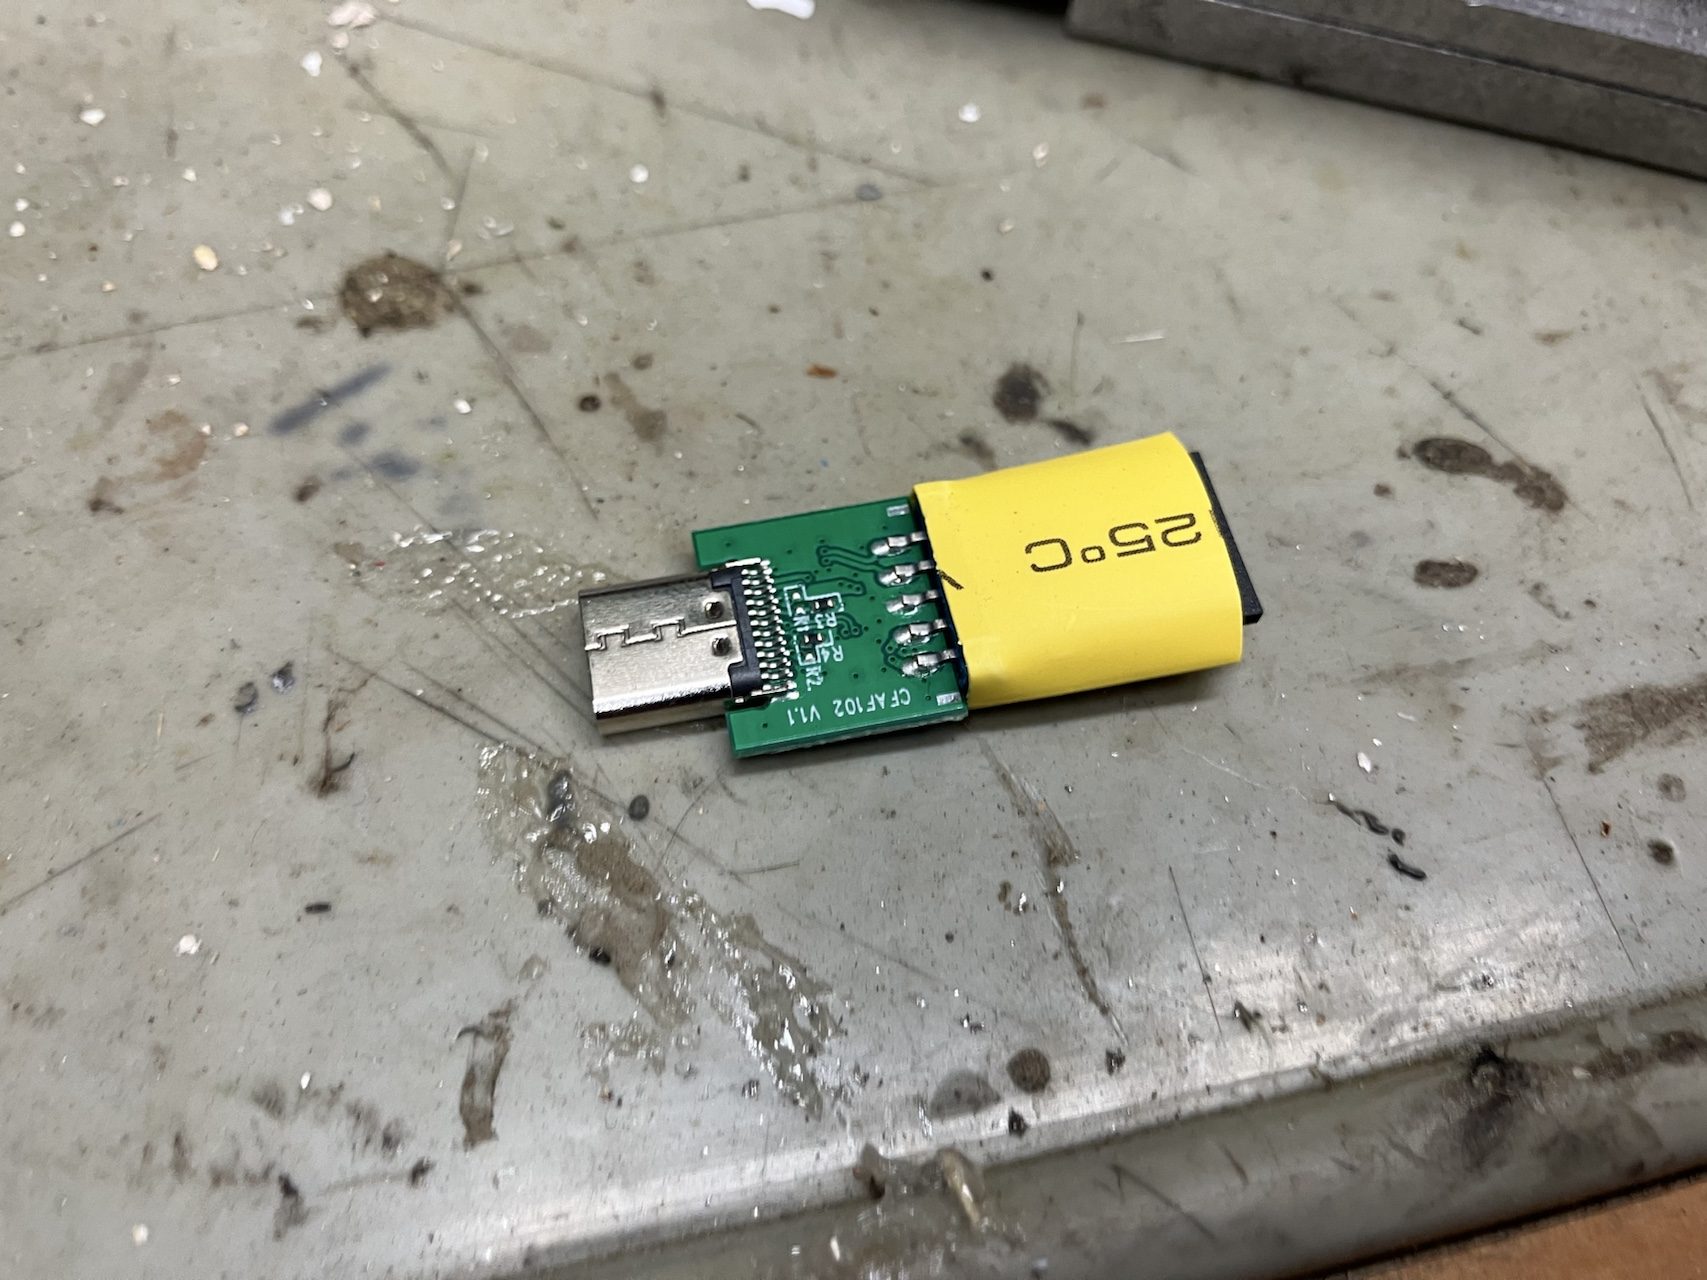
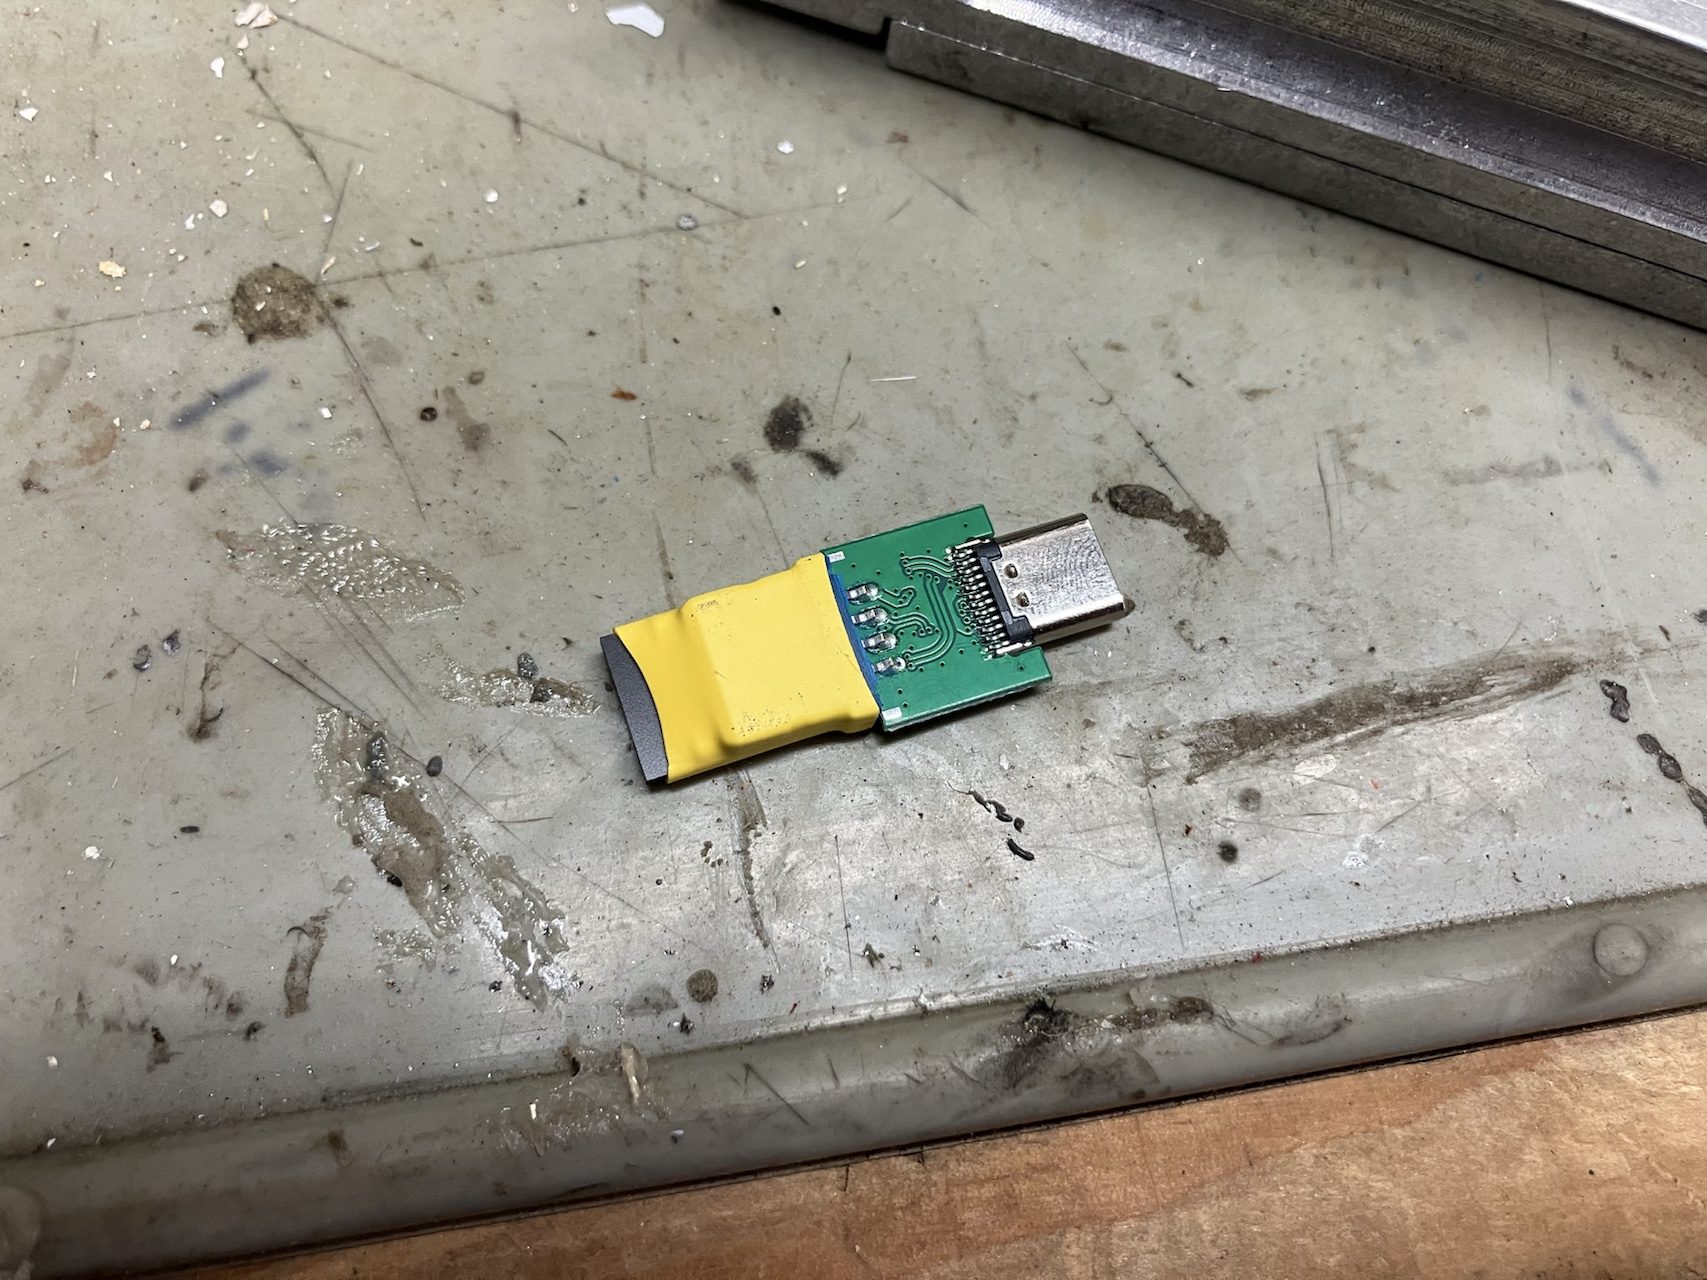
This is a good time to test whether the assembly mounts as a storage device on any available OS.
Modifying the Cartridge
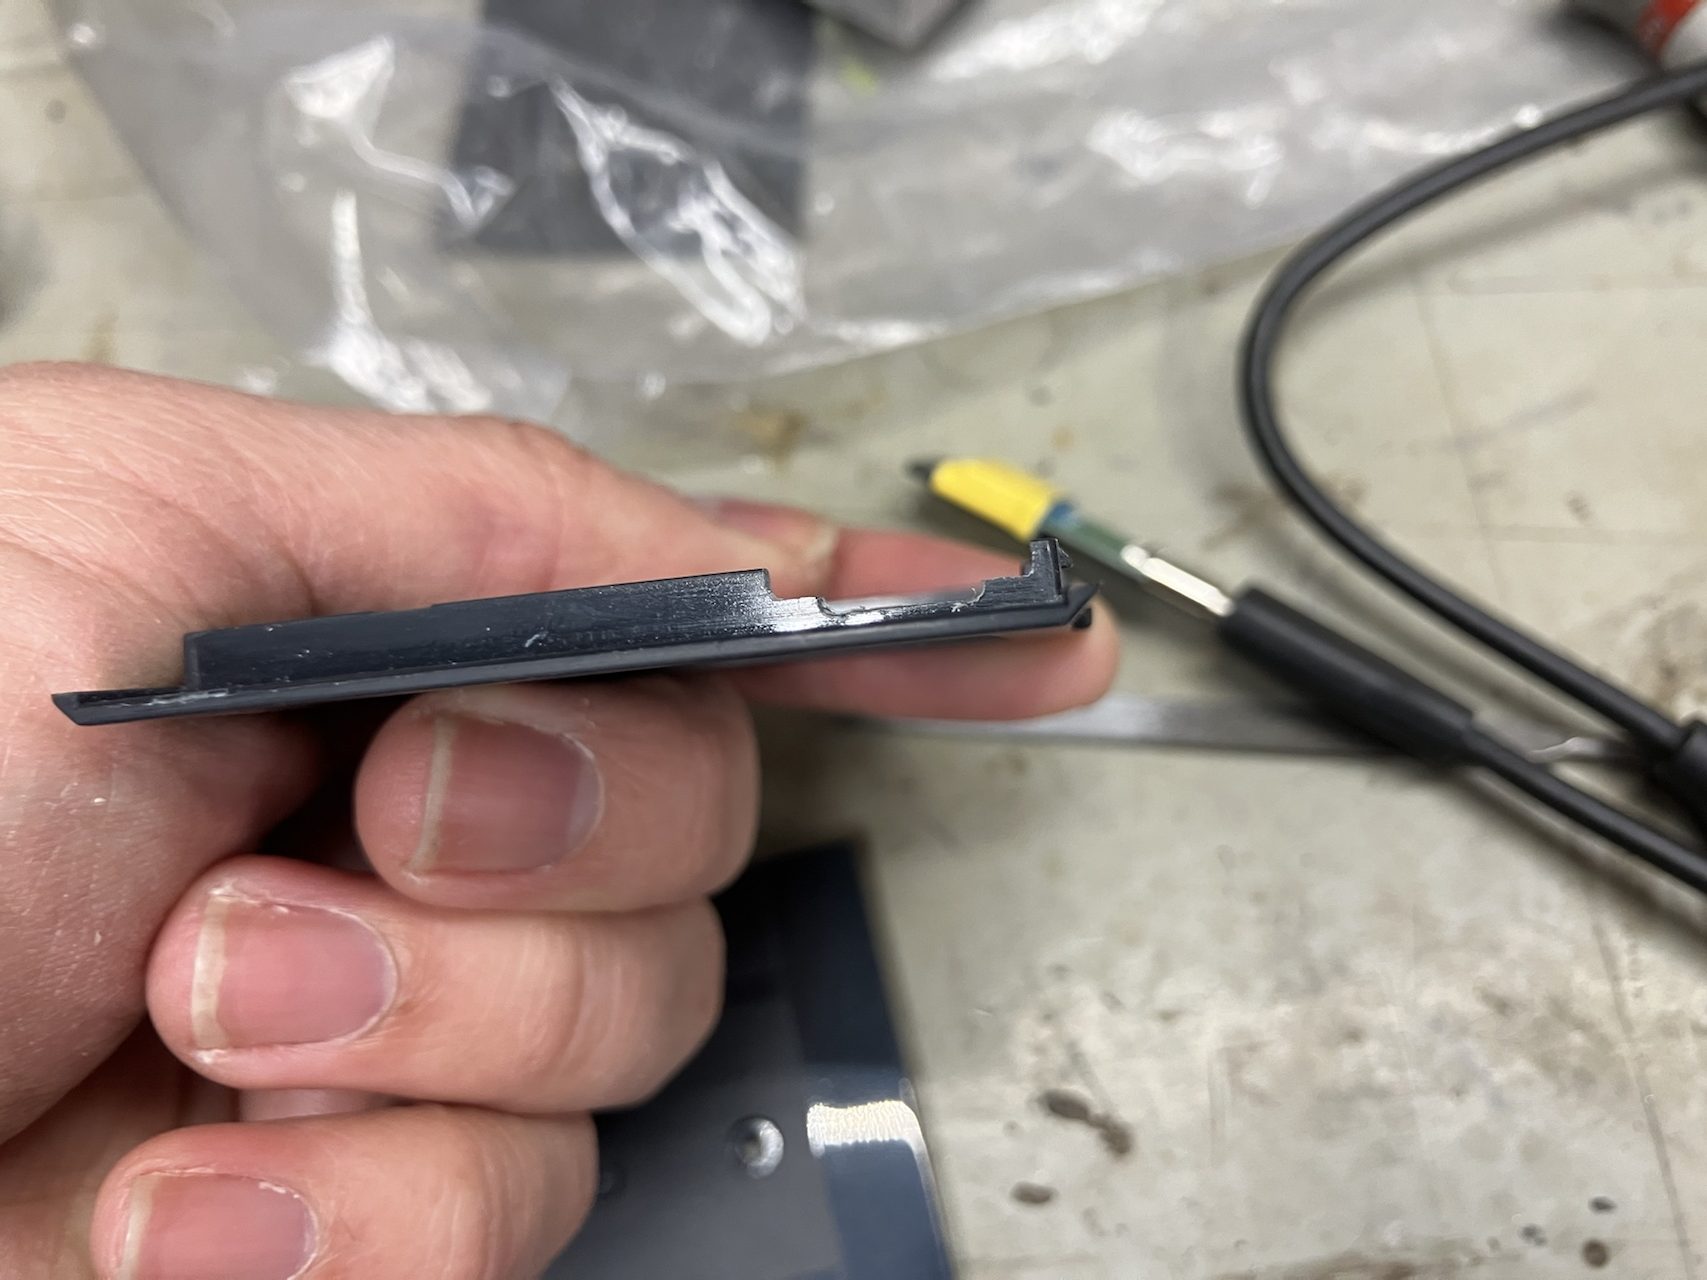
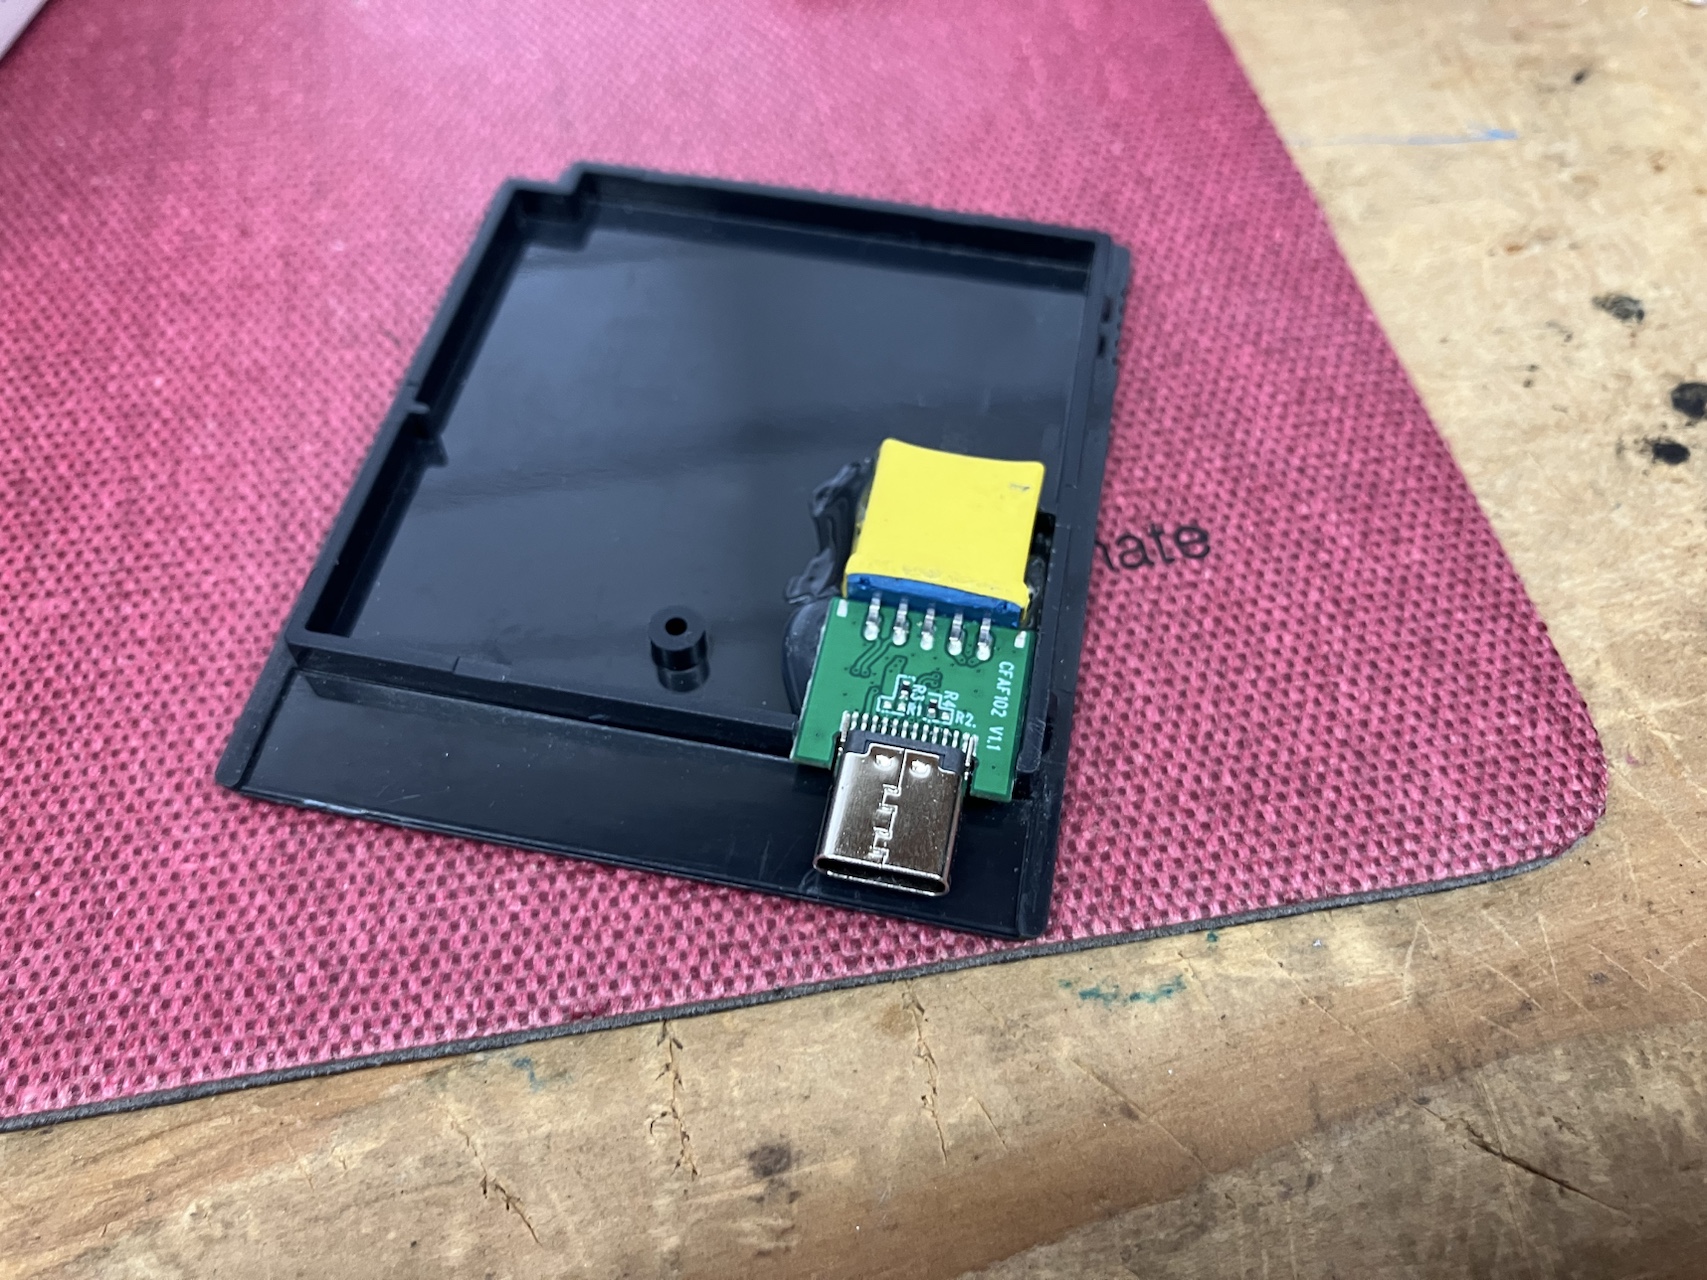
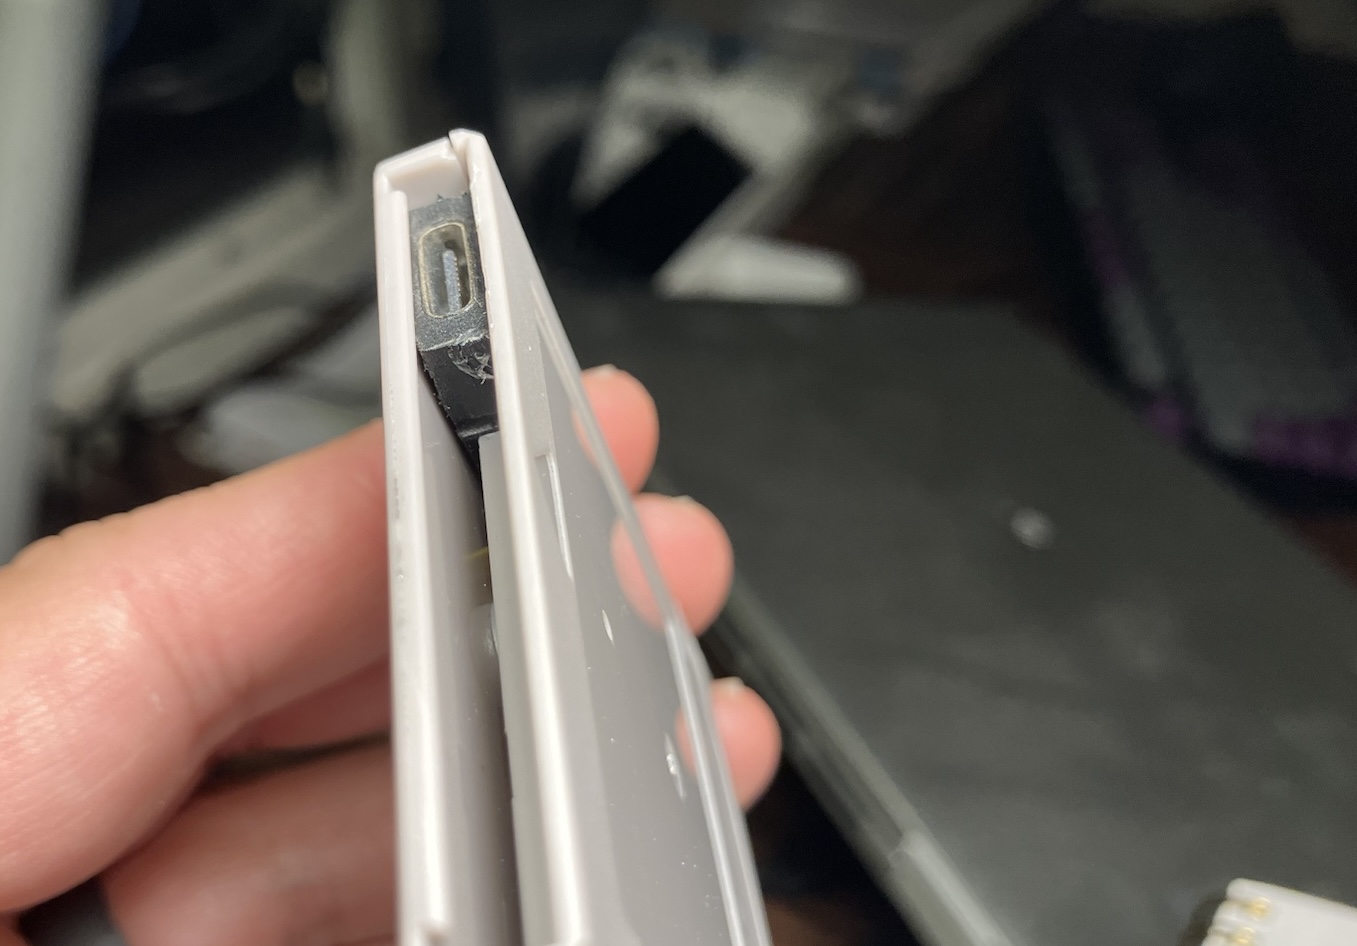
The replacement cartridge consists of two pieces and a screw. One piece has a screw boss and a support ledge that holds the PCB in place and exposes its edge connector. This ledge needs to be cut or filed to fit the adapter’s USB-C receptacle.
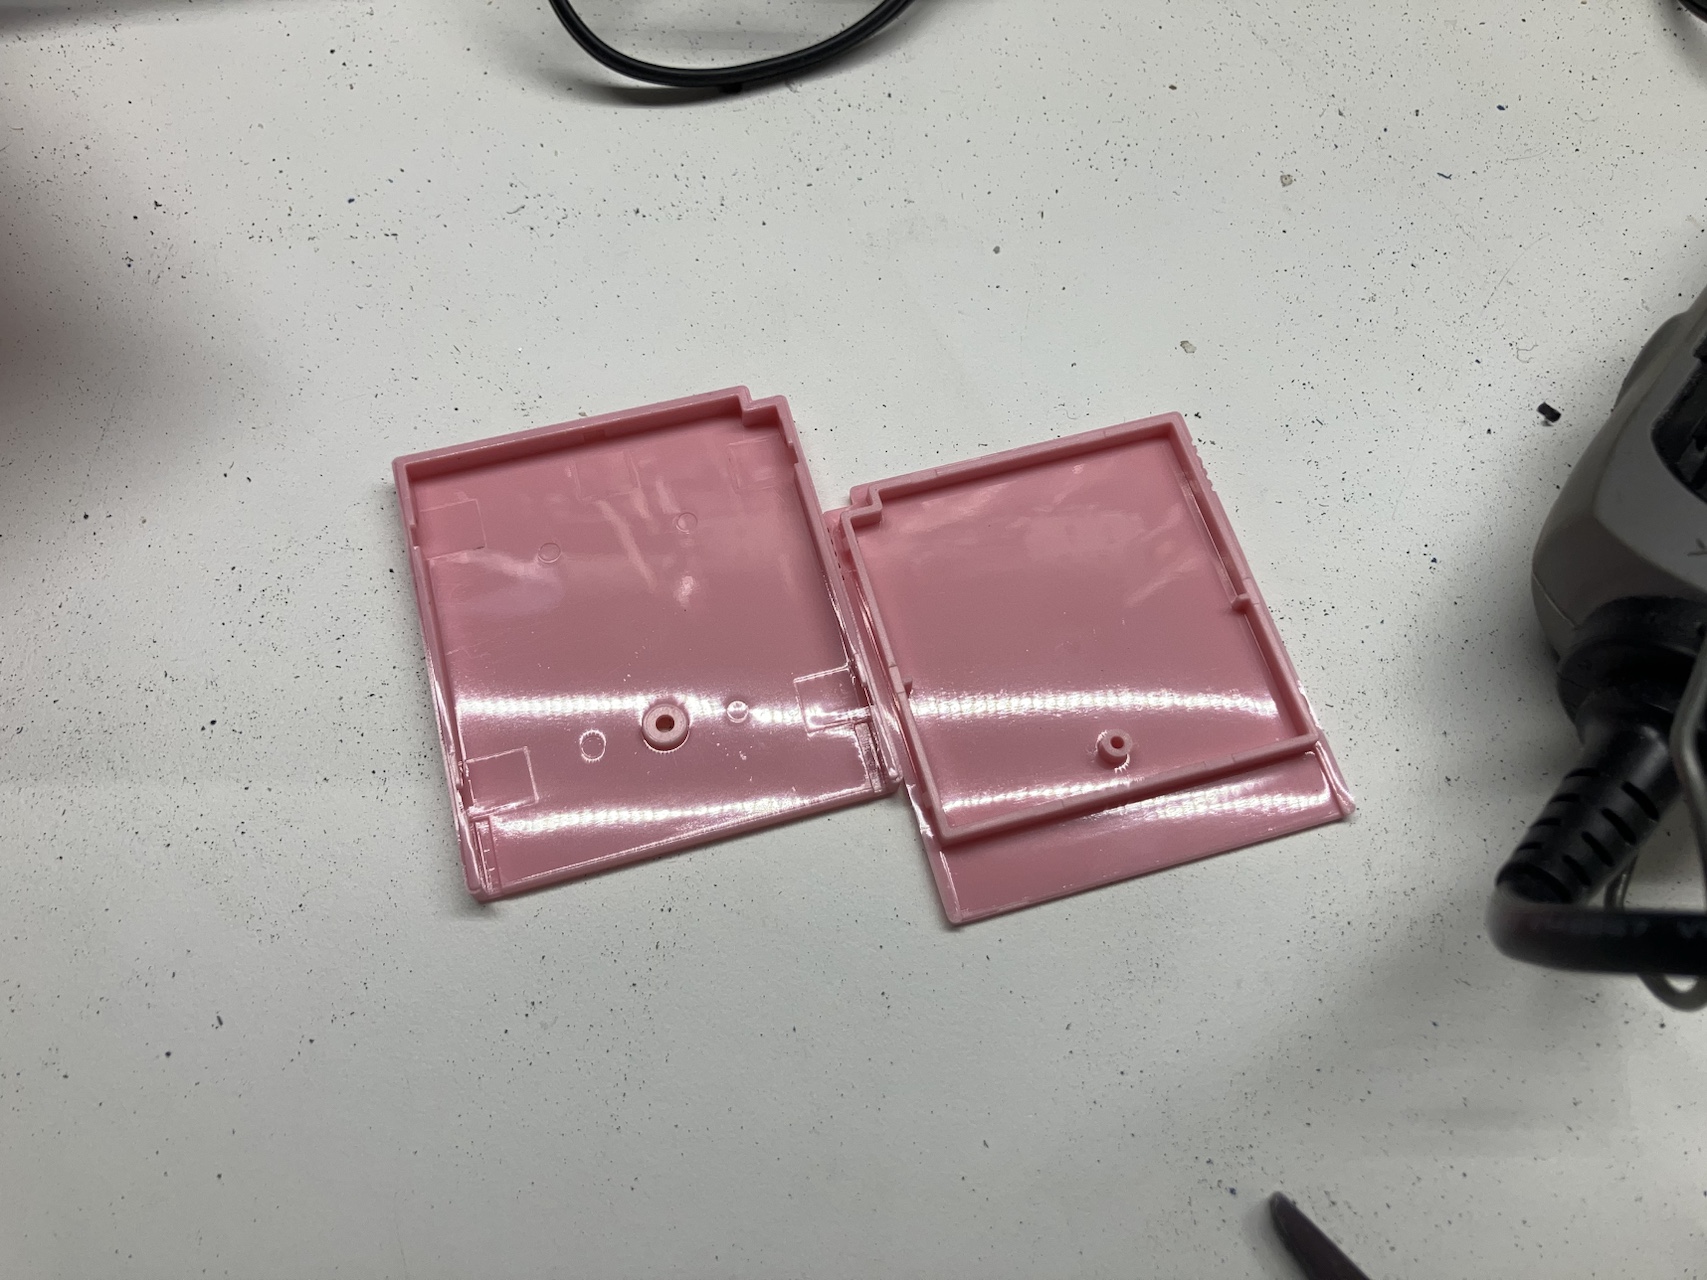
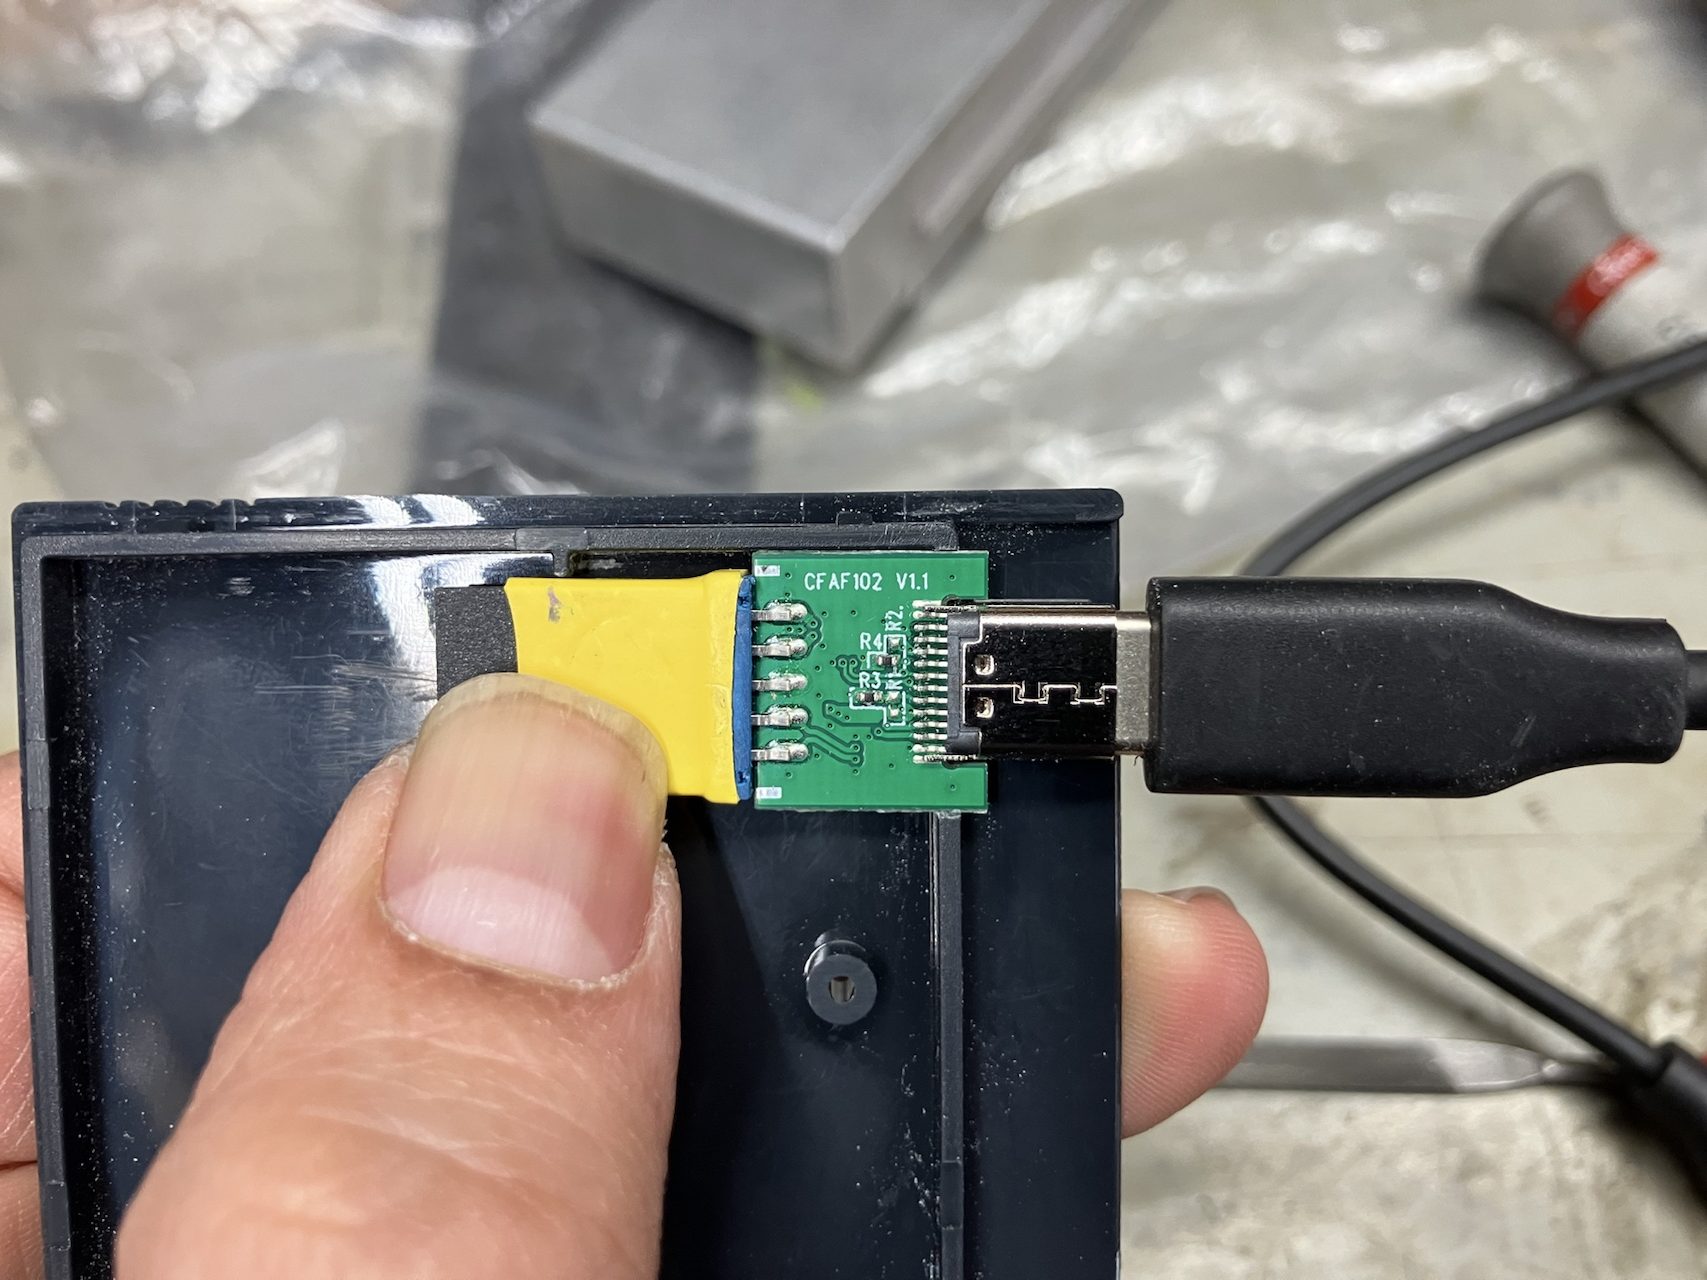
The opposite piece has a retaining rib for the PCB along the cartridge’s interior edge. Position the USB-C receptacle so a USB-C cable can be fully inserted and clear the retaining rib; plan accordingly.
Gluing the Flash Drive and USB Adapter Assembly to the Cartridge
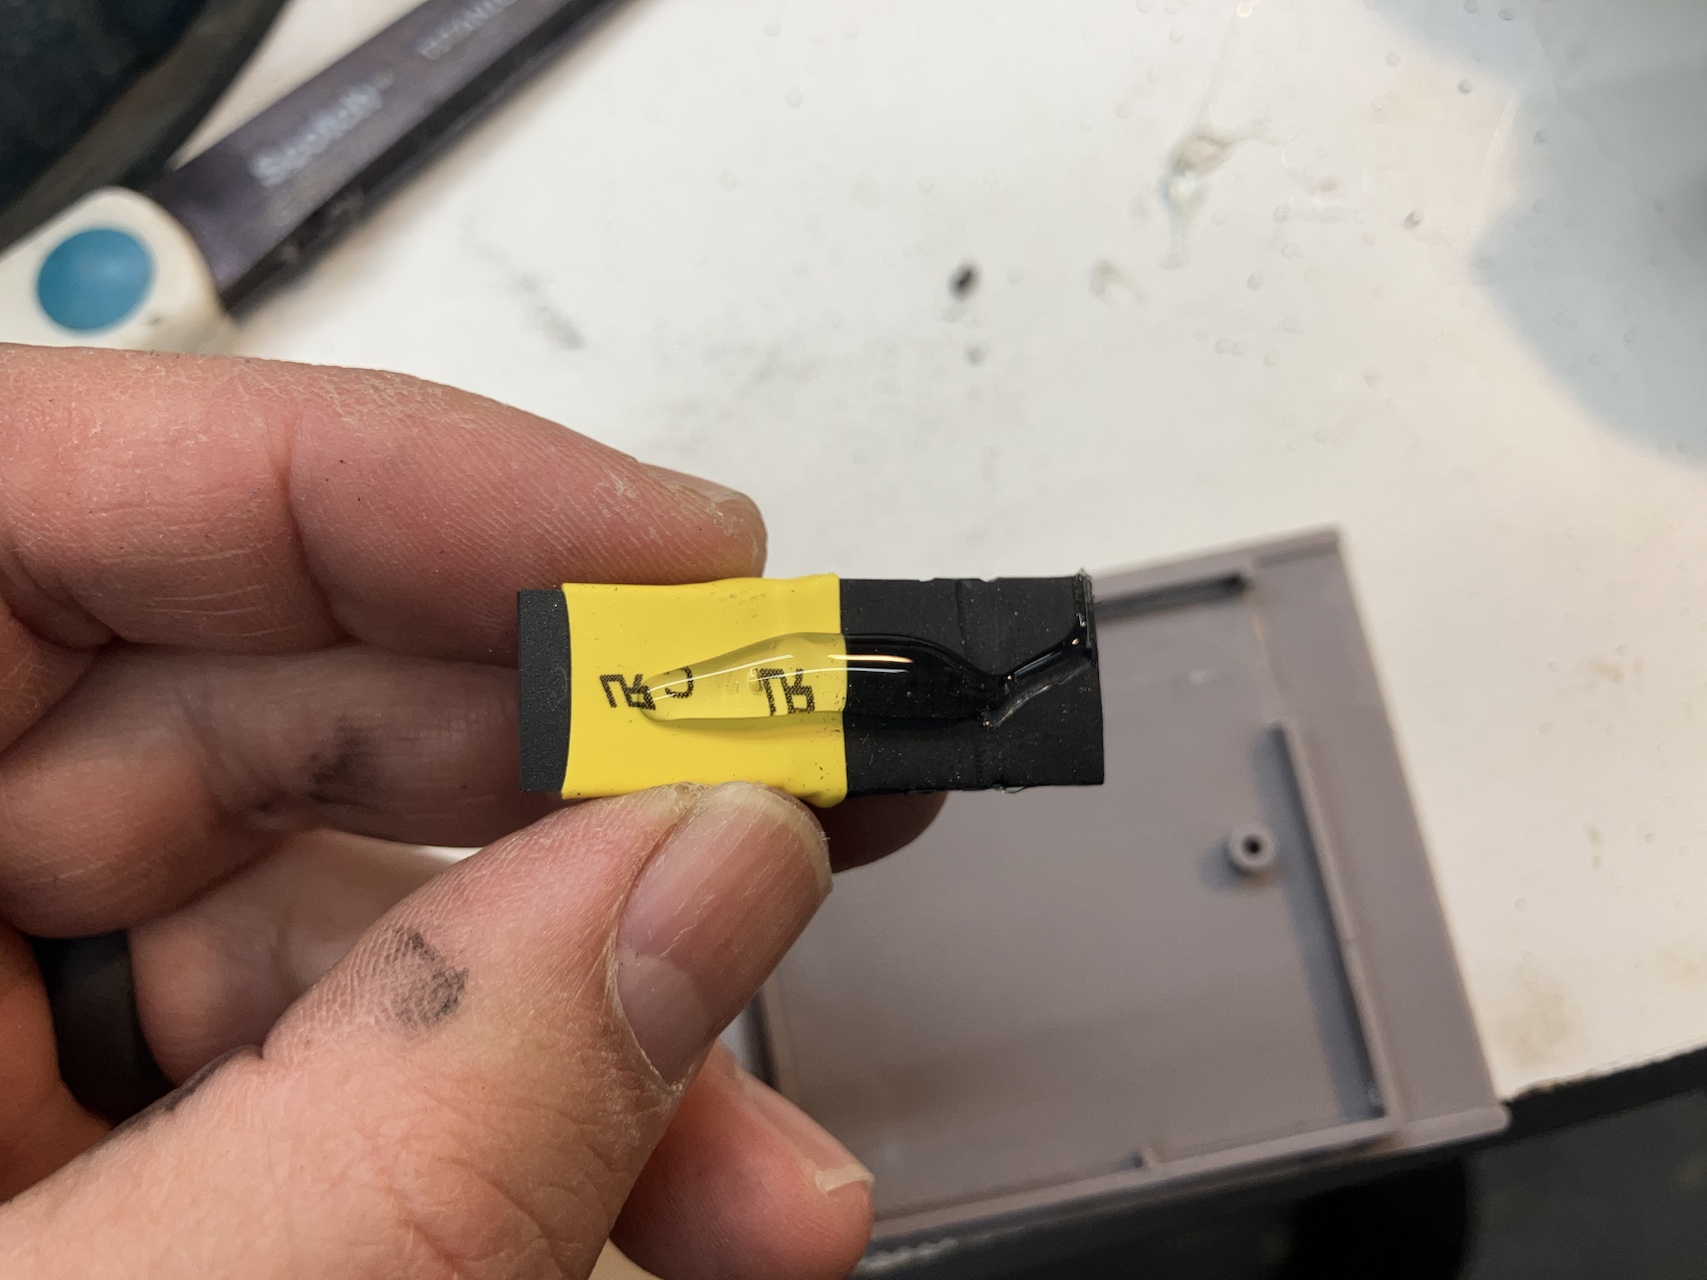
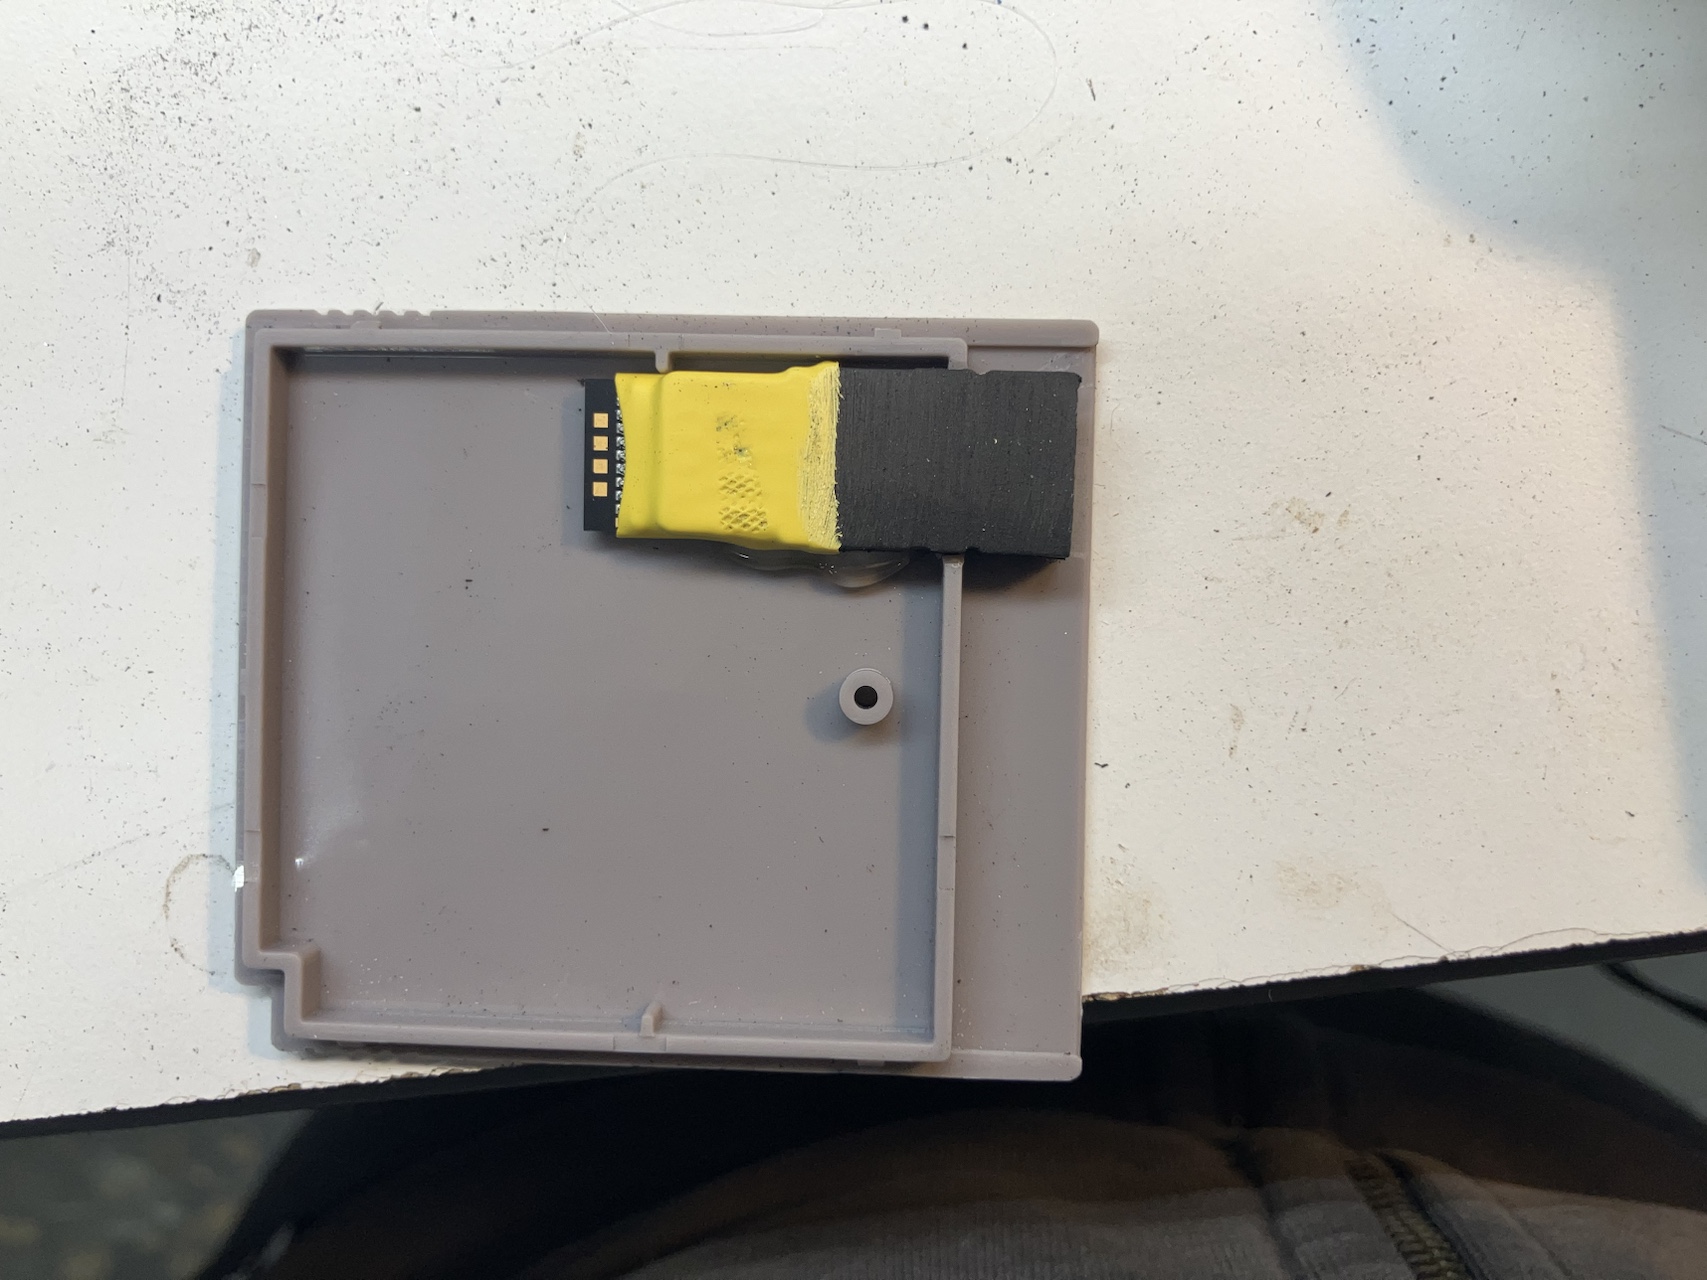
Plan the assembly’s placement before gluing it down. Placement matters: the cable’s USB-C plug needs to reach the receptacle and make a secure, reliable connection! A great way to get this right is to plug the cable into the assembly while positioning it, which accounts for the overmold on the cable.
I prefer to apply the glue to the assembly, then press it onto the cartridge.
Closing It Up
Assemble the cartridge by sliding the two pieces together. If you used the Pastall adapter, or fitted the receptacle support over the USB-C receptacle, you’ll need to gently guide the PCB retaining rib on the cartridge’s interior edge over the USB flash drive assembly.
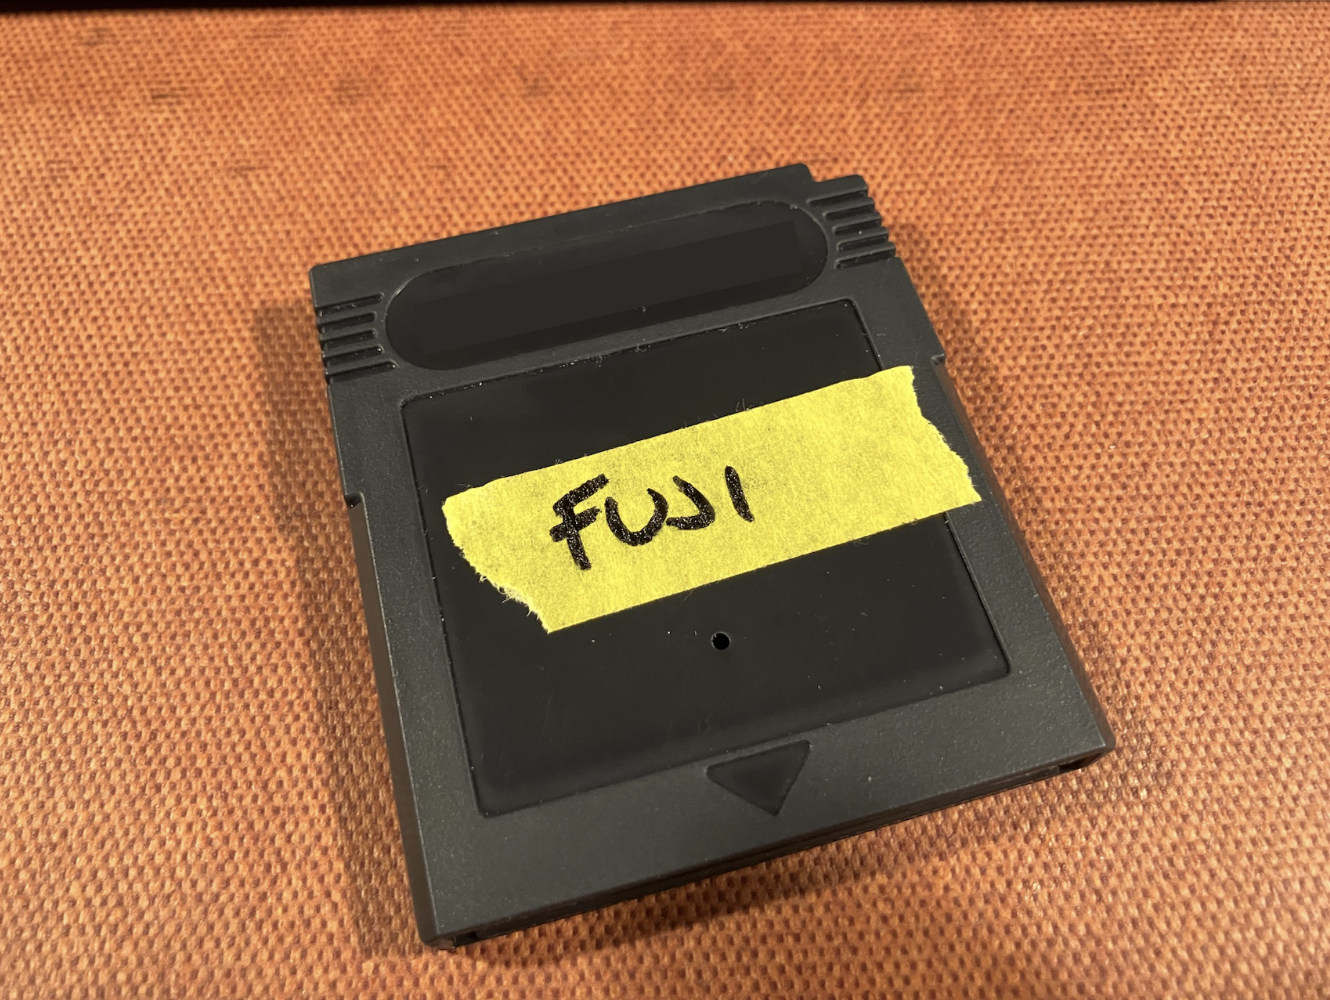
Fasten it with the screw supplied with the cartridge, using the appropriate bit.
Creating and Printing a Custom Label
I happen to have a dye-sublimation photo printer and compatible sticker paper, which worked perfectly for this. The result is a sharper, better-defined graphic than a laser printer produces.
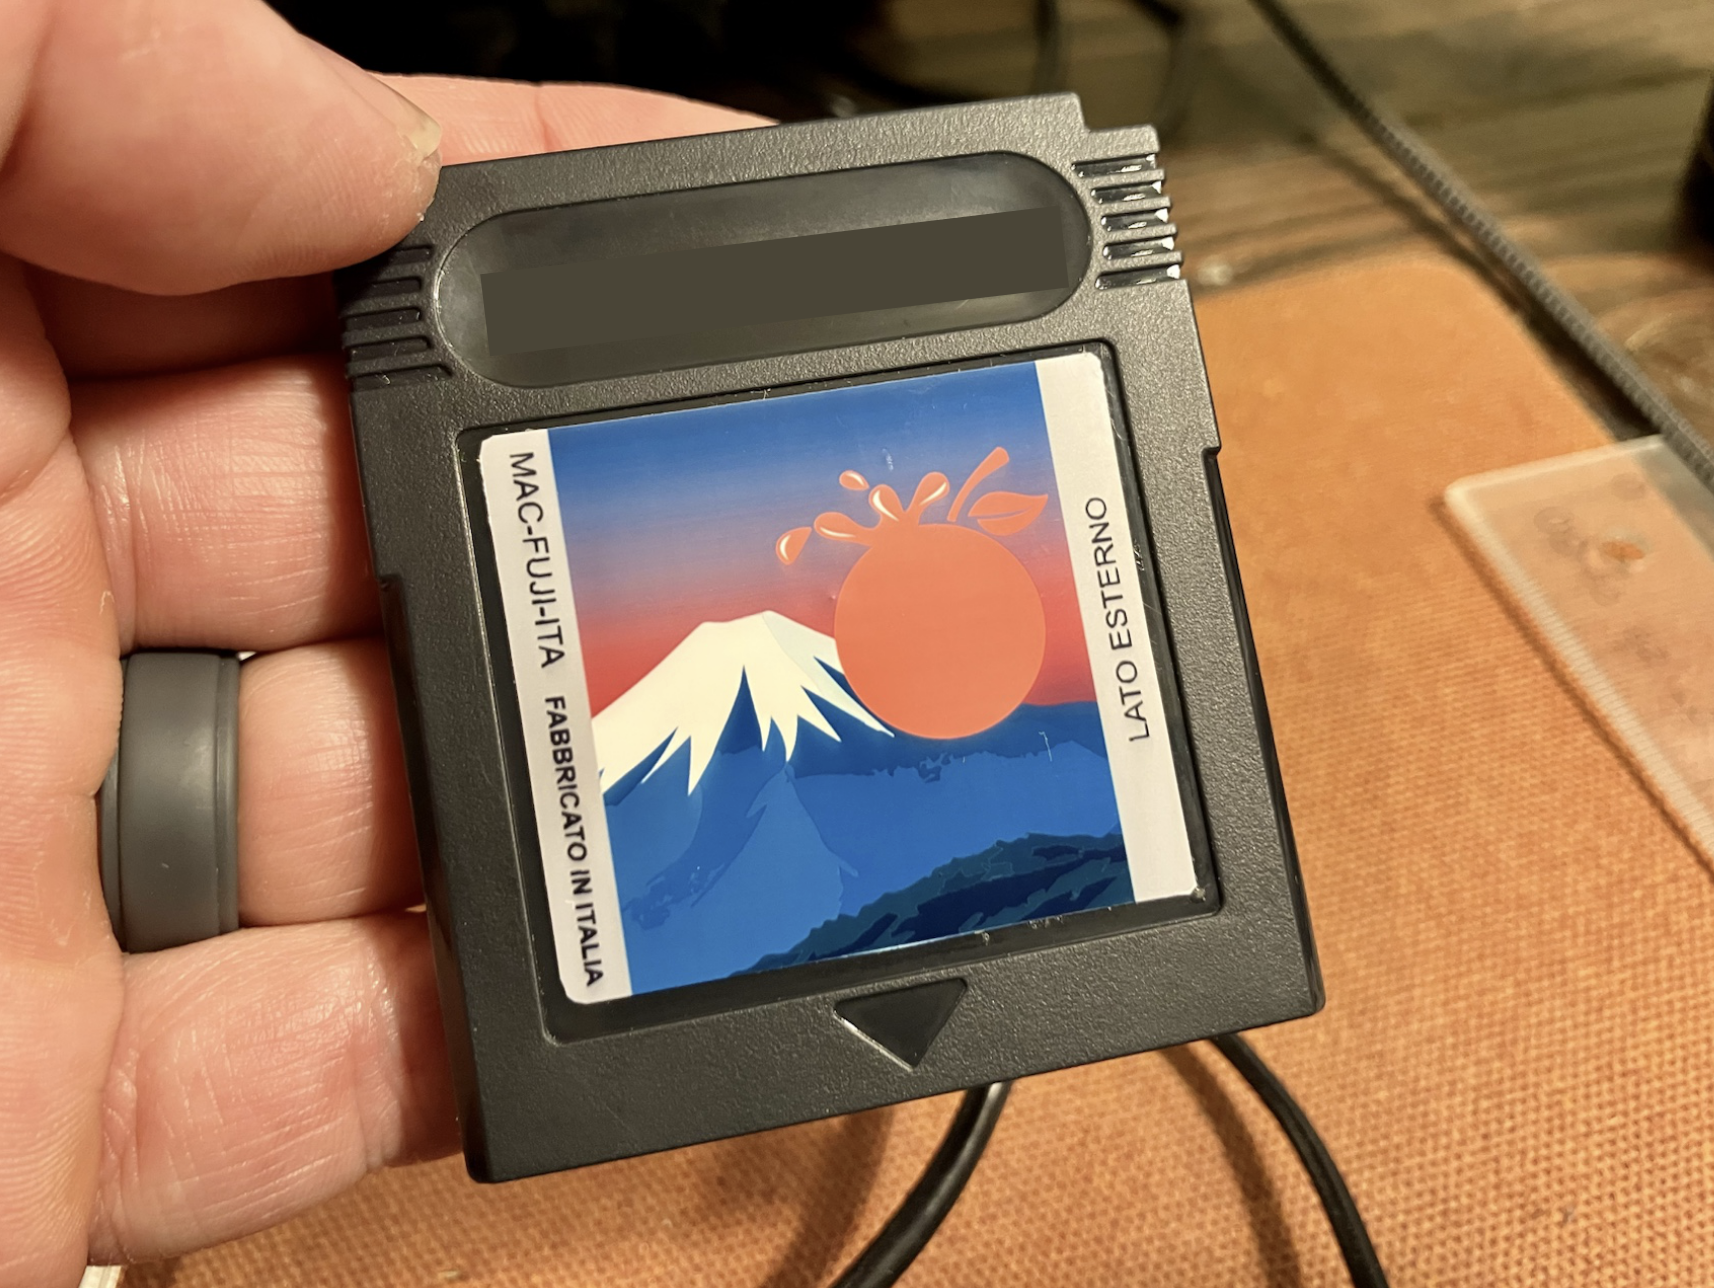
I designed my own variations in Inkscape using a label template (see the resources below).
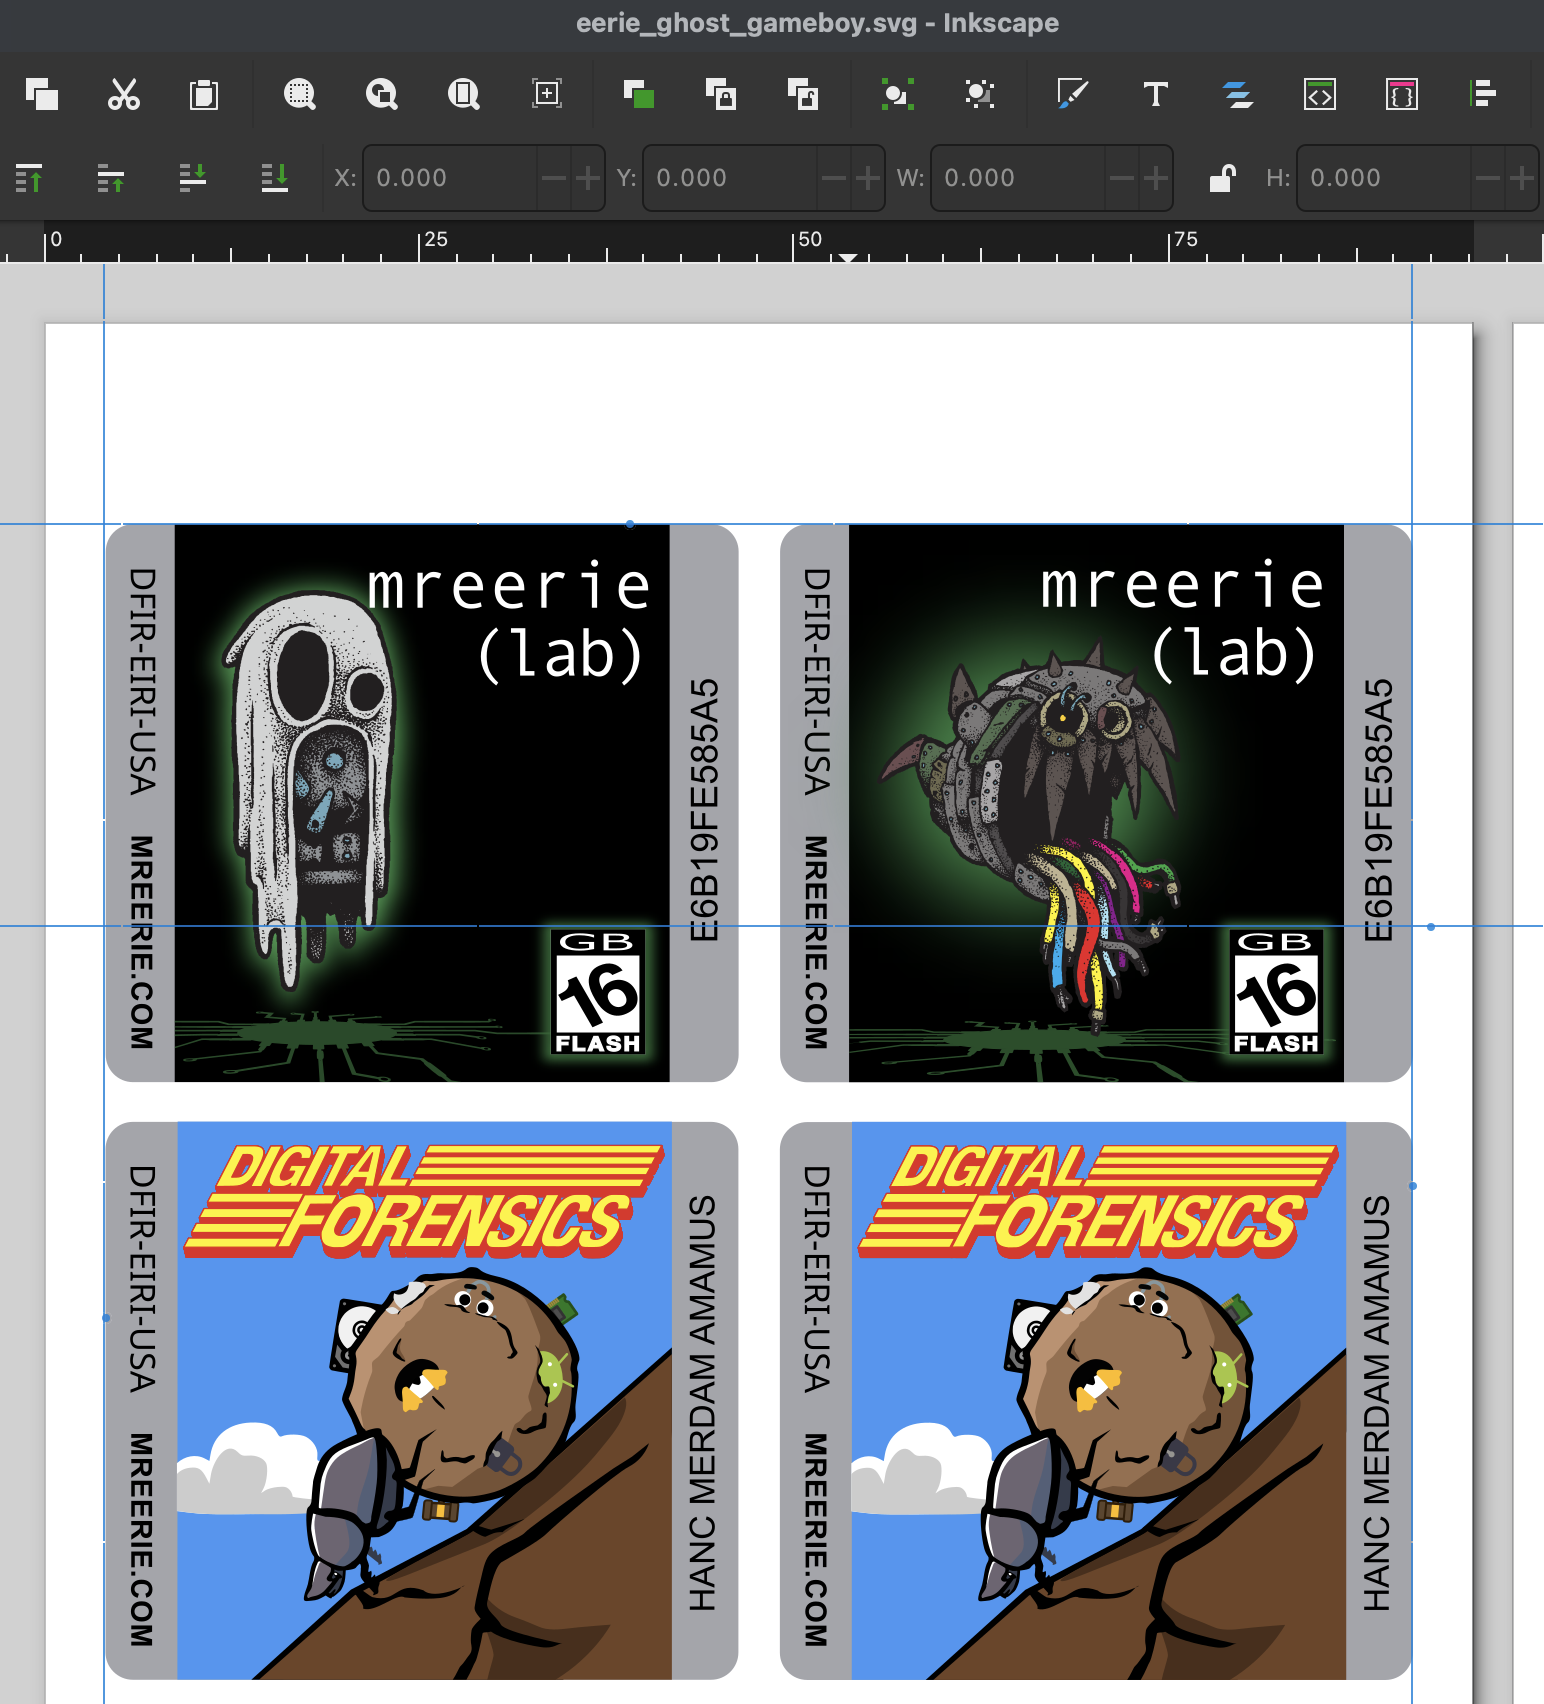
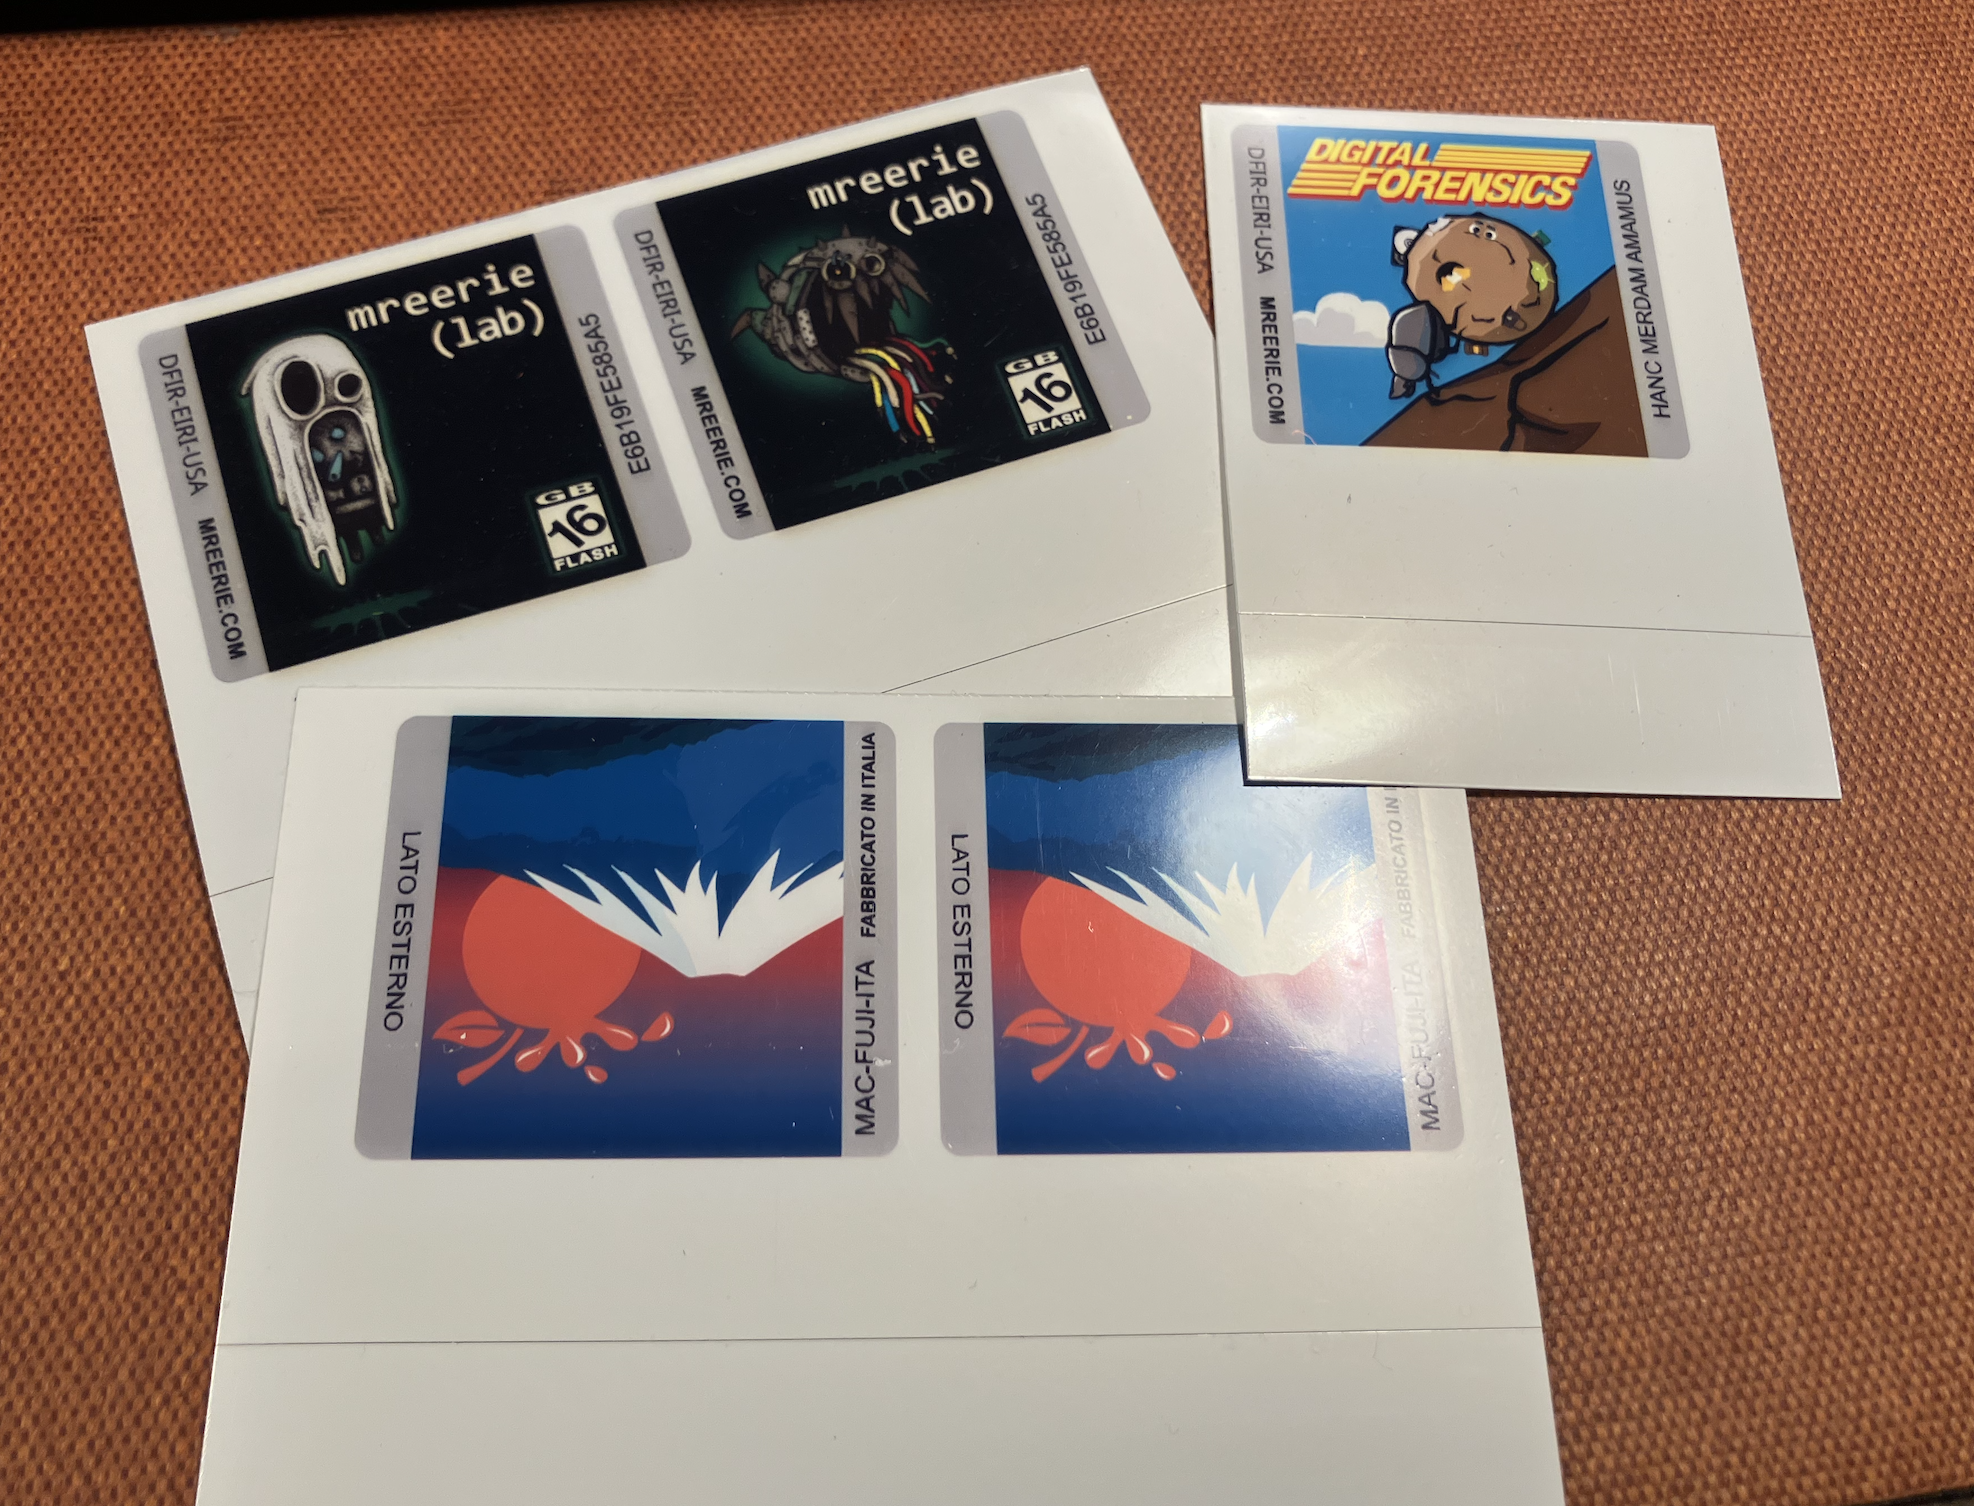
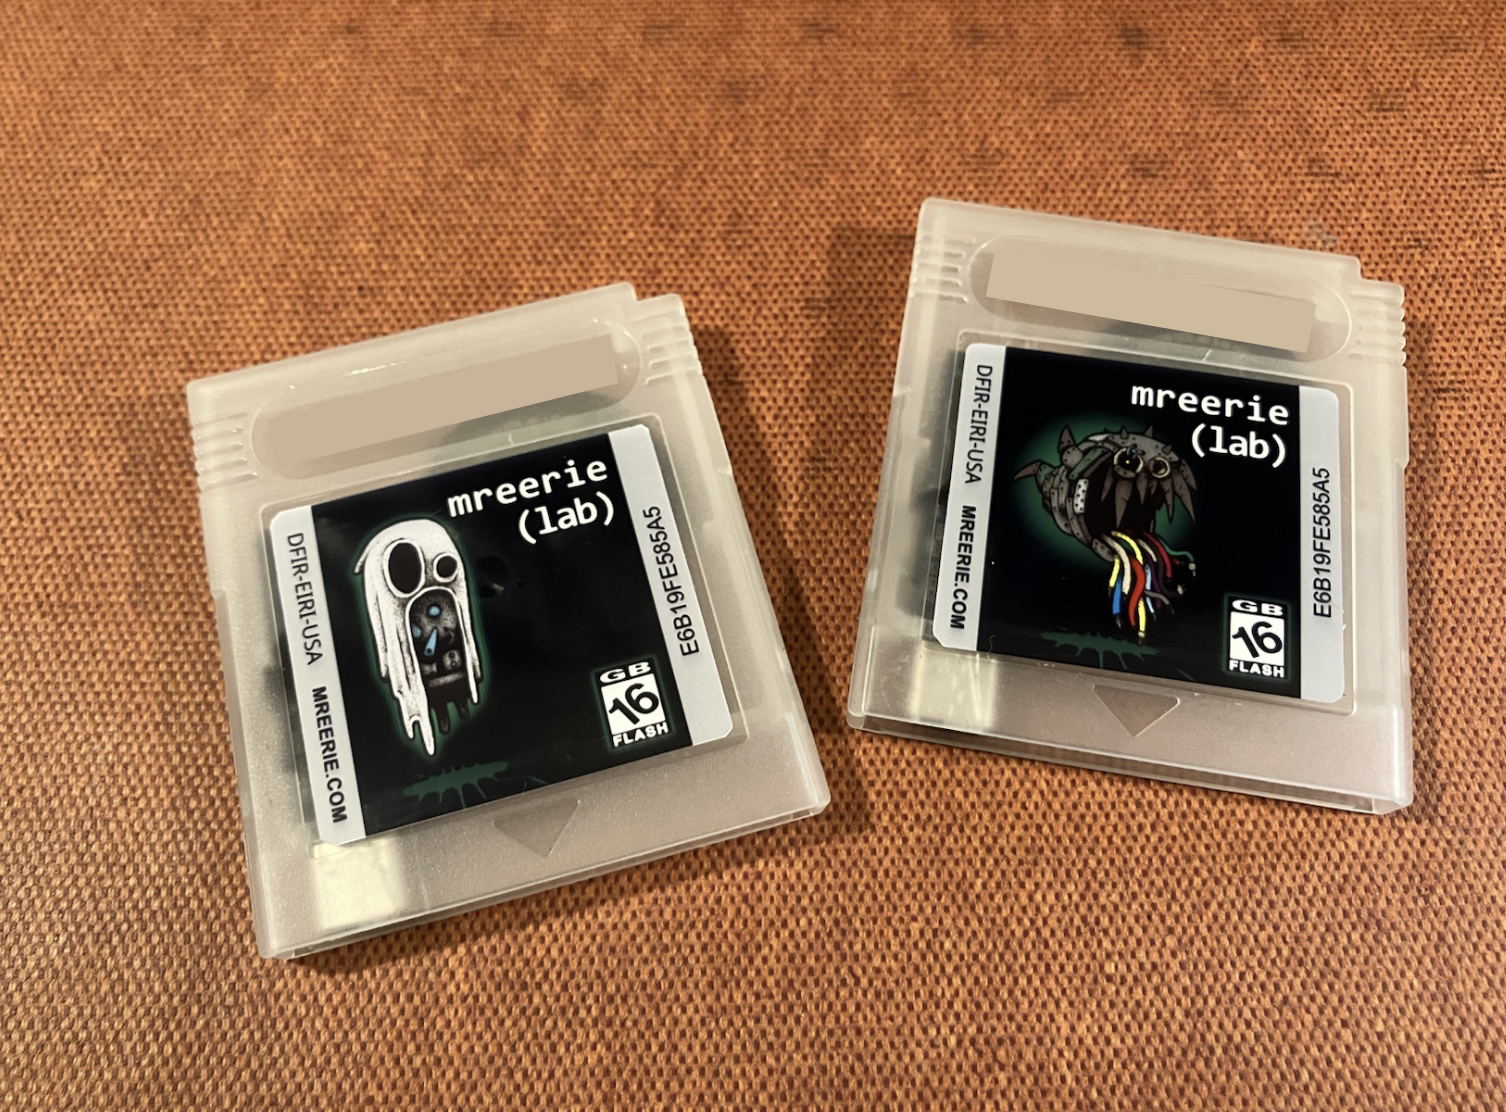
I cut the labels to size with a hobby knife, rounded the corners by hand, then carefully applied them to a clean cartridge.
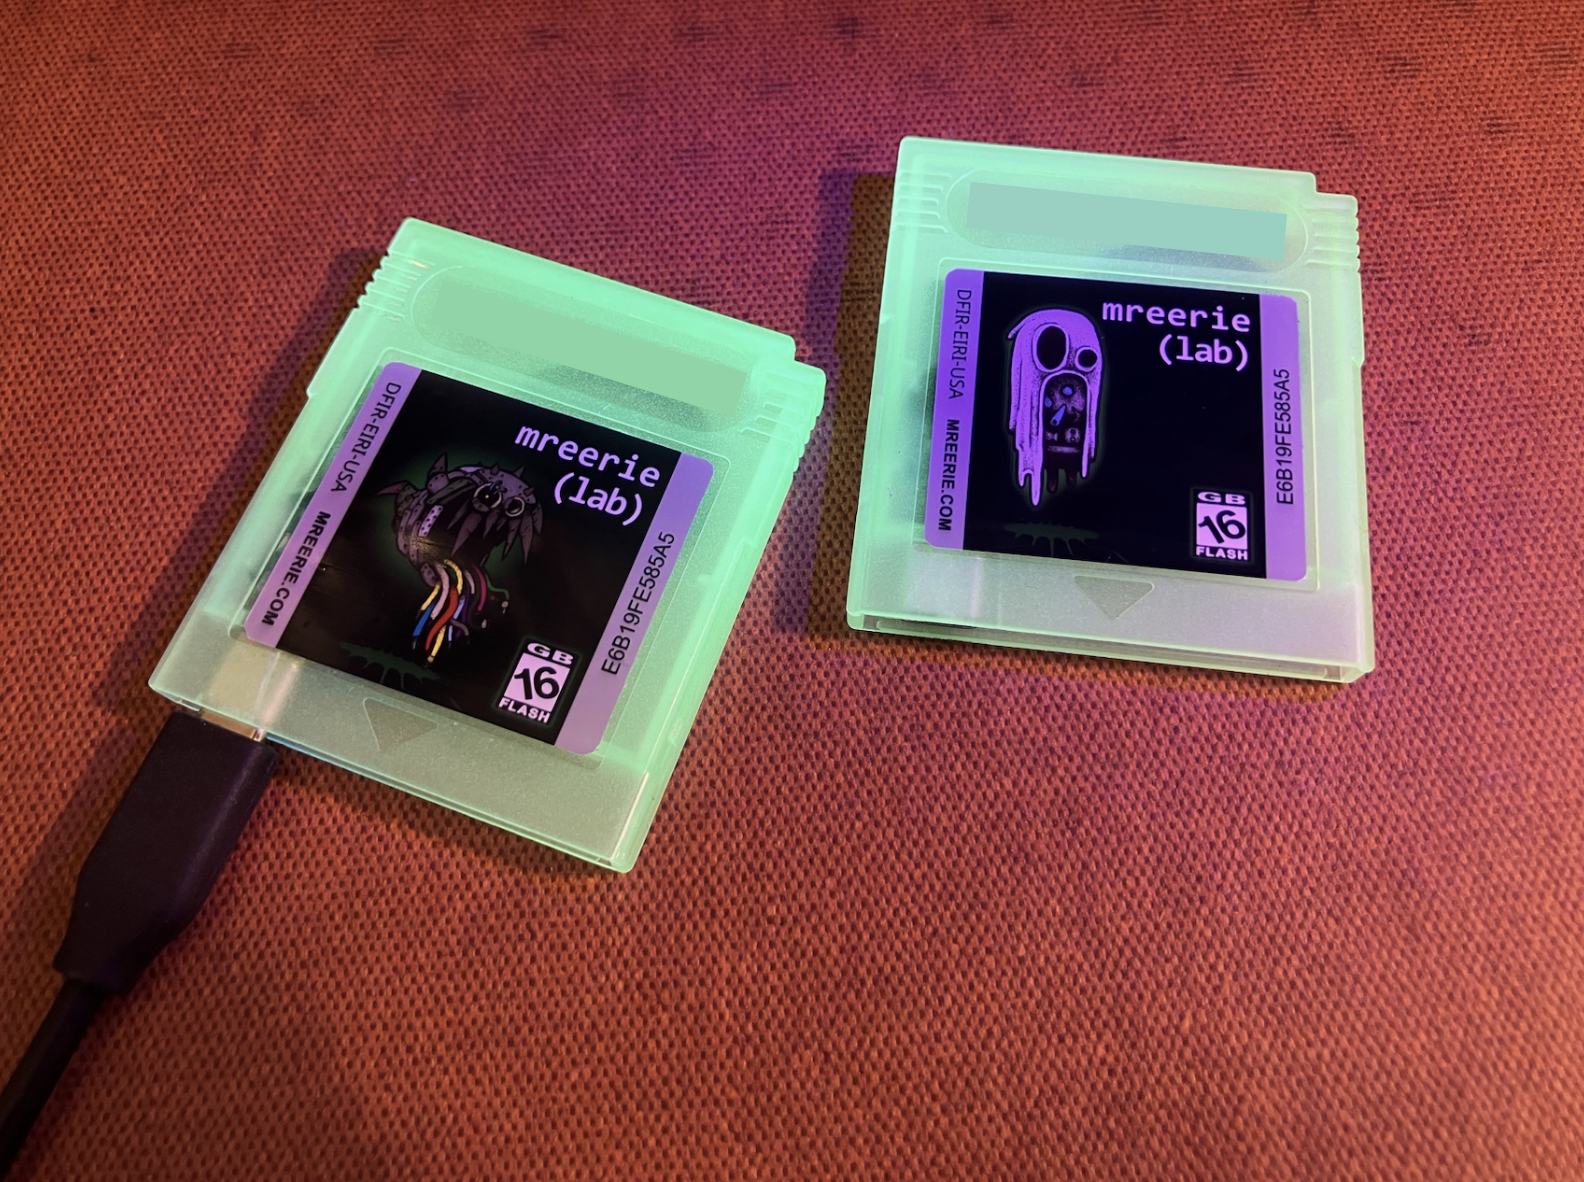
These semi-transparent cartridges also glow in the dark. Eerie vibes—am I right?
| Template Resources |
|---|
| https://consolemods.org/wiki/Cart_Labels |
| https://github.com/Dinierto/Cartridge-Label-Templates |
| https://github.com/Geekte-ch/gbclt |
Wrapping Up
With a shucked MUDP flash drive, a USB-A to USB-C adapter sanded to size, some heat shrink tube, and a dab of hot glue, a retro gaming cartridge becomes a working flash drive. Add a custom label and you might have a token cooler than a challenge coin.
Given how well they were received, they were well worth the time it took to make them. If you build one of your own, I’d love to see it!


Leave a Reply