
As I was writing the post about write blockers, I discovered I had considerably more to learn about storage media; especially after reading Todd G. Shipley and Bryan Door’s whitepaper, and watching Scott Moulton’s presentations given at Schmoocon 2014 and Skydog Con 2015. Listening to a few hours of Moulton’s Forensic Hard Drive Data Recovery Class recorded in 2020 revealed to me there is more to the physical medium of which data is extracted from.
The hard drive is like a computer itself, a blend of electronics and mechanical engineering (mechatronics), and is prone to failure. This may impede your pursuit of the truth. With enough knowledge and skill, you can recognize these failure points, and (sometimes) overcome them.
I signed up for Moulton’s distance learning class (DLC) version of the Forensic Hard Drive Data Recovery Class in October 2022.
Expectations
If you’re familiar with Moulton, he shares a great deal of information for free. You can view his entire recorded class from 2020 (and more) on YouTube, and other material is available on his website.
Of note, HDDGuru is another resource.
With information freely available, what was I expecting to accomplish with $3000 + shipping for the DLC experience?
- An introductory course on the data recovery process supported with hands-on labs.
- Curated support materials to establish a solid foundation on data recovery concepts.
- A preview of specialized tools used in data recovery, i.e., DeepSpar Disk Imager, Atola Forensic Imager
- A fun (to me) and structured learning experience.
- An option to continue to learn with the miniature data recovery lab and software provided.
DLC Course Overview
Learn how to handle a damaged hard drive and what your options are. Be introduced to the proper hardware, equipment, and software.
My Hard Drive Died, Seated Data Recovery Forensic Course Description
The DLC covers the same material as the seated class. The DLC and seated classes are intended to teach and work through the five phases of data recovery, including potential challenges that may be encountered along the way.
- Diagnose the drive.
- Repair the drive.
- Image, copy, or recover the physical drive and sectors.
- Perform logical recovery of files, partition structures or necessary items.
- Repair files that may be corrupt or exist in damaged space.
The advantage of the seated class appears to be the hands-on experience with specialized data recovery tools, hands-on soldering, in-person mentoring with Moulton, and the comradery you might gain when you spend more than 50 hours with anyone.
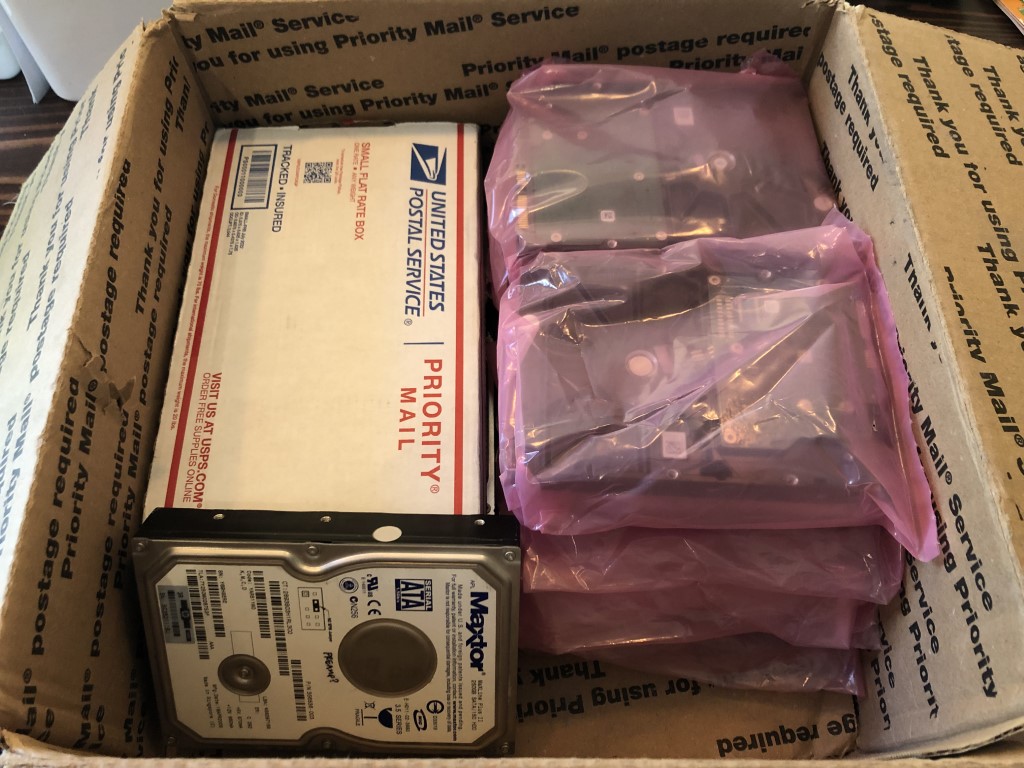
Part of the cost associated with the DLC are software licenses and tools that are yours to keep. The DLC comes with nearly everything you need to work through the course, including about 1 TB of class content stored on an external USB drive, and a selection of hard drives to destroy rebuild.

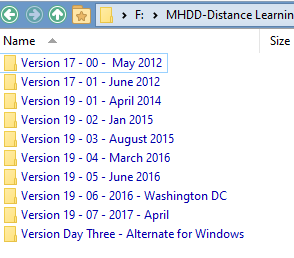
Stored on the external USB drive are several recorded versions of the class previously taught, and other material Moulton has presented and authored. As someone who benefits from other students’ questions and listening to explanations in various ways (often repeatedly), these were extremely valuable to me.
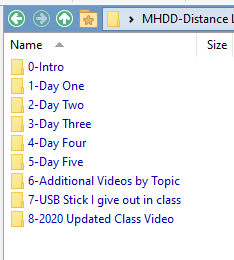


Moulton authors and teaches this class from the perspective of a data recovery business owner; this is information he would teach if he were to hire a student. On the first day, Moulton breaks down what to expect for the week.
| Day 1 | History, terminology, ATA commands, diagnostics, and error status flags. |
| Day 2 | Imaging, physical functions, and drive disassembly/reassembly. |
| Day 3 | Logical recovery, corrupted file systems, RAIDs, and problem solving. |
| Day 4 | Introduction to firmware, basic board repair, and soldering. |
| Day 5 | 2.5″ drive lab, challenge lab, and Solid State Drives. |
Hard Drive Rebuilds
Rather than further summarize Moulton’s class that you can listen to yourself in its entirety, I will share my experience working through the disassembly labs I completed from the comfort of my home.
Several hours of Moulton’s seated class are dedicated to disassembling and rebuilding hard drives. From a handful of videos, you can overhear Moulton coaching students as they work through the exercise. If a mistake happens, “pretend it didn’t, and keep on goin’.” The primary objective of the exercise is to reinforce familiarity of the parts by tearing the hard drive down and rebuilding it.
In the seated class, students have access to the DeepSpar Disk Imager to assess if the heads are able to read data from the rebuilt drive. At home, I used the USB/SATA adapter with R-Studio. If the hard drive reports its model and serial number, that would be considered a success.
Procedure:
- Pull a HDD from the practice pile.
- Attach the HDD to a Windows OS machine and reformat with NTFS.
- Add data to the HDD.
- Remove the HDD from the Windows OS machine.
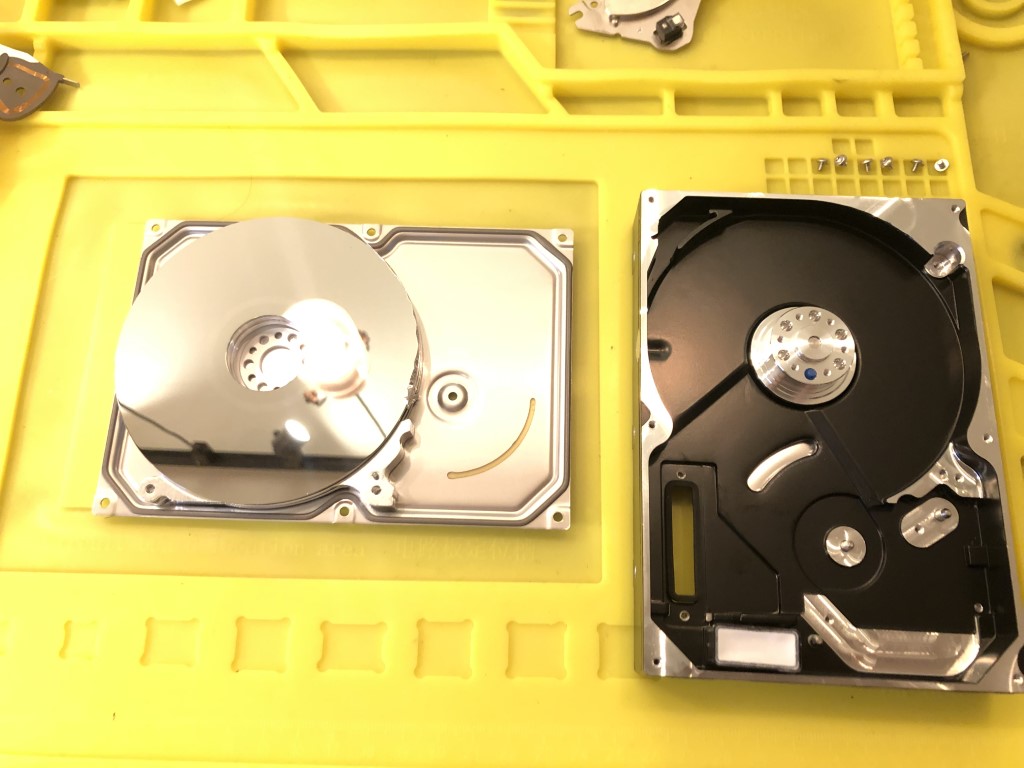
- Disassemble the HDD down to the case. Document the process.
- In lieu of swapping parts from a donor drive, reassemble the drive with existing parts.
- Test the rebuild by attaching the HDD Windows OS machine. Listen and evaluate.
- A successful build will display the model and serial number in R-Studio.


Of the 6 drives provided for practice, I attempted to rebuild 5. While it took considerable amount of time, each purposeful attempt reinforced and enhanced the learning experience.
MHDD Rebuild #1, Western Digital WD1600AAJS 150GB
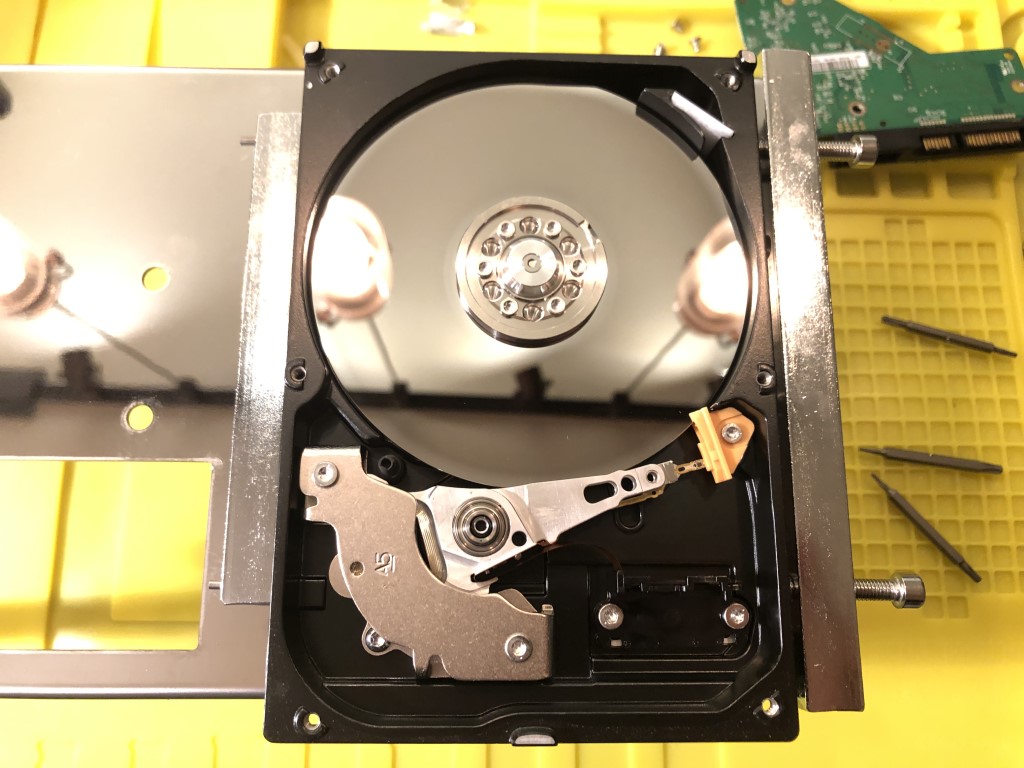
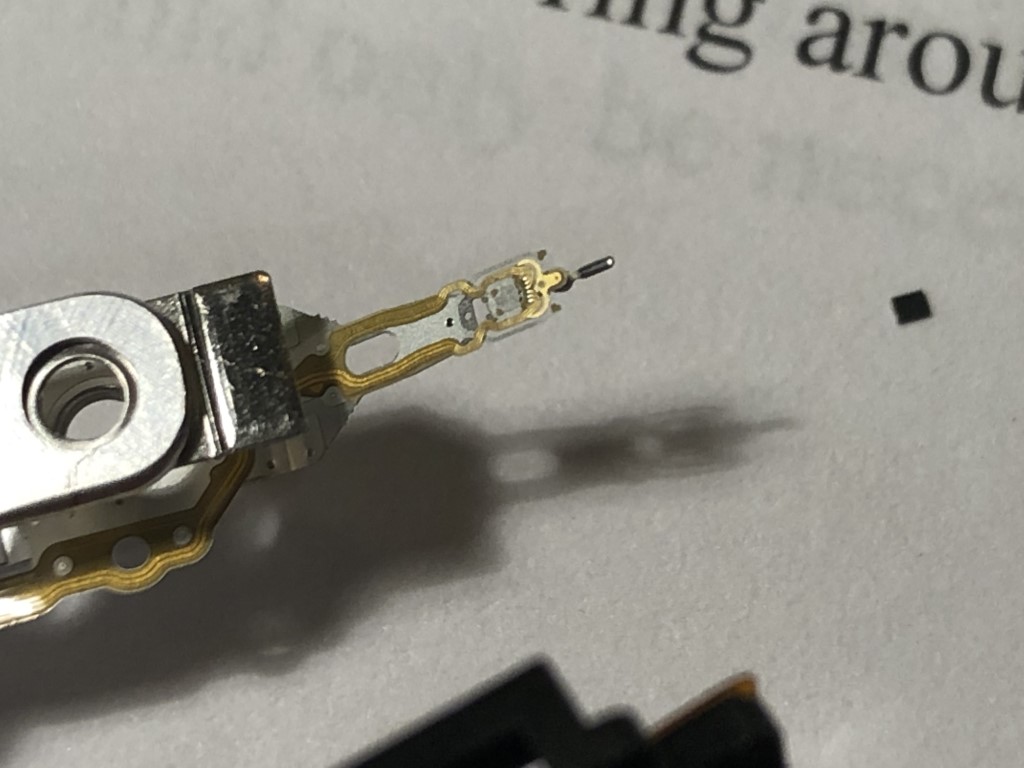
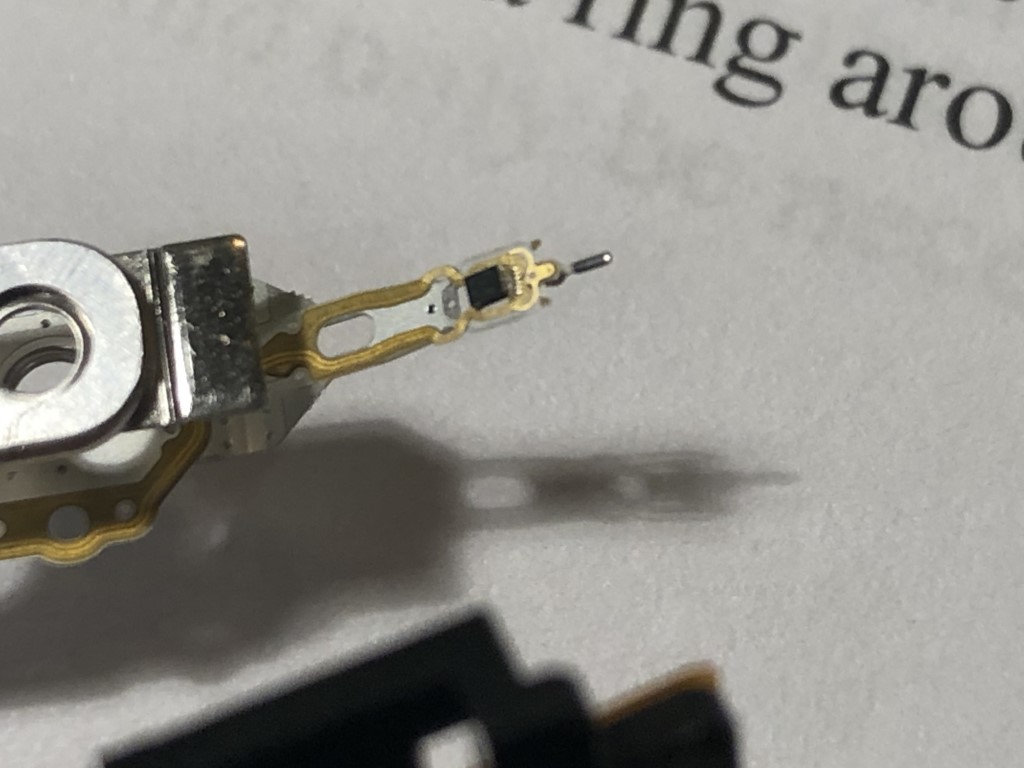
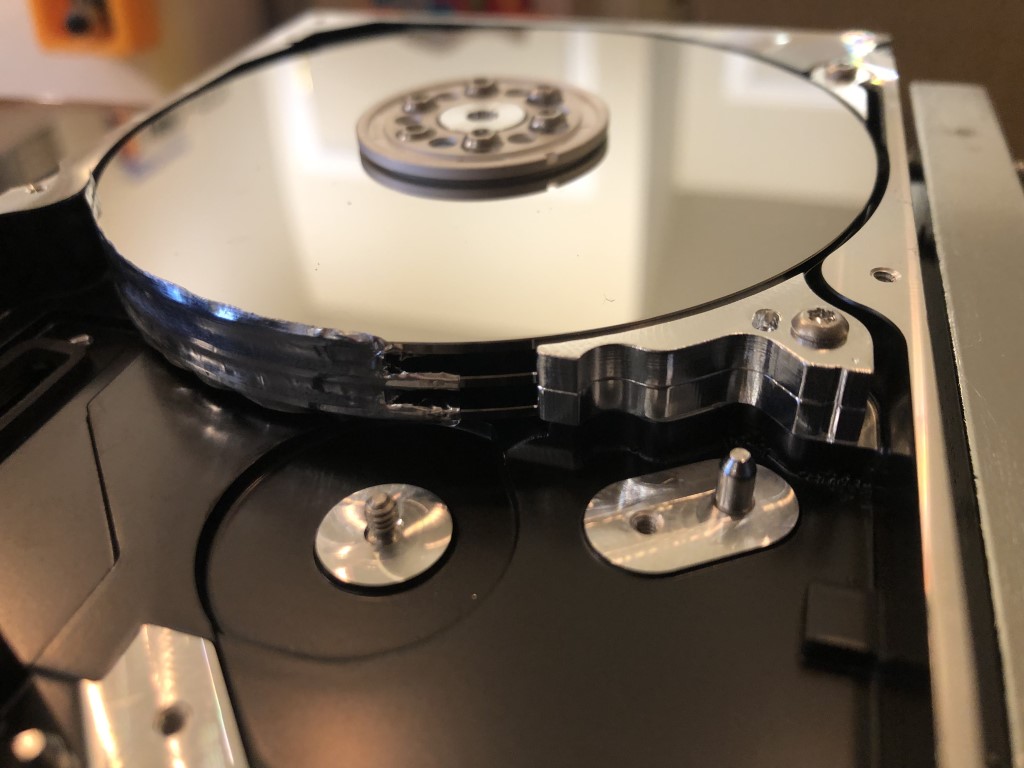
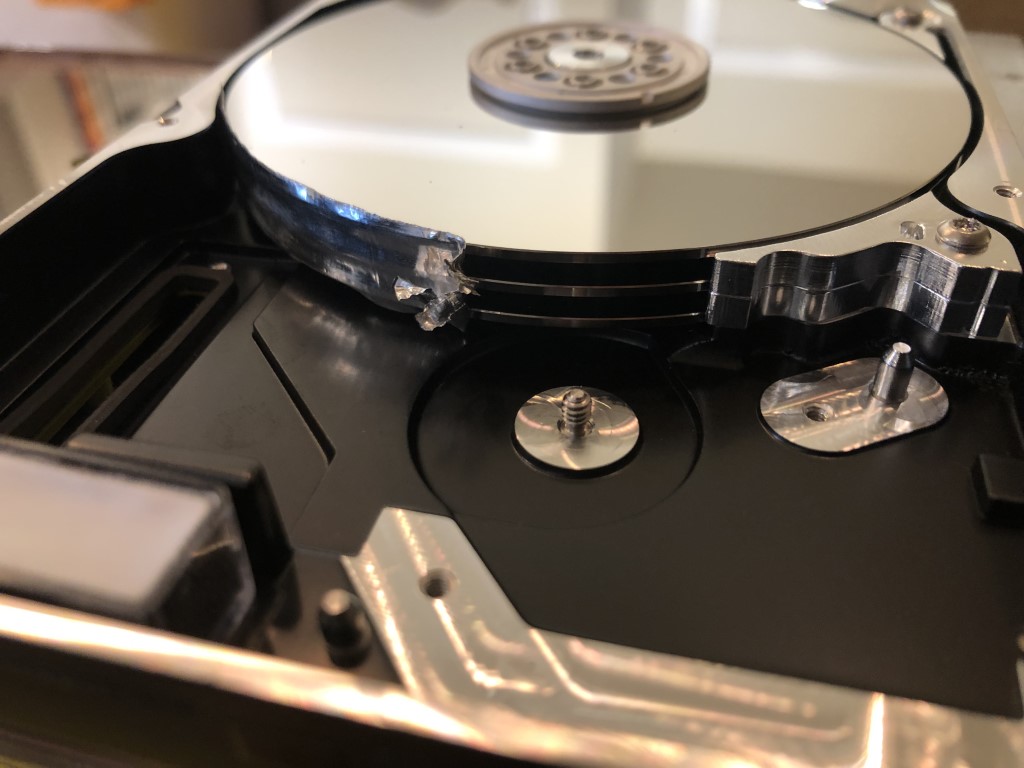
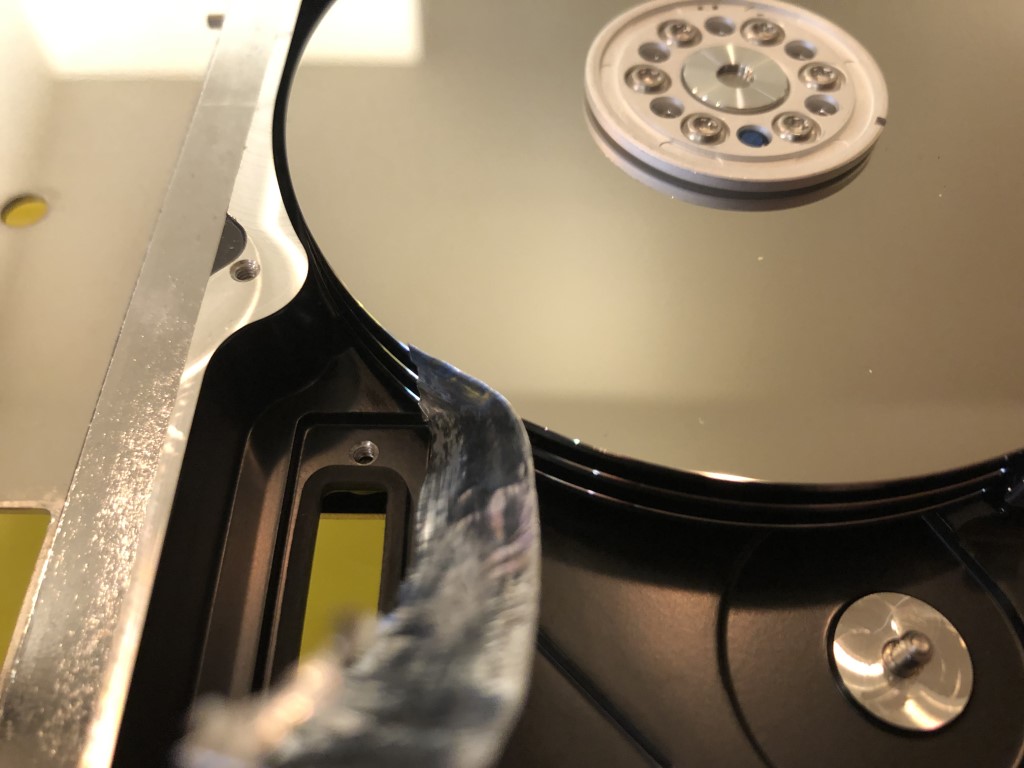
Opening this drive, I noted it had one head with a single platter and a ramp. I was able to gently reposition the head assembly on to the platter, remove the ramp, swing the actuator arm out (while spinning the platter away from the head), remove the voice coil magnet, and use the platter extractor tool to remove the single platter from the drive casing. Reassembly was smooth, until I neglected to position the head to clear the edge of the platter. I ended up sheering the slider off the gimbal.
Pretending it didn’t, I kept on goin’ to finished the reassembly. Attaching the drive to the PC and listening, I can hear the motor spin along with the click of death, which is consistent with a slider that I sheered off.

If I found a donor drive to replace the head assembly and luck with alignment, it’s likely I can get it working again.
MHDD Rebuild #2, Hitachi HDS721025CLA382 250 GB
Learning from the first drive, I was more mindful about positioning the head on and off the platter. Unfortunately, I pulled the ribbon cable off the connector that was adhered to the case with the gasket. The lesson learned from this build is that I should push the ribbon cable connector from the bottom.
Pretending it didn’t, I kept on goin’ to complete the disassembly. Aside a minor challenge to reattach the c-clip back to secure the actuator arm, reassembly was smooth. Attaching the drive to the PC and listening, I can hear the motor spin and power off multiple times, until it stopped. I didn’t hear clicking and the actuator arm didn’t move. That seemed consistent with my error for this rebuild attempt.

If I found a donor drive to replace the head assembly, I’m almost certain I could get this working again.
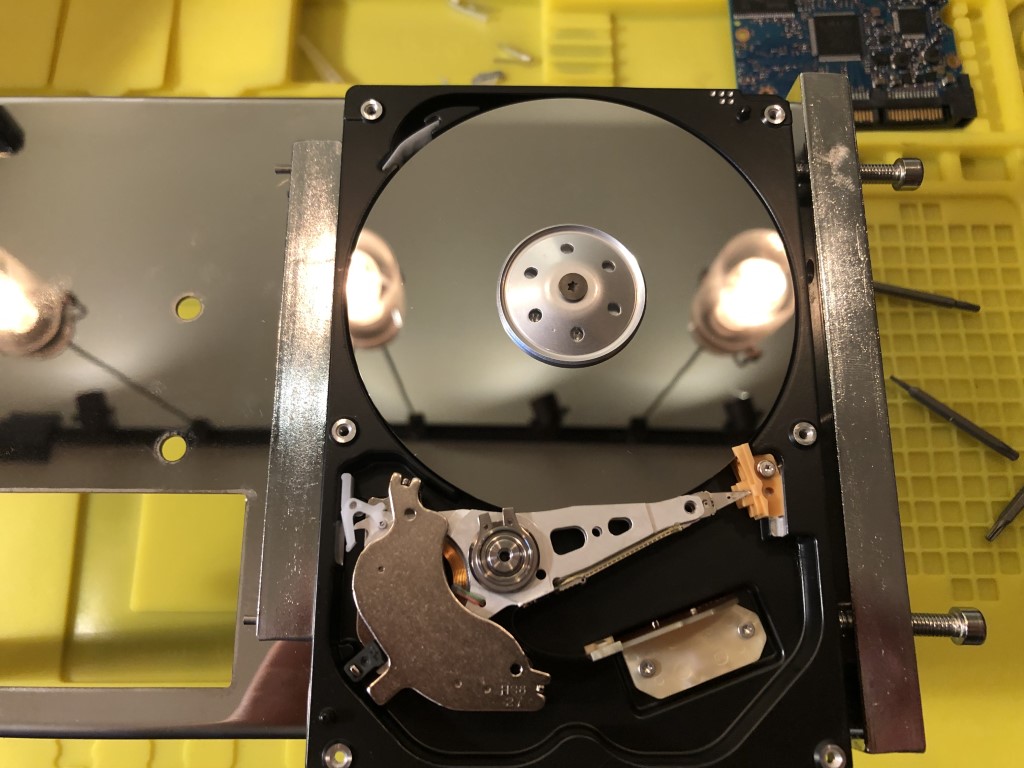
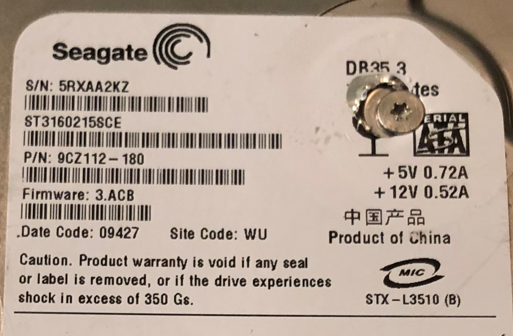
MHDD Rebuild #3, Seagate ST3160215SCE 160 GB
Third time is the charm. With the head tool ready, I positioned it to prevent the two heads from touching. Learning from the second rebuild, I pushed the ribbon cable connector from the bottom of the case. I completed the tear down and reassembly without incident. Nothing happened – for real. I didn’t have to pretend this time!


Attaching the drive to the PC and listening, I can hear the motor spin and actuator arm move around. It took several moments for the OS to recognize the hard drive, but R-Studio was eventually able to report on the model and serial number. I was also able to view the data from the drive. Nice.

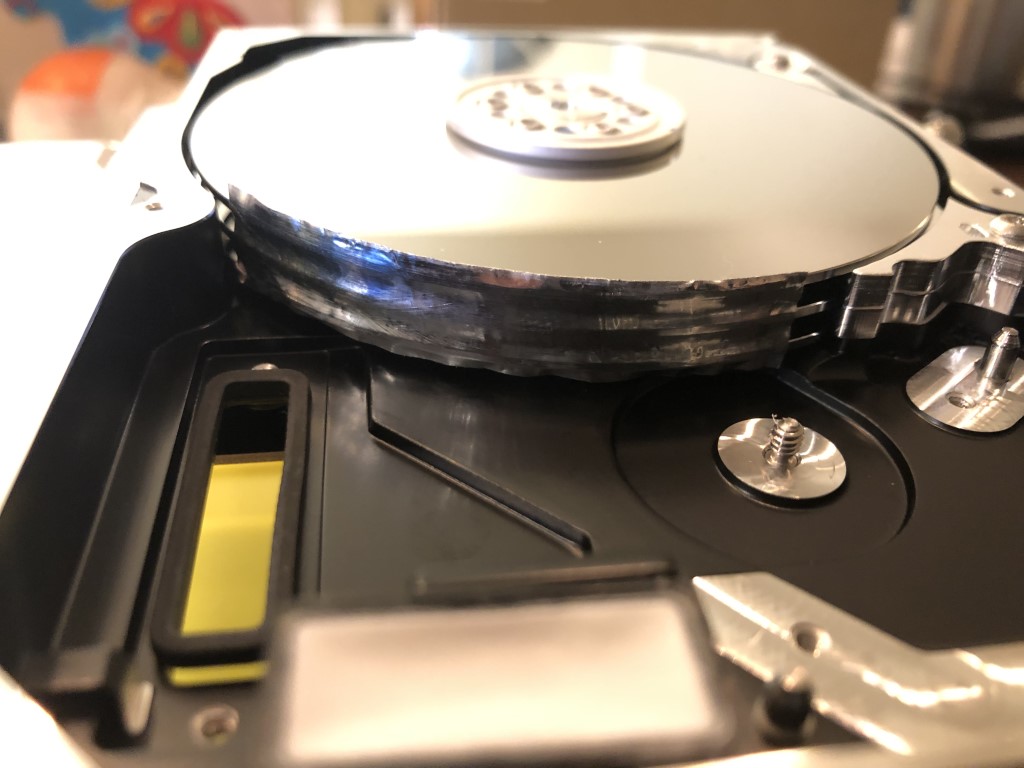
MHDD Rebuild #4, Maxtor MaXLine Plus II 250 GB
Based on my experience from previous rebuilds, I felt more confident with manipulating the head assembly and inserting head combs. The new problem experienced with this drive was the presence of drive brackets.
Moulton has a few videos available demonstrating the use of HVAC tape to preserve platter alignment. I watched those several times. In practice, I felt my attempt was fair. When I was loosening the screws from the rings/spindle, I didn’t prevent the platter from spinning sufficiently which caused the HVAC tape to be torn by the brackets. Fortunately, I was able to recover all the tape when I reassembled the drive.
Working with the head assembly on the right side was also a new challenge for me to adapt to. With this new experience, I may have handled the head assembly excessively. I also attempted to measure the height of the actuator arm before disassembly in an attempt to return it to its original position.
Attaching the drive to the PC and listening, I was gifted the click of death.
I’m not certain what went wrong. I may have been too aggressive with the head assembly and pulled on the ribbon cable close to the preamp too hard. It may be an alignment issue, which I might be able to troubleshoot with a DeepSpar Disk Imager.


If I were inclined to experiment, I would find a few donor drives to find out where it went wrong. I can justify a DeepSpar Disk Imager for this, right?
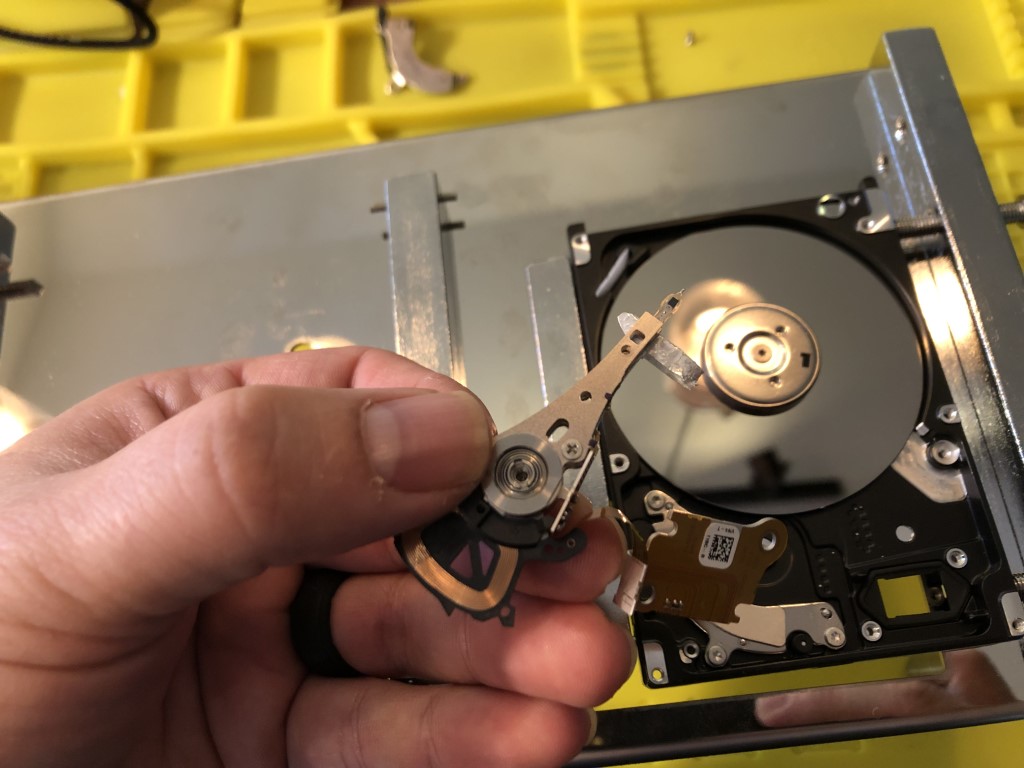
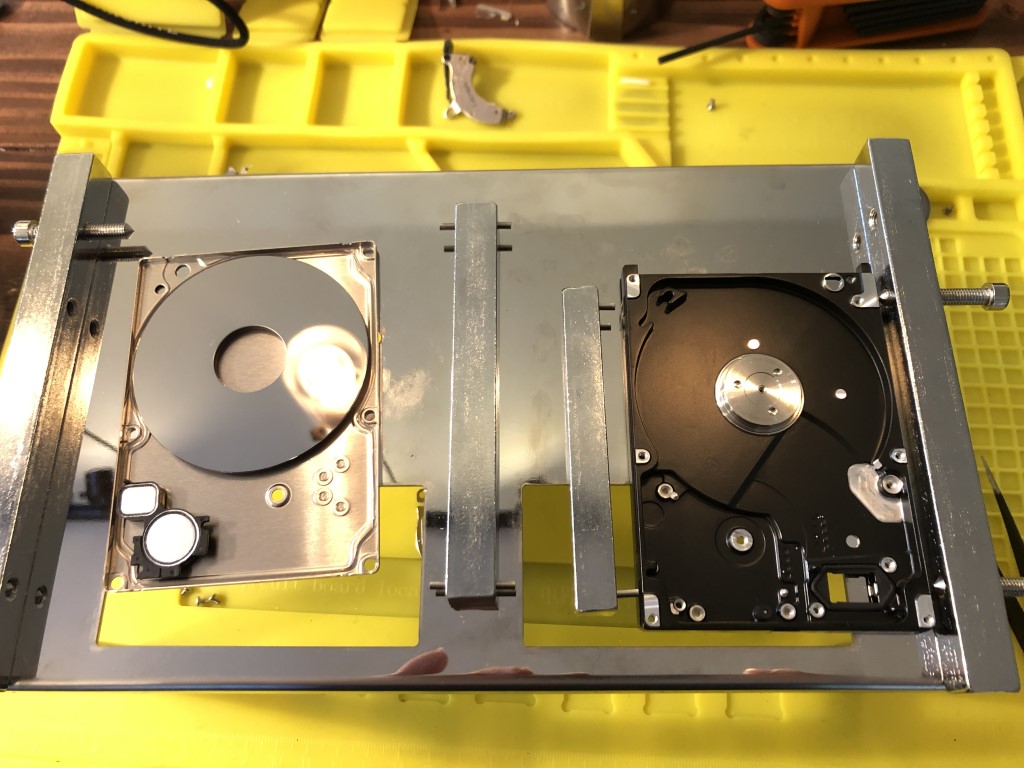
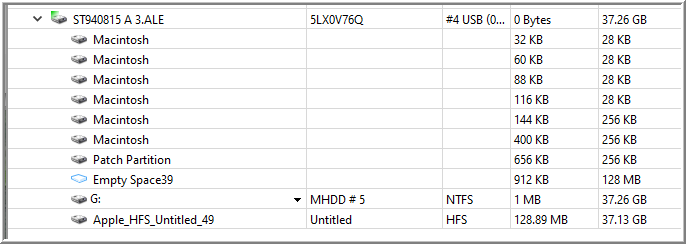
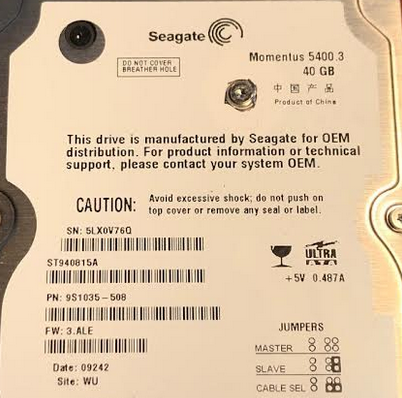
MHDD Rebuild #5, Seagate Momentus 5400.3 40 GB
With this drive, I was in familiar territory with the exception that it was smaller. With a single platter and one head on the lower position, it was very similar to MHDD Rebuild #1. I attempted to use the platter tool, but I couldn’t get it to fit properly. As it was a single platter, it was easier to flip the platter onto the lid. Had it been multiple platters, I might’ve considered using Scotch tape.

Attaching drive to the PC and listening, I can hear the motor running and the head assembly moving about. It wasn’t long before R-Studio reported the drive’s model and serial number. I found this rebuild was much easier, which is greatly attributed to 2.5″ drives being more tolerant to environmental changes.
Reflecting on the DLC
Overall, the class met my expectations and was worth the time and effort. I would recommend this DLC if:
- You want to learn about data recovery principles and how it may apply to digital forensic scenarios.
- Want to learn how to rebuild a hard drive in a guided format.
- Able to benefit from mentoring via e-mail.
Supported with hands-on labs, the knowledge and experience I gained is practical, relevant, and considerably improved my understanding of a hard drive’s design and operation. I can call upon this knowledge to explain why data collection from a hard drive with bad sectors may be limited with certain tools, how to potentially recover data following physical failure of a drive or logical corruption/deletion, and know when/why to seek an experienced data recovery professional to perform a challenging recovery.
I do not encounter a lot of bad drives, which may just be attributed to the type of work that I do. Practicing hard drive rebuilds for me may just be a fun skill at this point; like lock picking. I certainly have enough interest that I purchased surplus drives from eBay to practice with.
The seated and DLC includes a voucher to attempt the certification test, Certified Data Recovery Expert (CDRE), which I also attained.
The following are a couple considerations for prospective students:
On Notation
As there is so much video material in the DLC, I suggest you establish a method to note the most appropriate video or source that corresponds with material in the book so you may revisit it. For example, in Volume 1, page 420, I wrote the filename from the DLC USB drive, “Head Replacement Move.mov”. Another example, in Volume 2, page 376, I wrote the filename of the class video, “Version 19 – 01 – April 2014\video_Apr26_14-04-51 @ 00:24:00” that introduced Racetrack Technology. Each version of the class has enough variation that may answer any questions you might have.
On Course Material Updates
In my opinion, the organization of the DLC could use an update. A minor example is that older videos that were intended to be included with the DLC, are not. If you don’t see a video set you’re looking for, I recommend that you just ask.
Moulton also mentioned he was in the middle of a re-write of the books around January 2020, right before the COVID-19 pandemic. The version of the books I received appear to be the same. It also appears to be around this time when the DLC material was last updated. I reached out to Moulton about the progress of that re-write. I included his response with my emphasis in bold:
I did not complete the rewrite at this time mainly because I am having a problem with the direction that things are going. There is a big push to start using USB devices and at some point in time Deepspar wants to completely switch over to the USB stabilizer for all of the recoveries and stop selling anything that is a direct sata connection. I am not particularly fond of this idea. A lot of the other equipment has started to switch to the same process where you’re only using a USB connection which again there’s plenty of other devices that do not have USB and all you’re doing is converting them before you plug them in. There is this concept that this makes it so much easier, but it also makes it near impossible for some devices. The ace labs equipment in my opinion has also gotten crappy year, and I hate these new devices that they came out with as well. So I guess I’m trying to say basically that I’m hoping for a new and better direction for the equipment. I still use all of the methods described in our class today to do all of the work that I am doing and I try not to do any of the things that they are saying we should do. Most of the time I even break the USB connection on a device and re-solder it so that I can do a raw connection on a sata. So I guess I’m just kind of waiting to see what happens.
Scott Moulton, quoted with his permission
I reached out to Serge Shirobokov at DeepSpar Data Recovery Systems. Shirobokov confirmed the DeepSpar Disk Imager will be discontinued in about a year. The new 3 independent channel USB Stabilizer they currently have on limited release will implement all the software-side imaging functionality in R-Studio from R-Tools Technology Inc. According to Shirobokov, “R-Studio + USB Stabilizer is the future.”
If you have enough interest to take the course, just be mindful that the relevance of some tools discussed in the videos may change. In digital forensics, this is just another day. Nevertheless, the principles of data recovery taught in the DLC and the troubleshooting skills reinforced through the practical exercises Moulton created remains applicable and valuable. Consistent with that mindset, one of the most impactful statements from Moulton in one of his videos is, “my tool set is in my hands and my brain. I can get off of a plane anywhere in the world and do this job. That’s what you need to be… I want you to be not relying on the tool. I want you to verify the tool. I want you to know when the tool is wrong!”
Committing the time and effort to work through the DLC material, I feel that Moulton successfully enabled me to hone my tool set.

Leave a comment